
Windows Sandbox is a utility that Microsoft introduced back in May 2019 on Windows 10. It is a handy feature that enables you to download or run untrusted files in a sandbox environment before you try them out on your primary installation. The benefit is that you don't need to download and install Windows ISOs or virtual machines, Microsoft handles all that for you itself. Other advantages that Microsoft notes are its efficiency, security, and disposability.
The capability is present on both Windows 10 and Windows 11, and today, we'll walk you through how to enable it on either of the operating systems. The installation method is identical in both the OSes, but for this guide, we'll be using Windows 10 Pro version 21H2. With that said, let's begin!
Pre-requisites:
- Windows 10 Pro, Enterprise or Education build 18305 or Windows 11 (Windows Sandbox is currently not supported on Windows Home edition)
- AMD64 architecture
- Virtualization capabilities enabled in BIOS
- At least 4 GB of RAM (8 GB recommended)
- At least 1 GB of free disk space (SSD recommended)
- At least two CPU cores (four cores with hyperthreading recommended)
Enable Windows Sandbox
- Ensure that virtualization is enabled on your machine. If it's not, you can refer to Microsoft's guidance here, but it may also require you to enter your PC's BIOS. Since the process to enter the machine's BIOS is different for each hardware vendor, you'll likely have to find dedicated guidance for your machine. Once you have enabled virtualization, run the command systeminfo.exe in the Command Prompt to check if Hyper-V has been enabled, as can be seen in the screenshot below:

- Open Windows Features using Windows Search, scroll down to Windows Sandbox, and enable it. A screenshot has been attached below for your reference. Windows will automatically search for some files and then install them via its regular update method, which also includes restarting your PC.

- Open Windows Sandbox via Windows Search, this will appear as a dedicated app. This will boot up a fresh install of Windows inside your current machine.
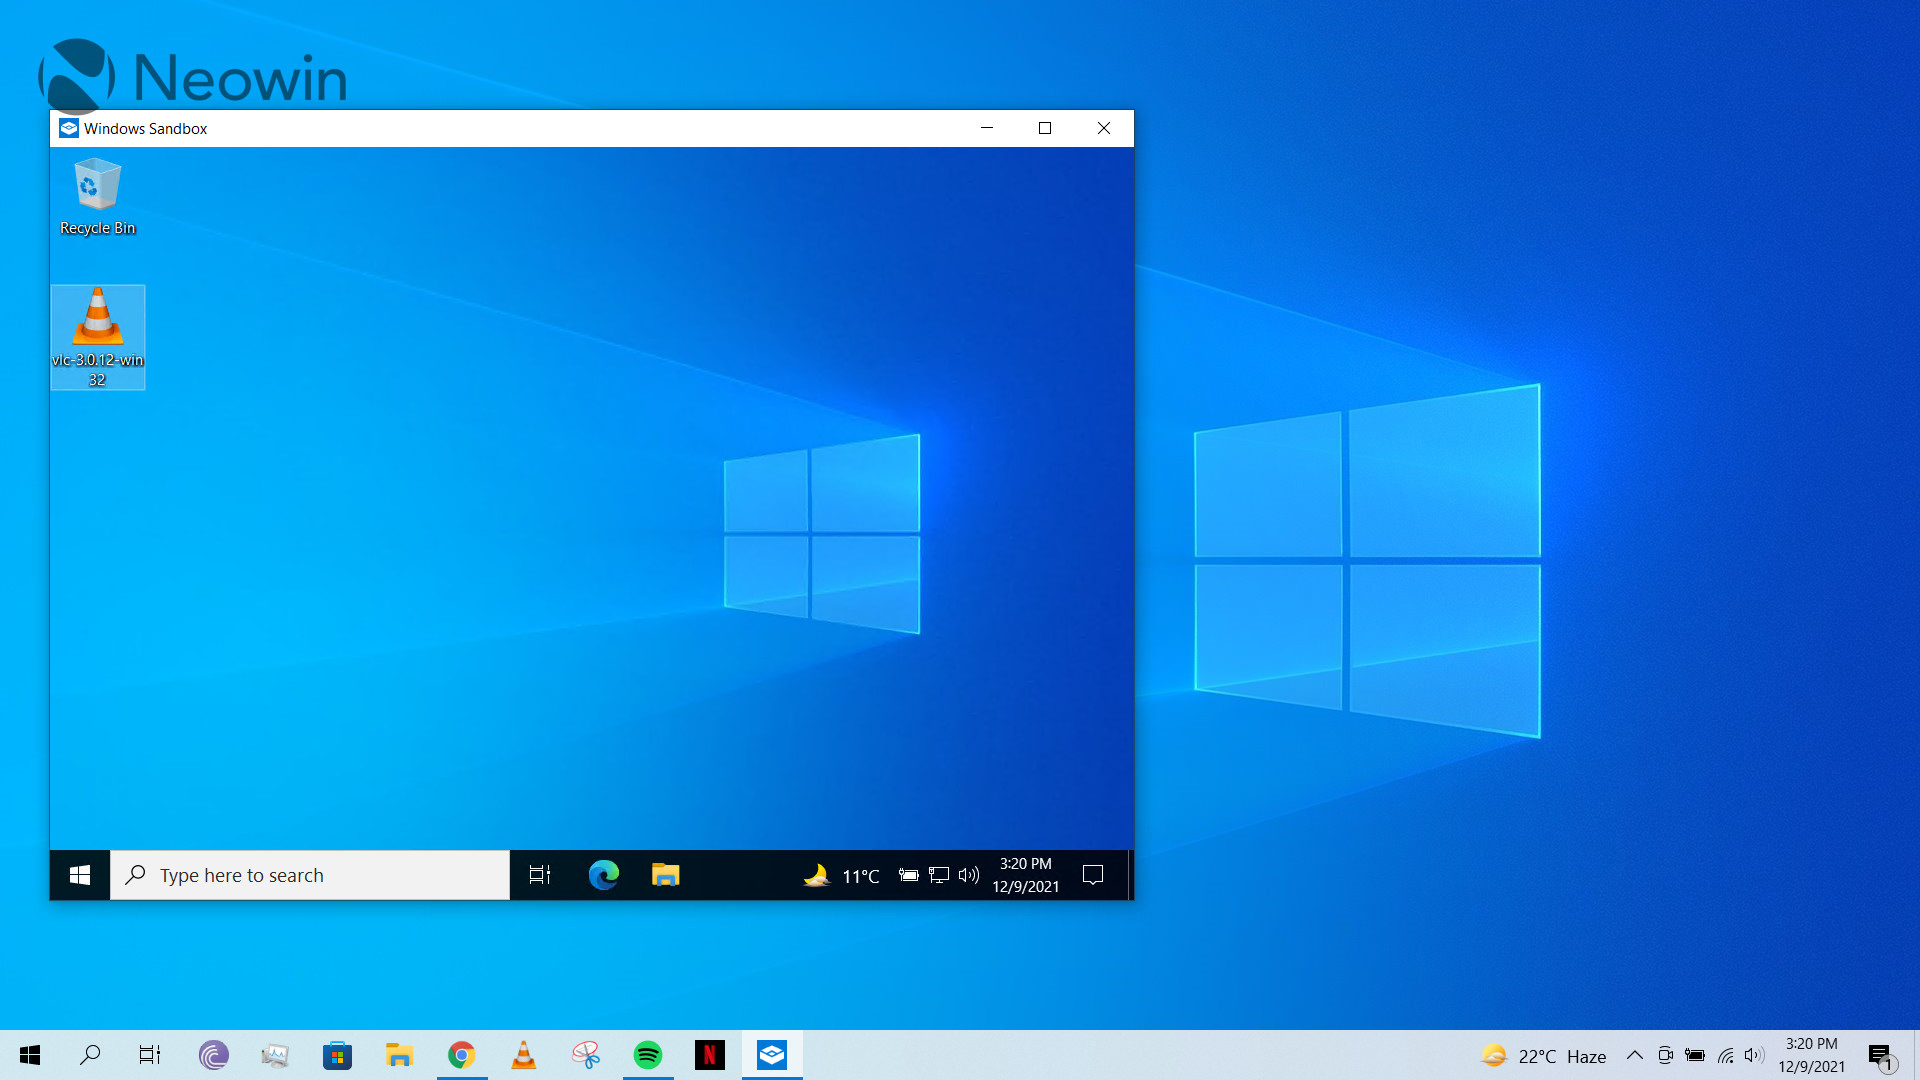
That's pretty much it, it's a very straightforward process. You can now copy and paste suspicious files from your main install into Windows Sandbox and can safely test them. Naturally, Windows Sandbox is isolated from your system so you won't be able to access your files directly unless you copy-paste or download them again manually. Windows Sandbox does not support dragging and dropping files.
A use-case for this may be downloading a .exe file from a shady source and then running it in Windows Sandbox first to see whether it functions as intended. Of course, this is only one of the ways to check the validity of a file and if you're cybersecurity-savvy, you'll likely want to complement this process with other tools too.

Once you're done with testing, you can just close Windows Sandbox, at which point a dialog box will caution that all the data inside the Sandbox will be permanently deleted. This is likely what you want after you've copied the files that you actually need back to your host machine, so press "OK" and you're done!
Are you on a Windows installation that supports Windows Sandbox? Have you used it before? Let us know in the comments section below!


30 Comments - Add comment