UGREEN blasted onto the scene, offering a full range of their NASync series at the beginning of 2024 at CES. As a result, they seem to have made quite a splash with home lab and small business users, by securing $6.6 million in funding on Kickstarter from over 13,000 backers at the time. Two years on, and with backers having already received their products, the results are in, and we were invited to take a look at the new 4-bay DXP4800 Pro model.
Disclaimer: UGREEN provided the review sample without any editorial input or pre-approval.
Here are the most important specifications:
| UGREEN NASync DXP4800 Pro | |
|---|---|
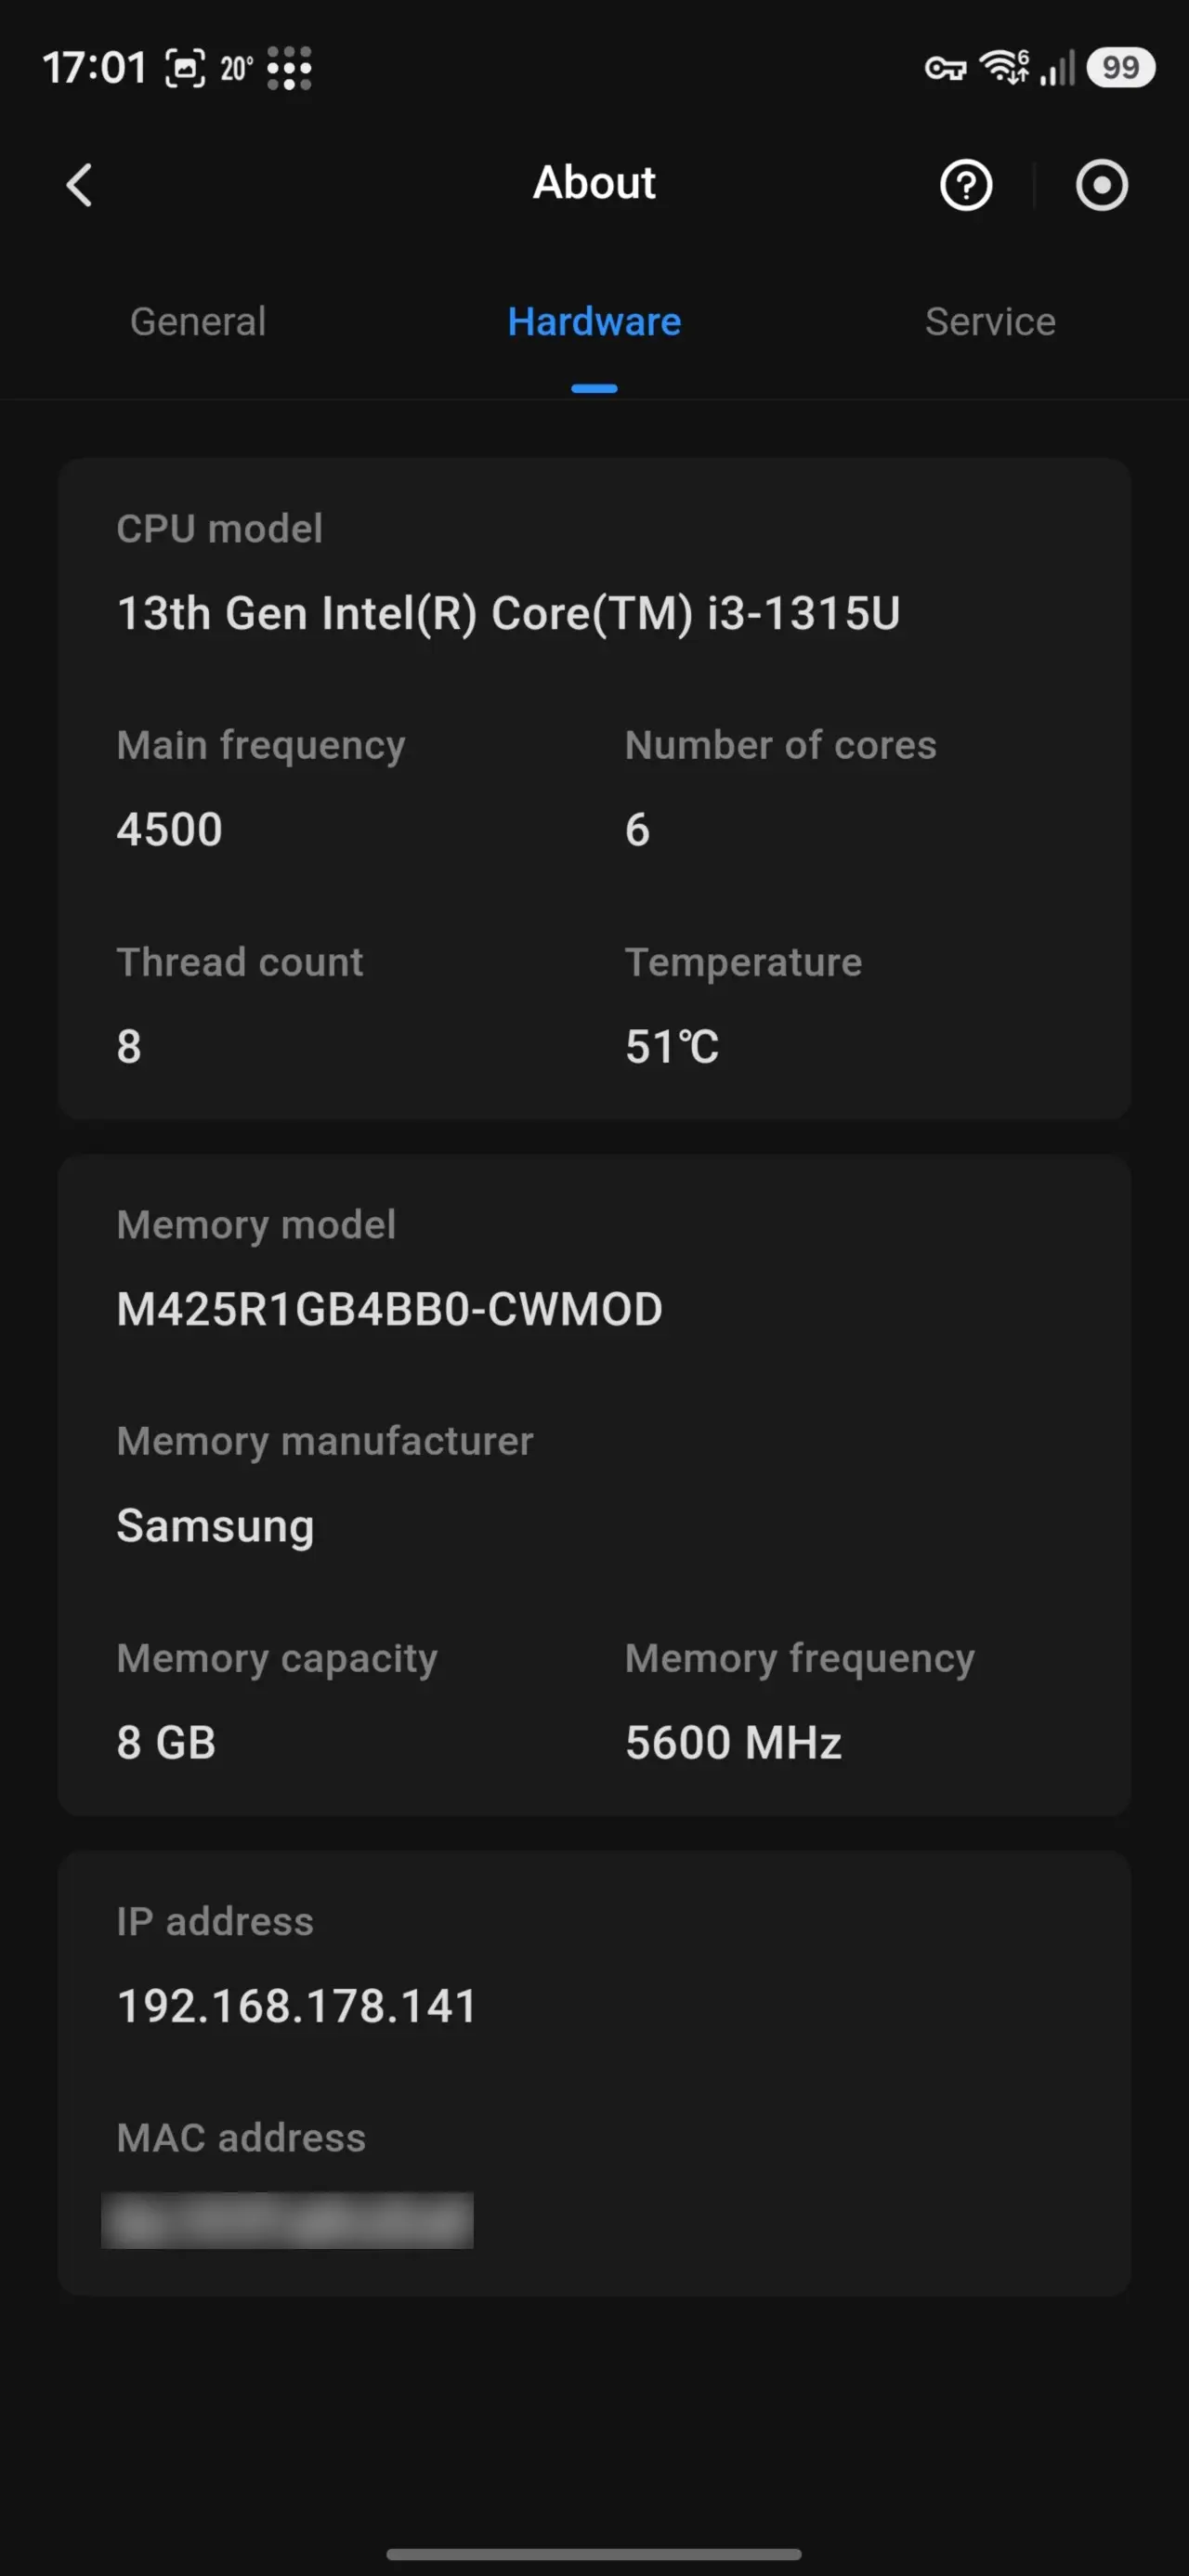
| CPU | Intel Core i3-1315U (2+4 P/E Cores, Max burst up to 4.4 GHz) TDP Base: 12W Max 55W |
| Graphics | Intel UHD Graphics 64 EUs |
| Memory | 8 GB DDR5 5600MT/s SODIMM (Max 96 GB) |
| HDD Bays | 4 x (SATA) |
| Disk Capacity | 144TB (4x 32TB + 2x 8TB) |
| RAID Level | JBOD/Basic/0/1/5/6/10 |
| Internal storage | 2 x M.2 2280 NVMe Slot M.2 (PCI-e 4.0 x4) |
| Flash Memory | 1 x SSD 128GB |
| Front (USB) | 1 x Type C USB 3.2 Gen 2 (10Gb/s) 1 x Type-A USB 3.2 Gen 2 (10Gb/s) 1 x SD 3.0 |
| Rear (USB) | 1 x Type C USB 3.1 Gen 1 (5Gb/s) 2 x Type-A USB 2.0 (480Mb/s) |
| Network | 1 x RJ-45 2.5 GbE (left) 1 x RJ-45 10 GbE (right) |
| HDMI | 1 x (HDMI 2.1) |
| Hardware Transcoding Engine |
H.264, H.265, MPEG-4, VC-1 |
| Size (L/W/H) | 10.1" × 7.0" × 7.0" |
| PCIe expansion | No |
| OS | UGOS Pro |
| Weight | Unspecified |
| Power Input/Output | 150.1W, 19.1V, 7.9A / 100V - 240V AC, 60/50 Hz, 2.0A |
| Power consumption (HDDs) | 42.36W (drive access) 18.12W (drive hibernation) |
| MSRP | $799.99 |
As I mentioned, this is actually a refreshed version of the DXP4800 series. Before you start wondering why I am reviewing a nearly two-year-old device, it's not! The "new" DXP4800 Pro contains the now three-year-old Intel i3-1315U, which was introduced in Q1 of 2023 as the 13th-gen Raptor Lake-U with support for AV1 decode, DisplayPort 1.4a, HDMI 2.1, Thunderbolt 4, LPDDR5 (5200), DDR5 and DDR4, and a max TDP of 55W.
A bit of history
UGREEN launched the standard DXP4800 back in 2024 with an Intel N100 CPU and dual 2.5GbE ports, and the DXP4800 Plus model that was powered by an Intel Pentium Gold 8505 with a 10GbE + 2.5GbE LAN port connectivity; another key difference with this new Pro model was that only one of the M.2 slots supported PCIe 4.0 x4 (with the other being PCIe 3.0 x2 on the standard model) and finally, there is a DDR5 memory speed bump from 4800MT/s to 5600 MT/s in the Pro model.
Yes, so this new DXP4800 Pro contains a CPU usually found in laptops or Mini PCs, and so with this, it also fits squarely in the HTPC segment. However, it should be noted that, unlike the DXP6800 Pro, the DXP4800 Pro does not include any Thunderbolt 4 ports or a PCIe slot.
Below is a table of all the "U" series CPUs in the Raptor Lake-U generation. The "U" stands for Ultra-Low Power, prioritizing energy efficiency and extended battery life, which absolutely applies to a NAS. Ours is in bold for reference.
|
Processor |
P/E-Cores |
Threads |
L3-cache |
Turbo clock |
GPU |
GPU-clock |
|---|---|---|---|---|---|---|
|
Intel Core i7-1365U |
2/8 |
12 |
12MB |
5,2GHz |
96 EUs |
1,30GHz |
|
Intel Core i7-1355U |
2/8 |
12 |
12MB |
5,0GHz |
96 EUs |
1,30GHz |
|
Intel Core i5-1345U |
2/8 |
12 |
12MB |
4,7GHz |
80 EUs |
1,25GHz |
| Intel Core i5-1335U |
2/8 |
12 |
12MB |
4,6GHz |
80 EUs |
1,25GHz |
| Intel Core i5-1334U |
2/8 |
12 |
12MB |
4,6GHz |
80 EUs |
1,25GHz |
| Intel Core i3-1315U | 2/4 | 8 | 10MB | 4.5GHz | 64 EUs | 1.25GHz |
| Intel Core i3-1305U | 1/4 | 8 | 10MB | 4.4GHz | 64 EUs | 1.25GHz |
| Intel U300 | 1/4 | 6 | 8MB | 4.4GHz | 48 EUs | 1.10GHz |
One of the things I always mentioned in previous NAS reviews is how disappointing it was to discover just 4GB RAM in models, even the Synology DS925+ launched with just 4GB of memory, which leaves buyers immediately scrambling to replace the RAM at additional cost. While 8GB in the DXP4800 Pro is nice, you may find yourself wanting to expand if you have deep enough pockets.
Before we dive in, UGREEN no longer offers the standard DXP4800 for sale, but there's still the DXP4800 Plus model, and from what I can see in the specs, the only difference appears to be just the CPU and the slower DDR5 memory. It includes a 12th Generation Intel Pentium Gold 8505. Oh, and the Plus is $70 cheaper than the Pro model.
First impressions
|
|
|
|
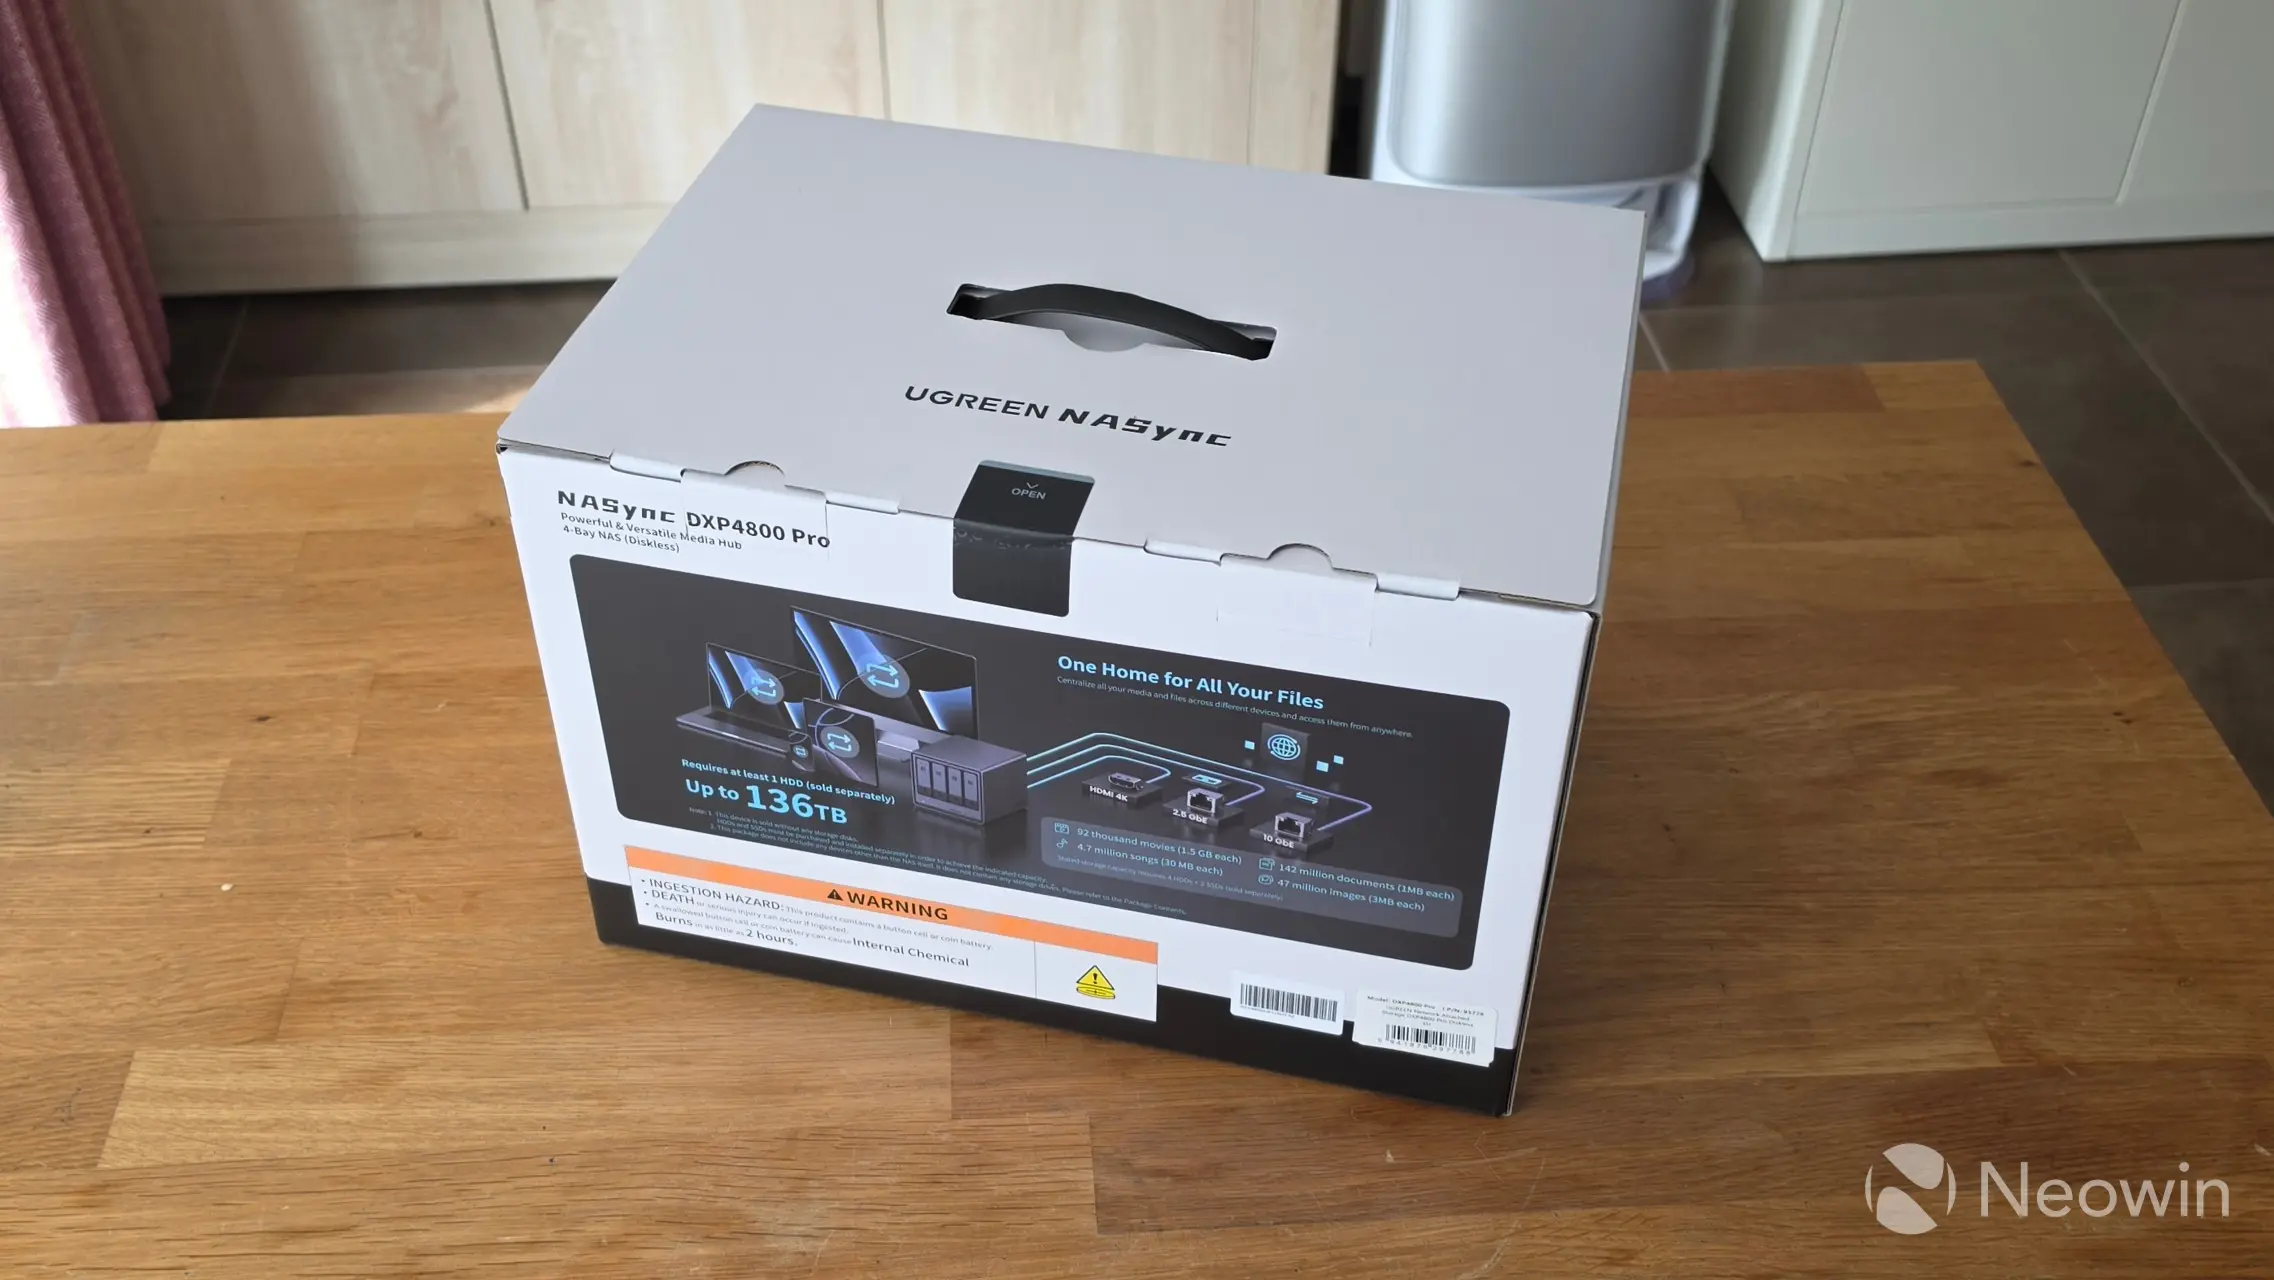
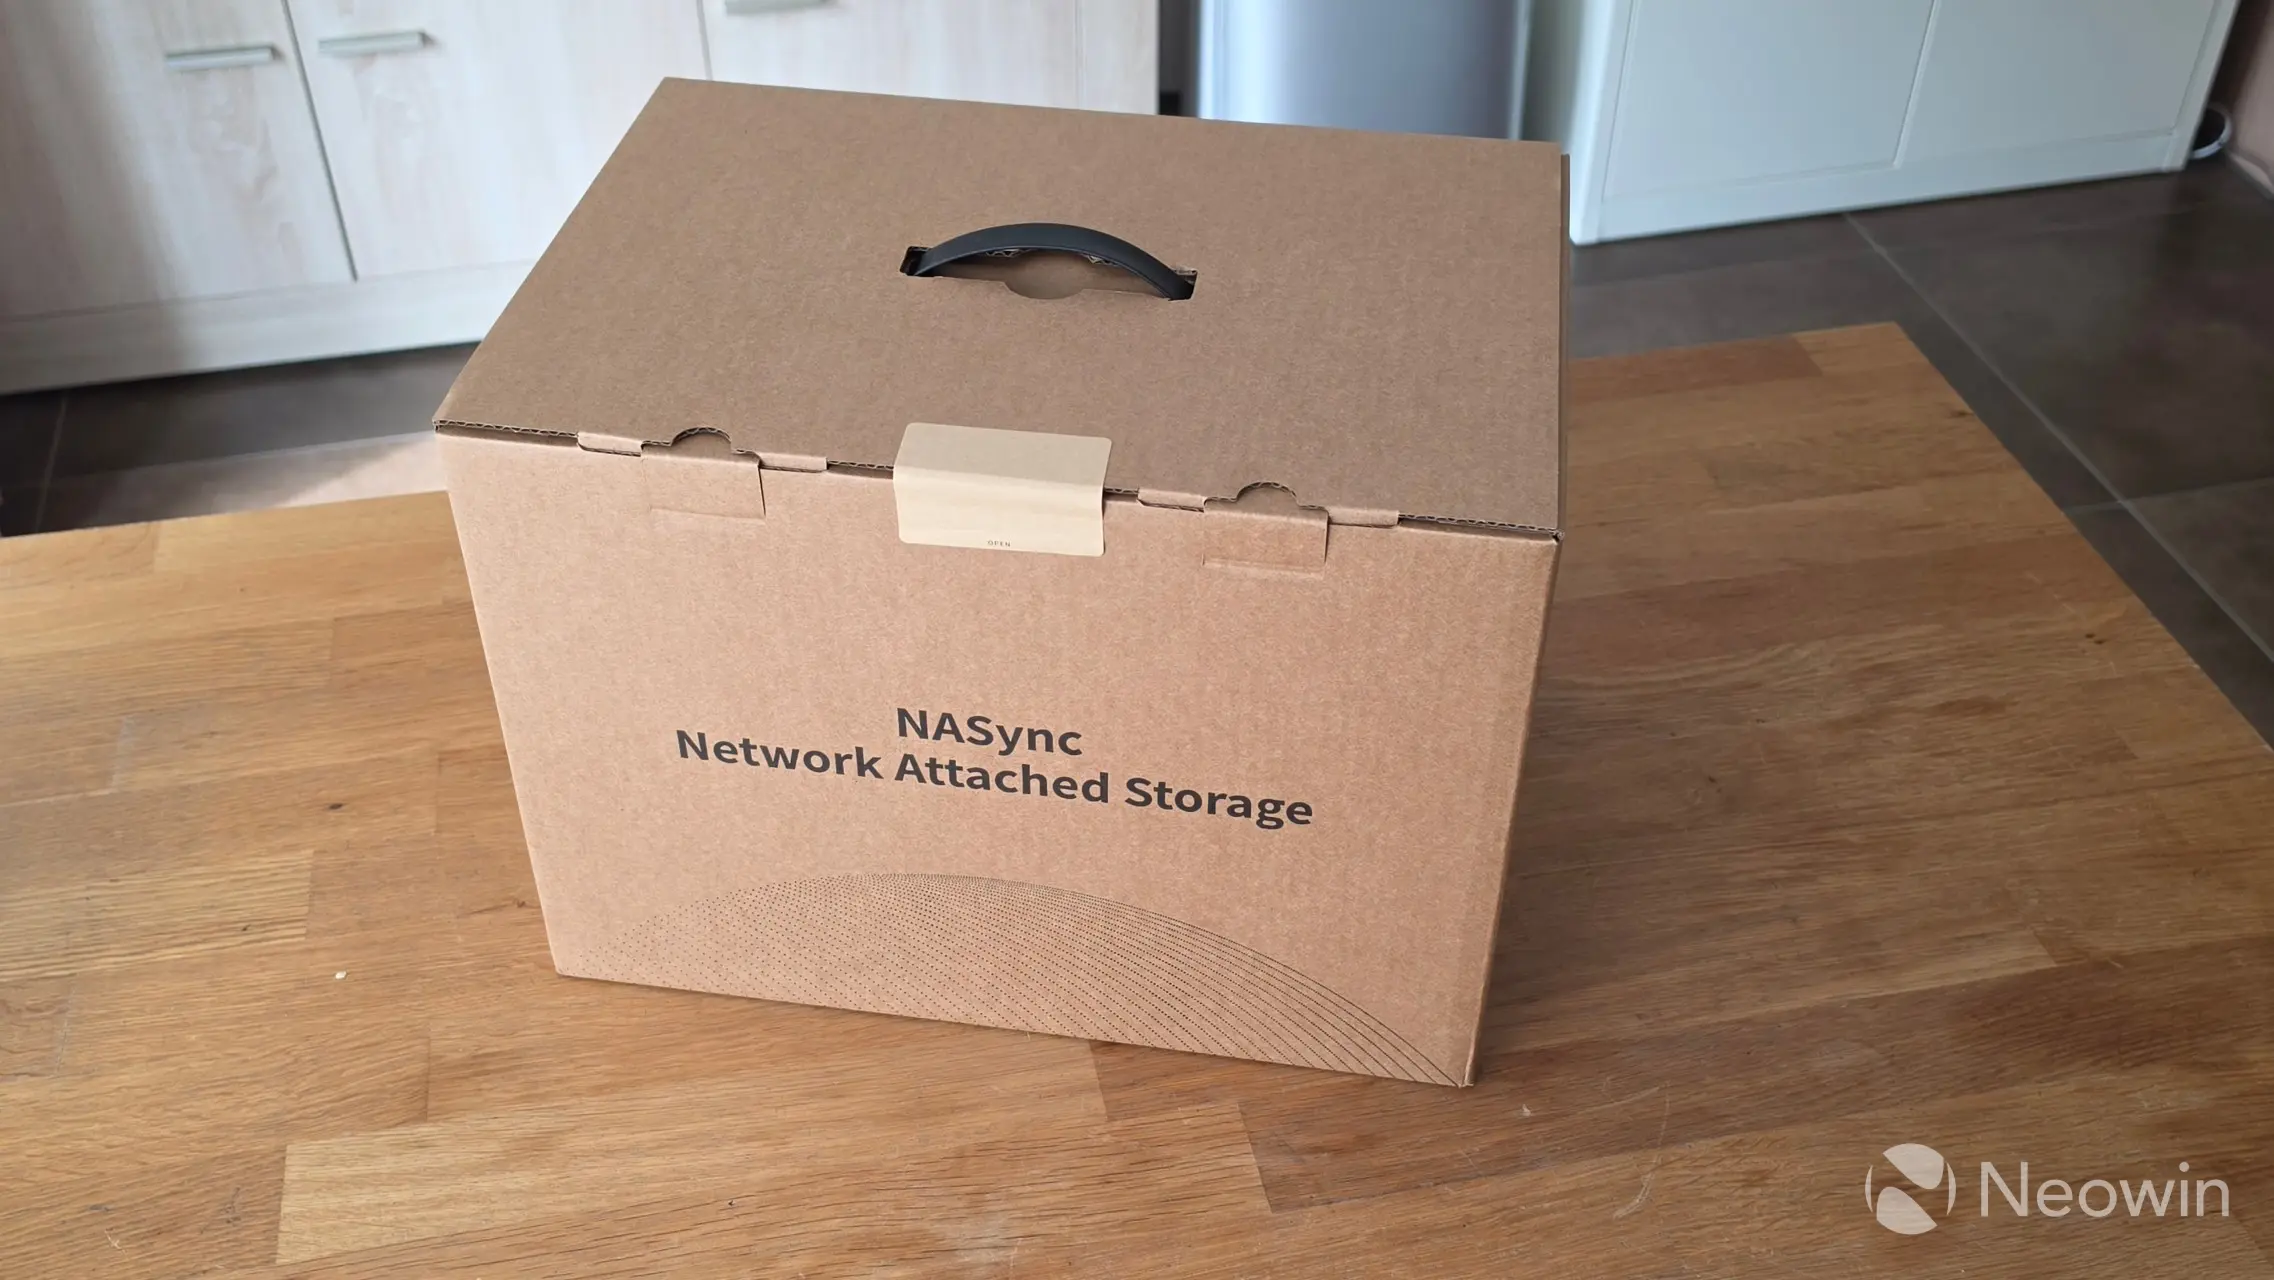
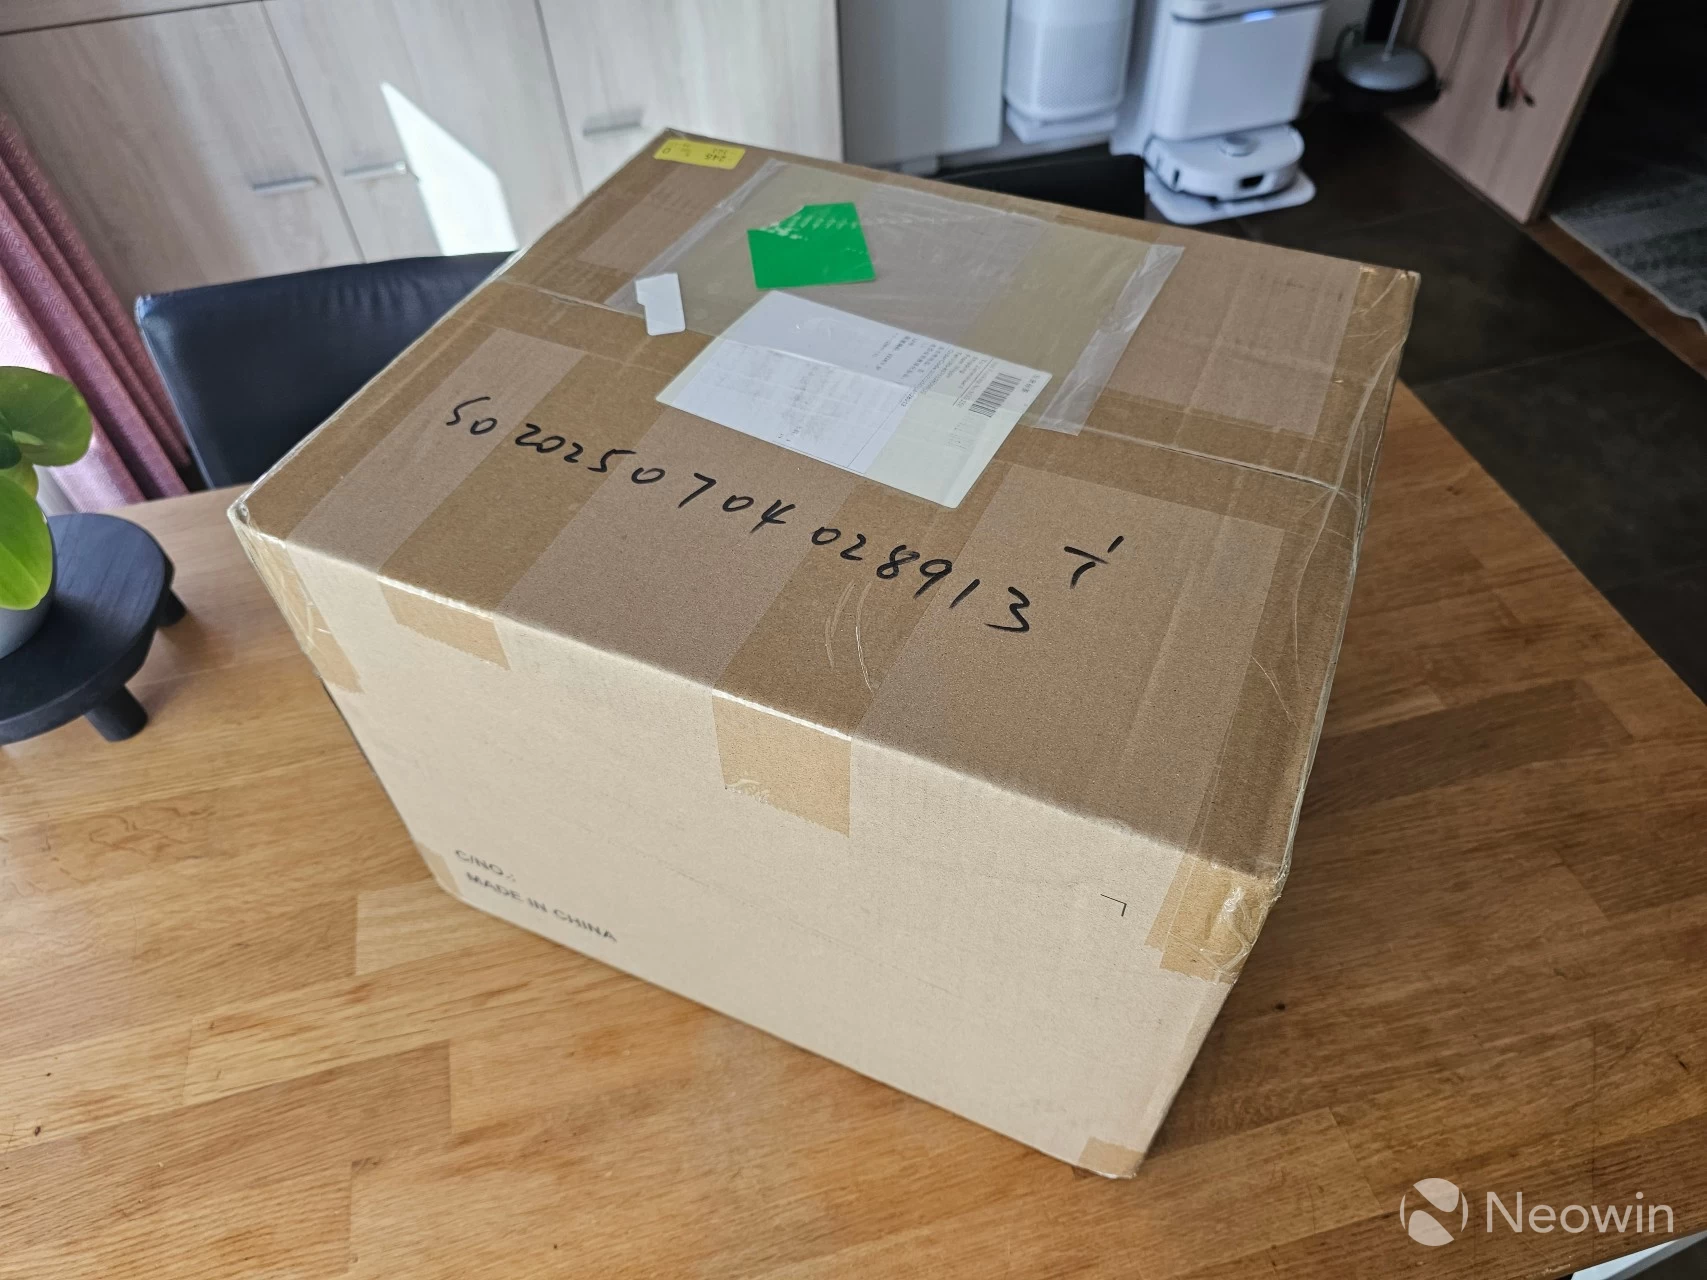
The DXP4800 Pro arrived in a large outer brown cardboard box, and upon opening it, the UGREEN box looks pretty cool with nice decals on the sides showing off the product. The DXP4800 Pro itself is protected by a foam cushioning with a compartment for the accessories box.
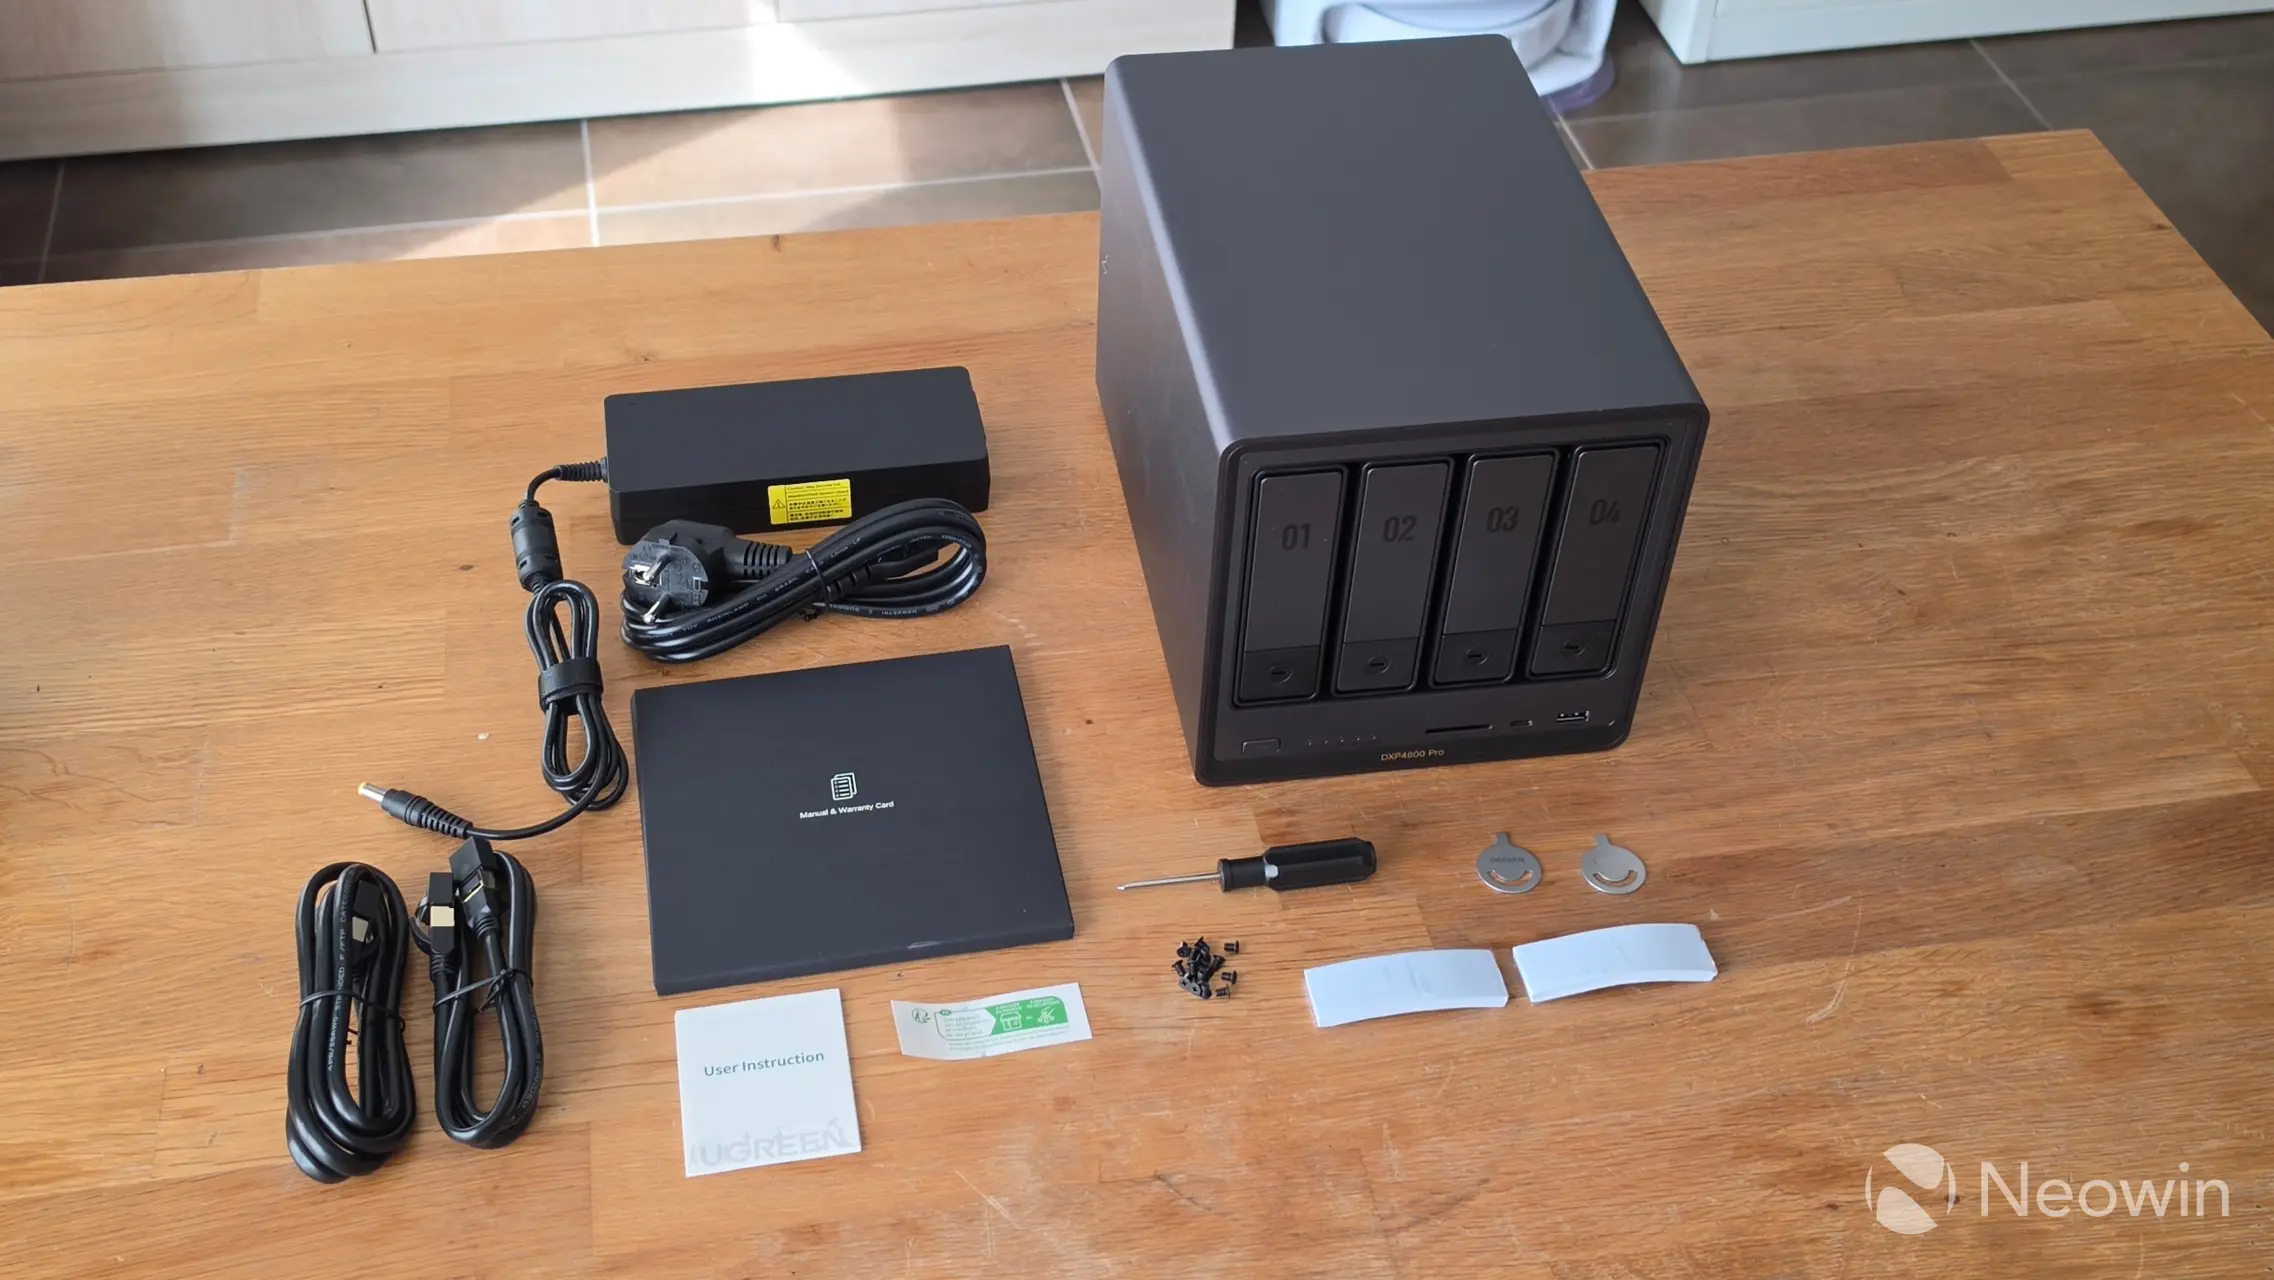
In the box
- NASync DXP4800 Pro device
- Power cable
- 2 x LAN cable (CAT 7)
- Quick guide [full online product documentation]
- Warranty card
- 2x SSD Thermal Pad
- Screws (for 2.5-inch SSD)
- 2 x HDD Tray key
- Screwdriver
- Stickers
UGREEN had already sent me a bunch of WD Red Plus 4TB NAS HDDs to use in previous reviews of their NAS hardware, so that is what I went with.
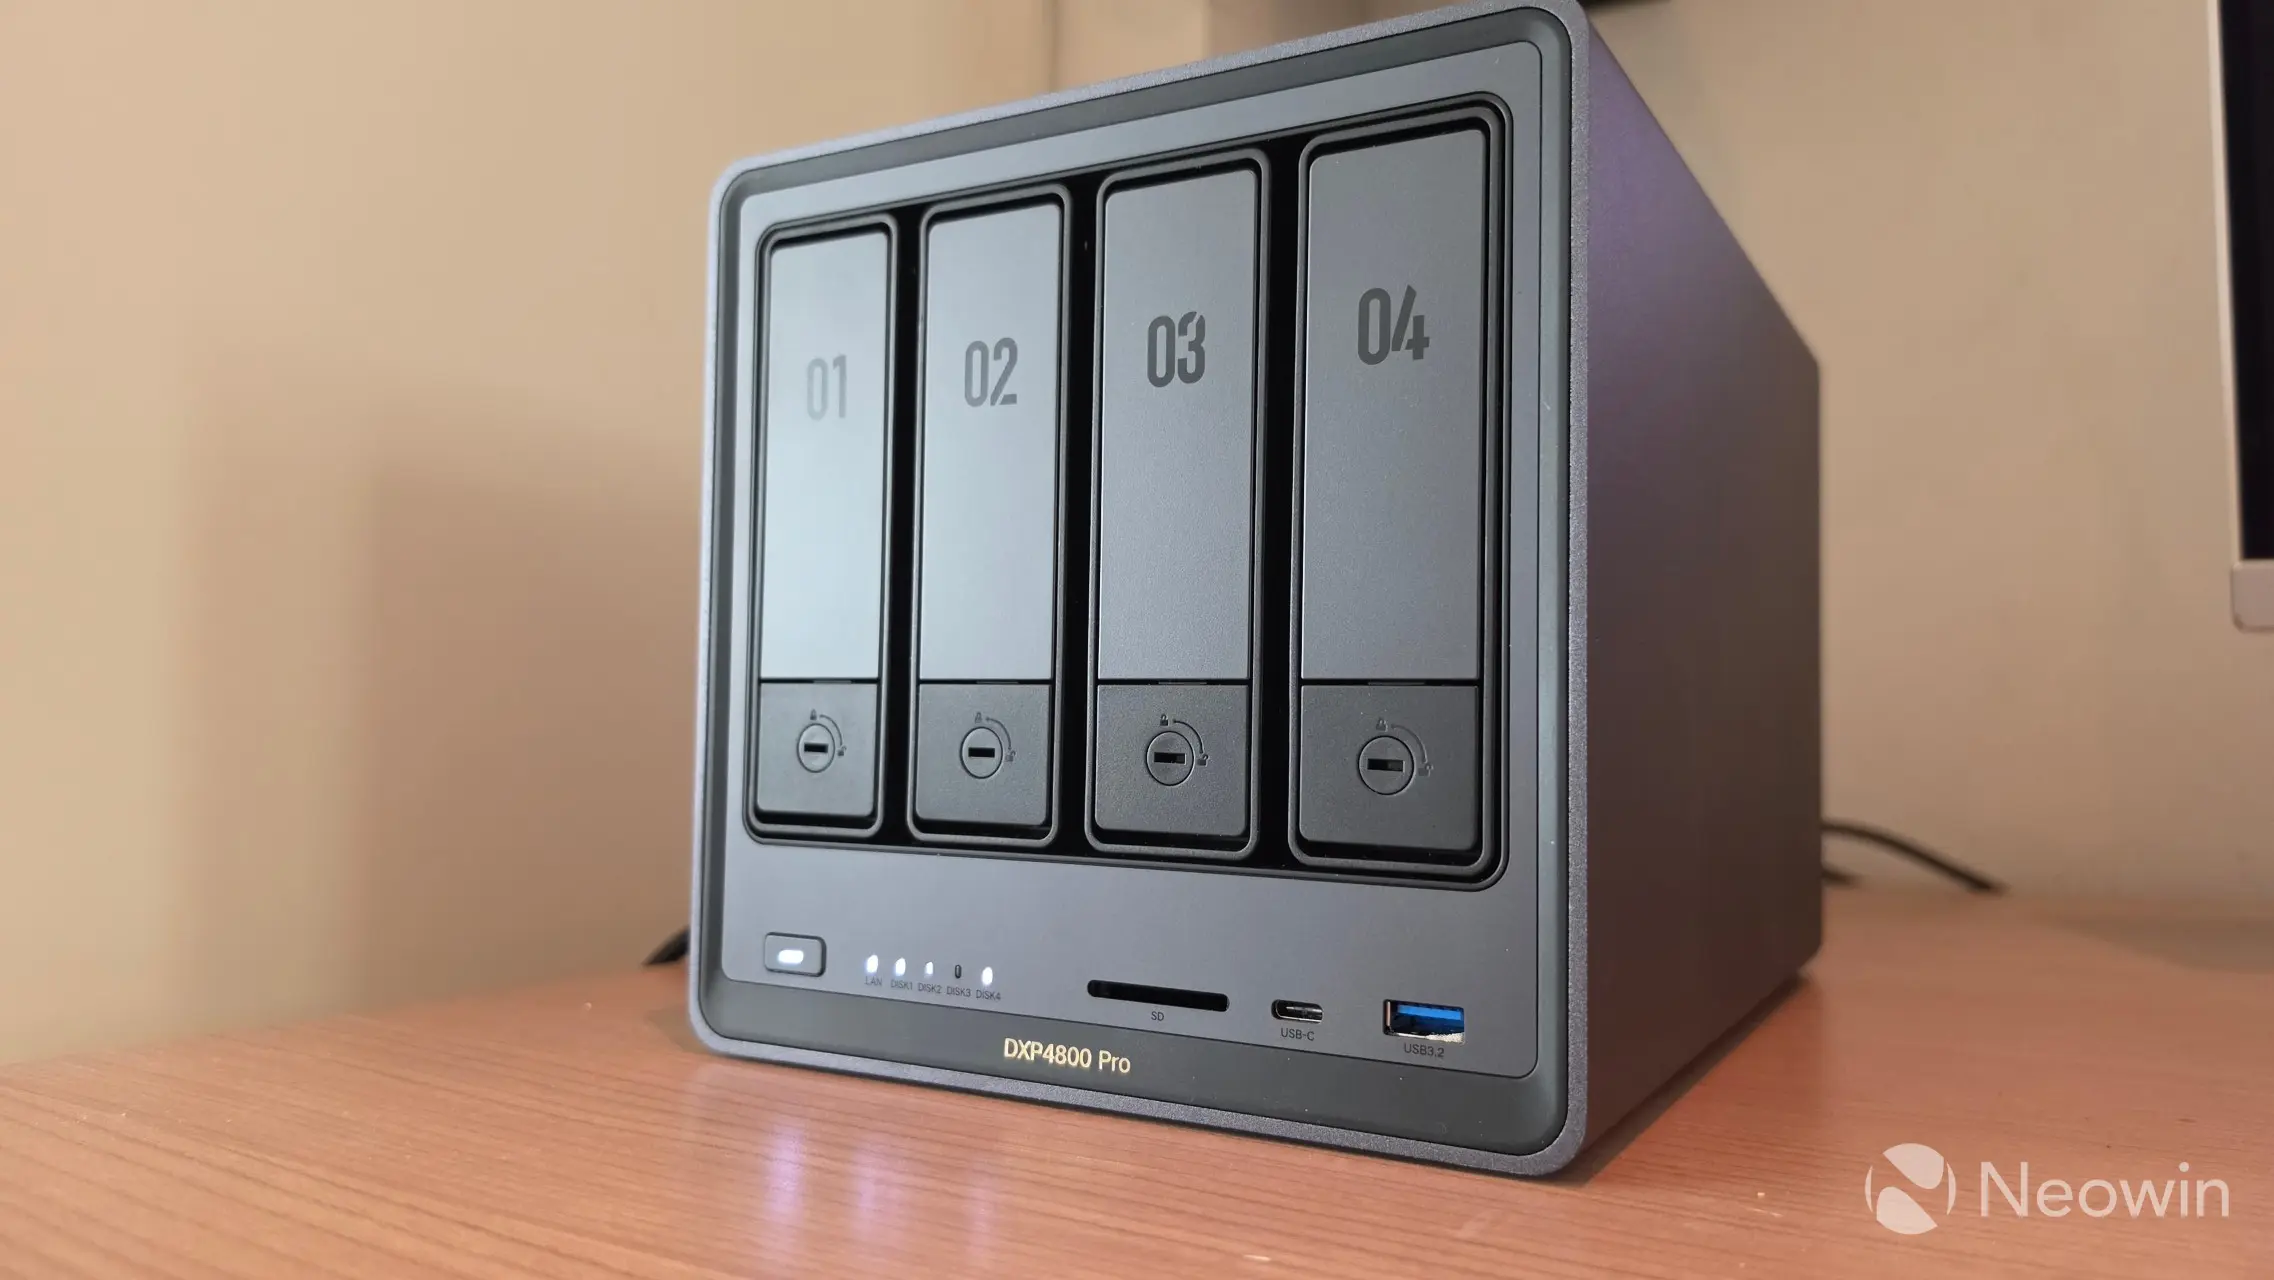
Design
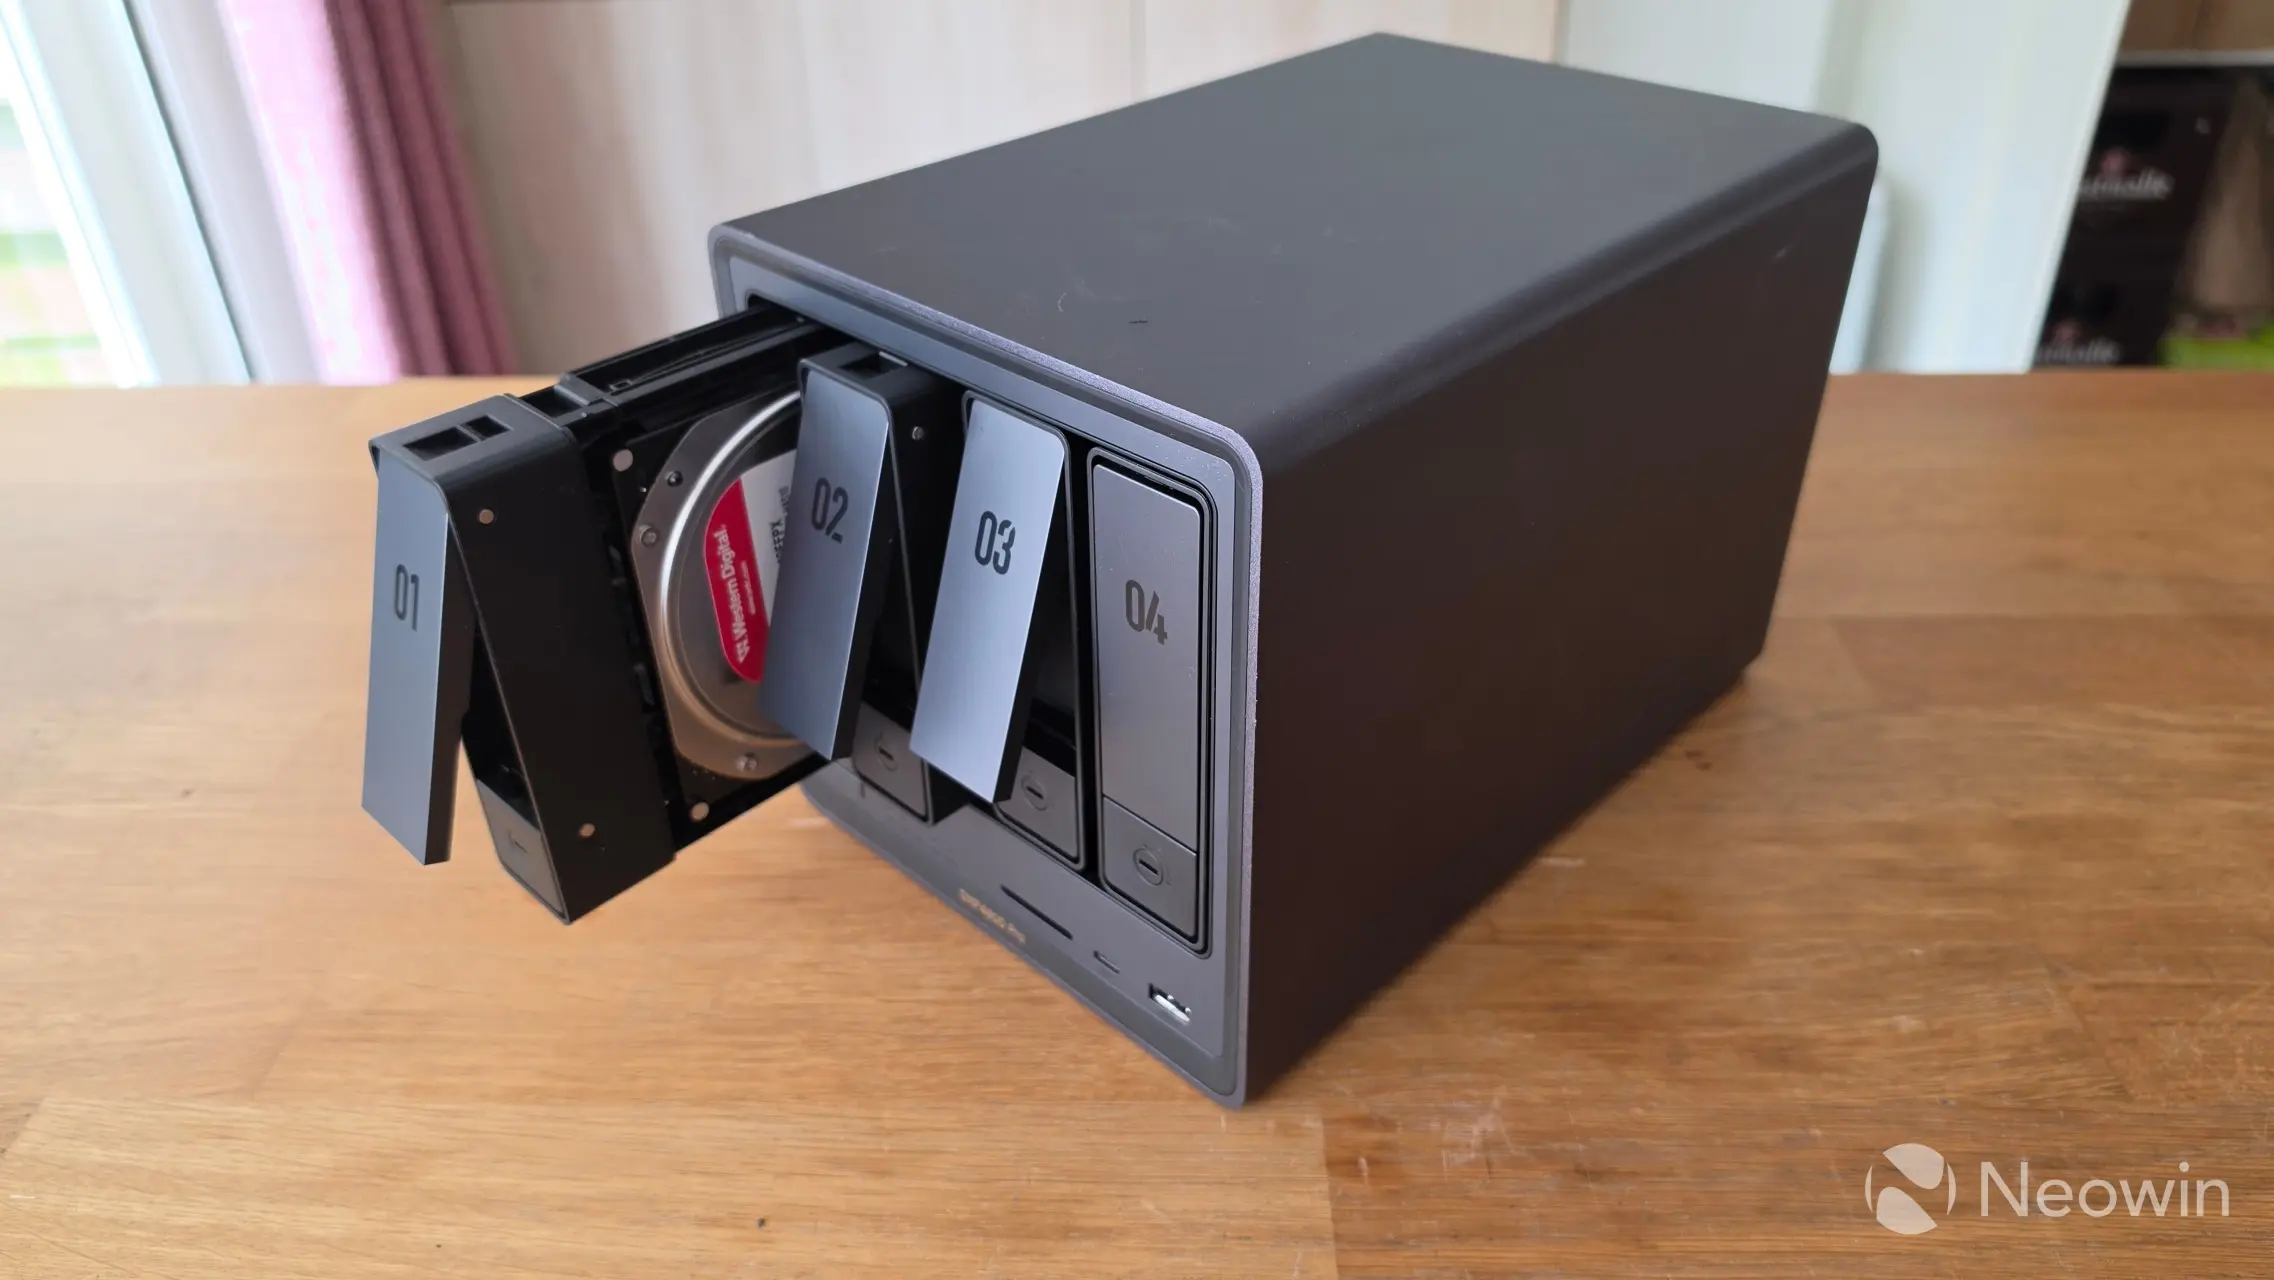
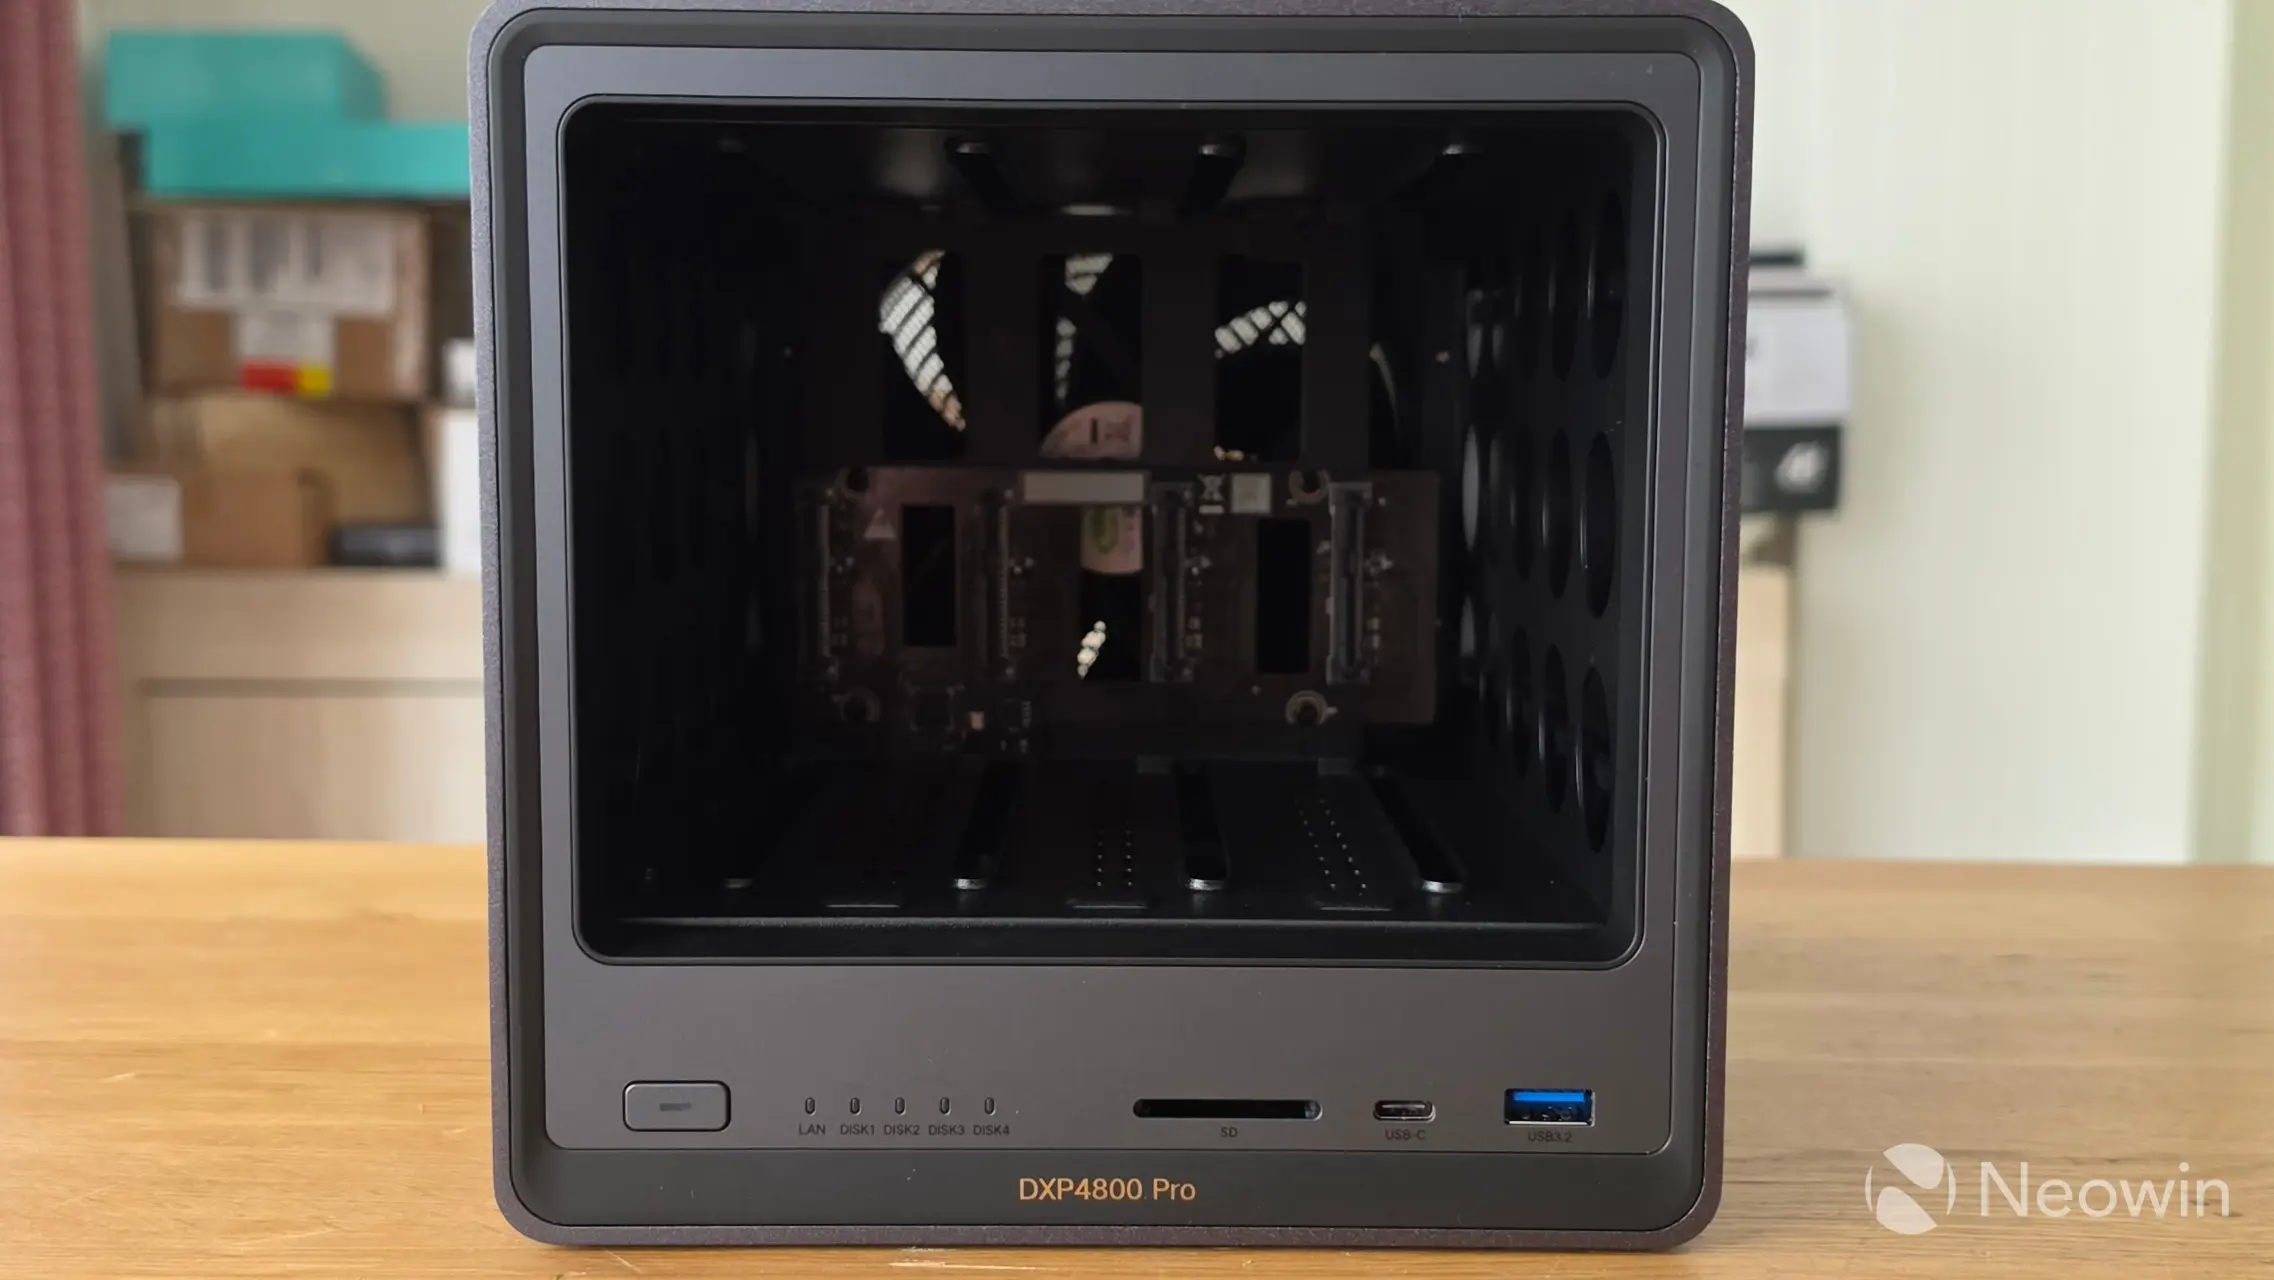
The exterior is a matte dark gray with black trim around the front and drive bays, but in real life, it looks much darker, almost black. It's also not a fingerprint magnet. The shape of the DXP4800 Pro follows a traditional NAS design, so no surprises here. The rounded edges look pretty cool as well. Overall, it's a very nice-looking device; the cherry on top is that it does not slap a sticker on the front with the model number, it is embedded with slightly raised gold lettering on the front.
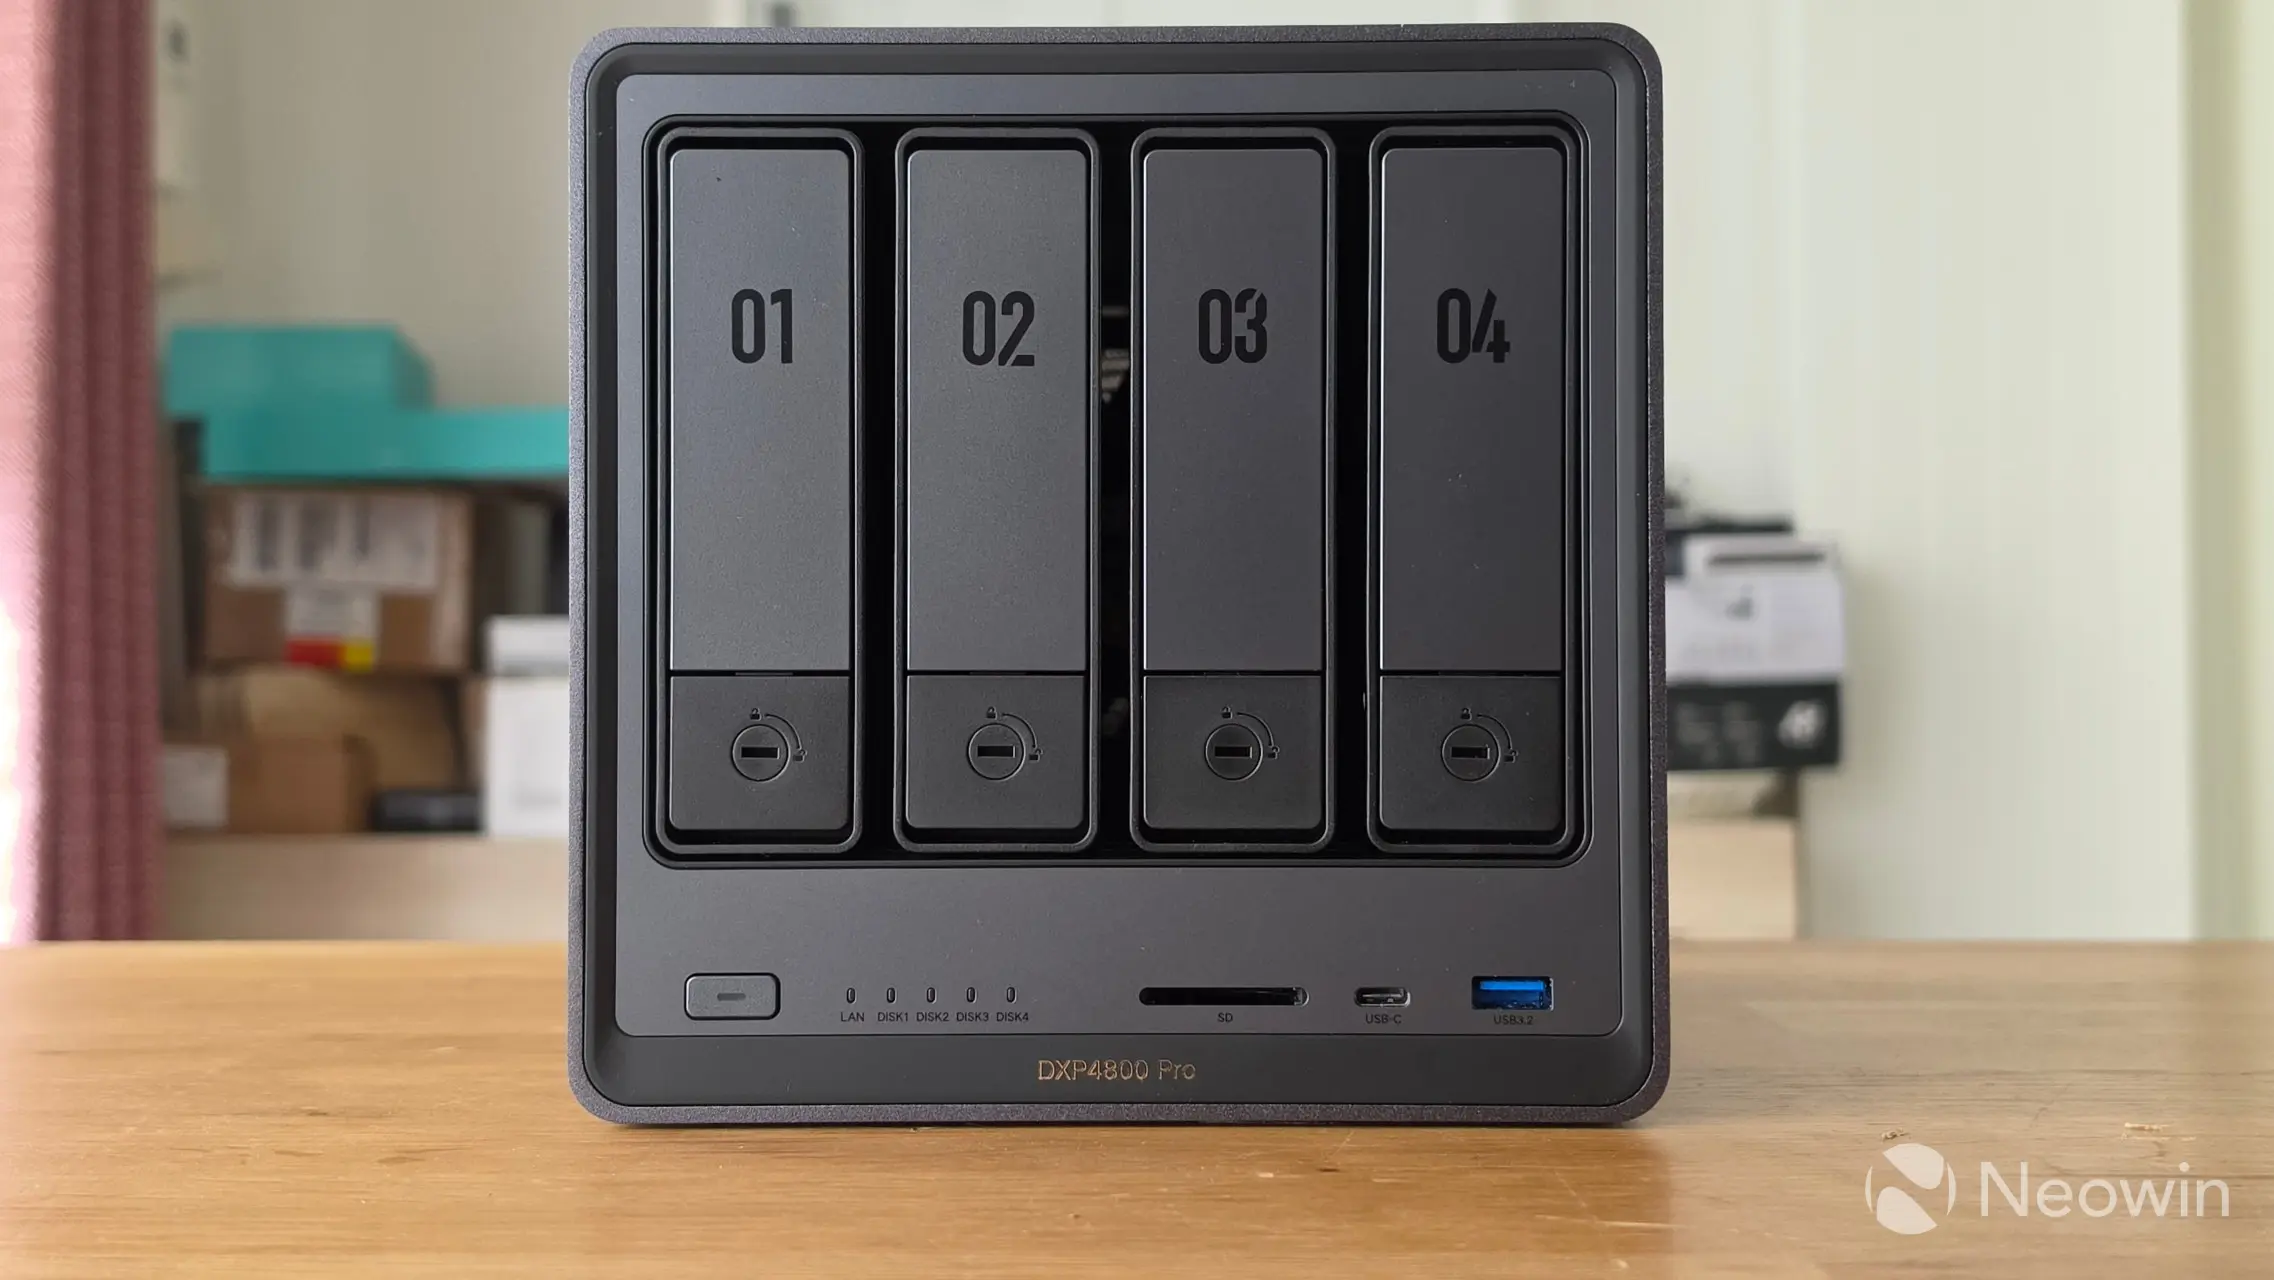
On the front, you have your four bays, which are all numbered. Then below that and from left to right, you have the power button, which lights up when powered on, five LEDs, with the first indicating LAN activity, the others (when white) show disk activity, (when orange) indicates a disk error, then there's a slot for an SD card, one Type-C and another Type-A USB 3.2 Gen 2 port.
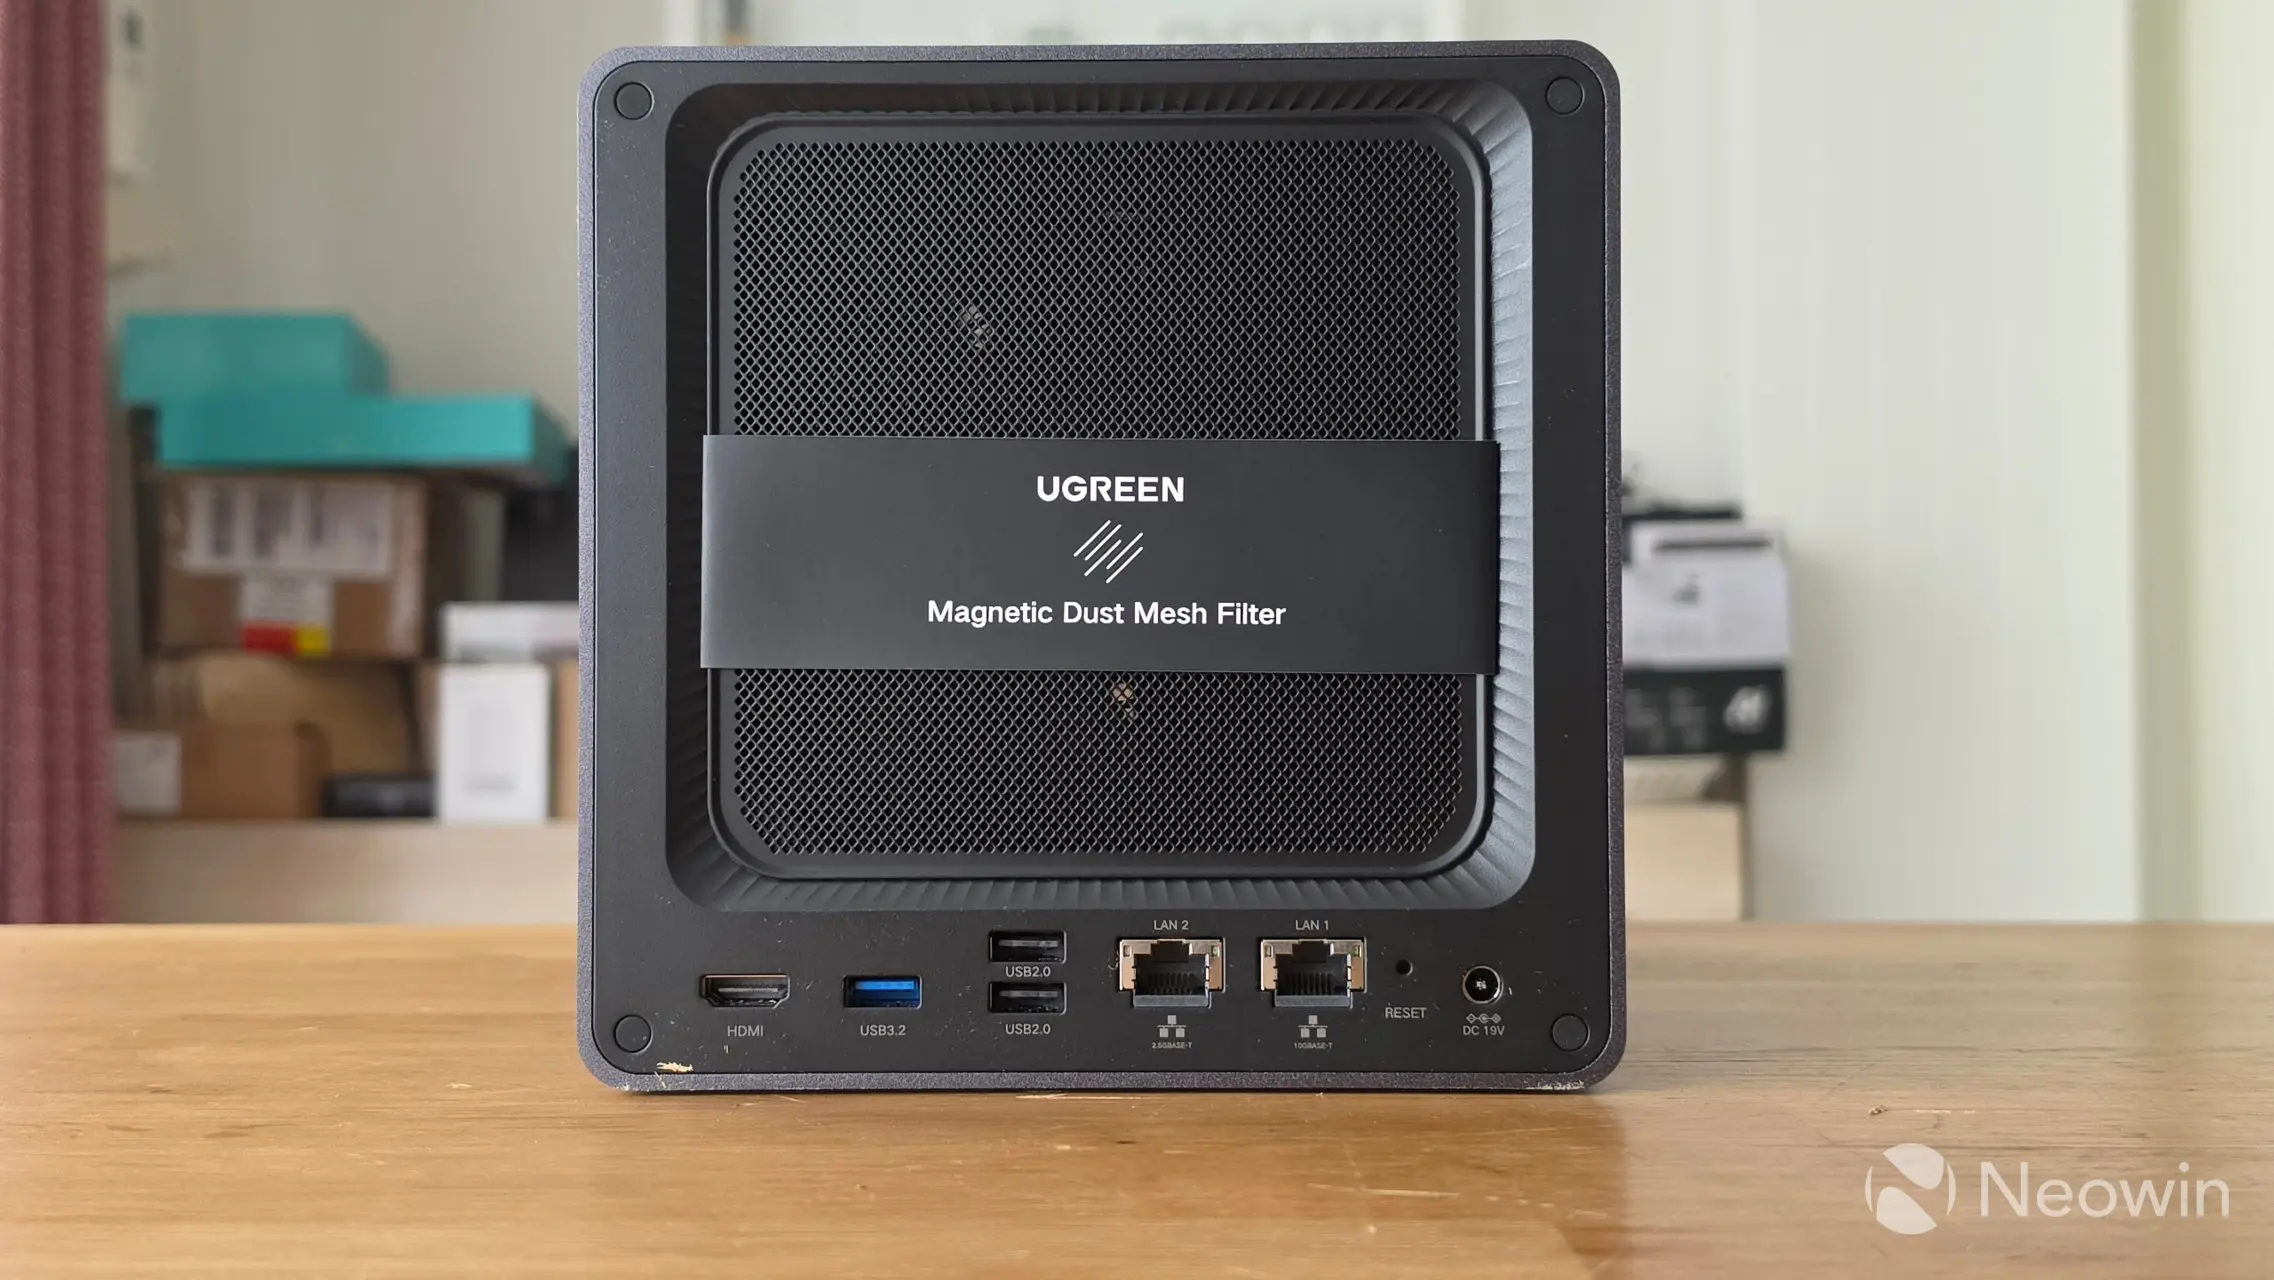
Around the back, there's a magnetic Dust Mesh Filter (yes, I did remove the cardboard sleeve before powering on). Then at the bottom from left to right you have, a HDMI port, two Type A USB 2.0 ports, one 2.5GbE port and a 10 GbE LAN ports, a reset pinhole, and a barrel port power connector; there's no Kensington Slot on this model which is a shame because it is a data storage device, you should be able to secure it if you want.
| Left side | Right side |
|---|---|
|
|
|

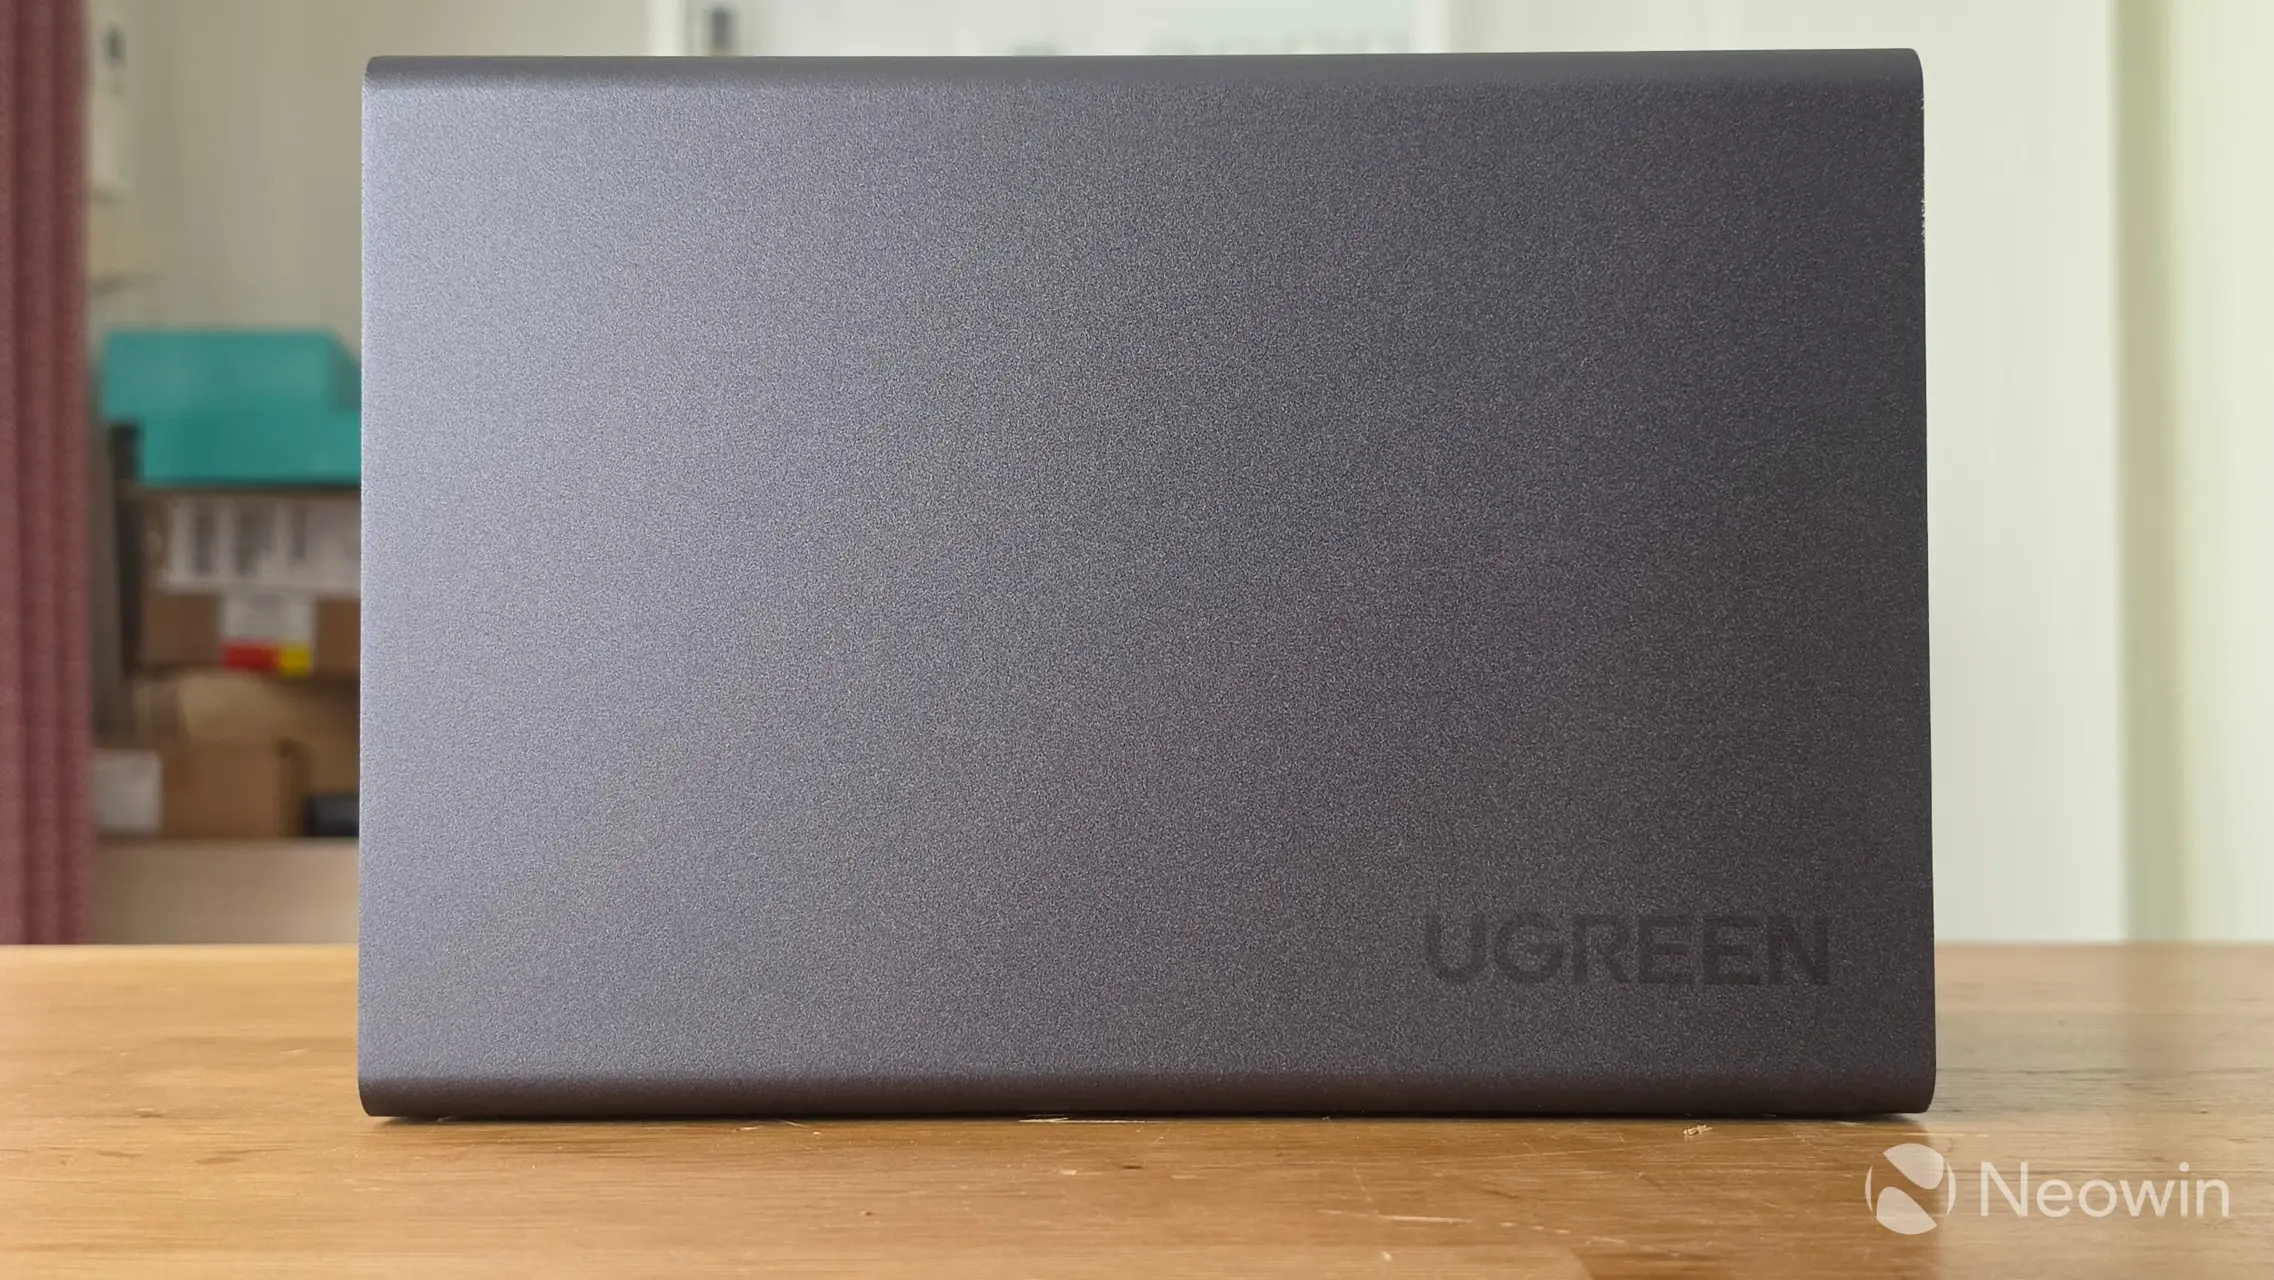
On the left and right of the DXP4800 Pro, it is completely smooth with just a UGREEN logo embedded into the metal casing at the bottom rear of each side.
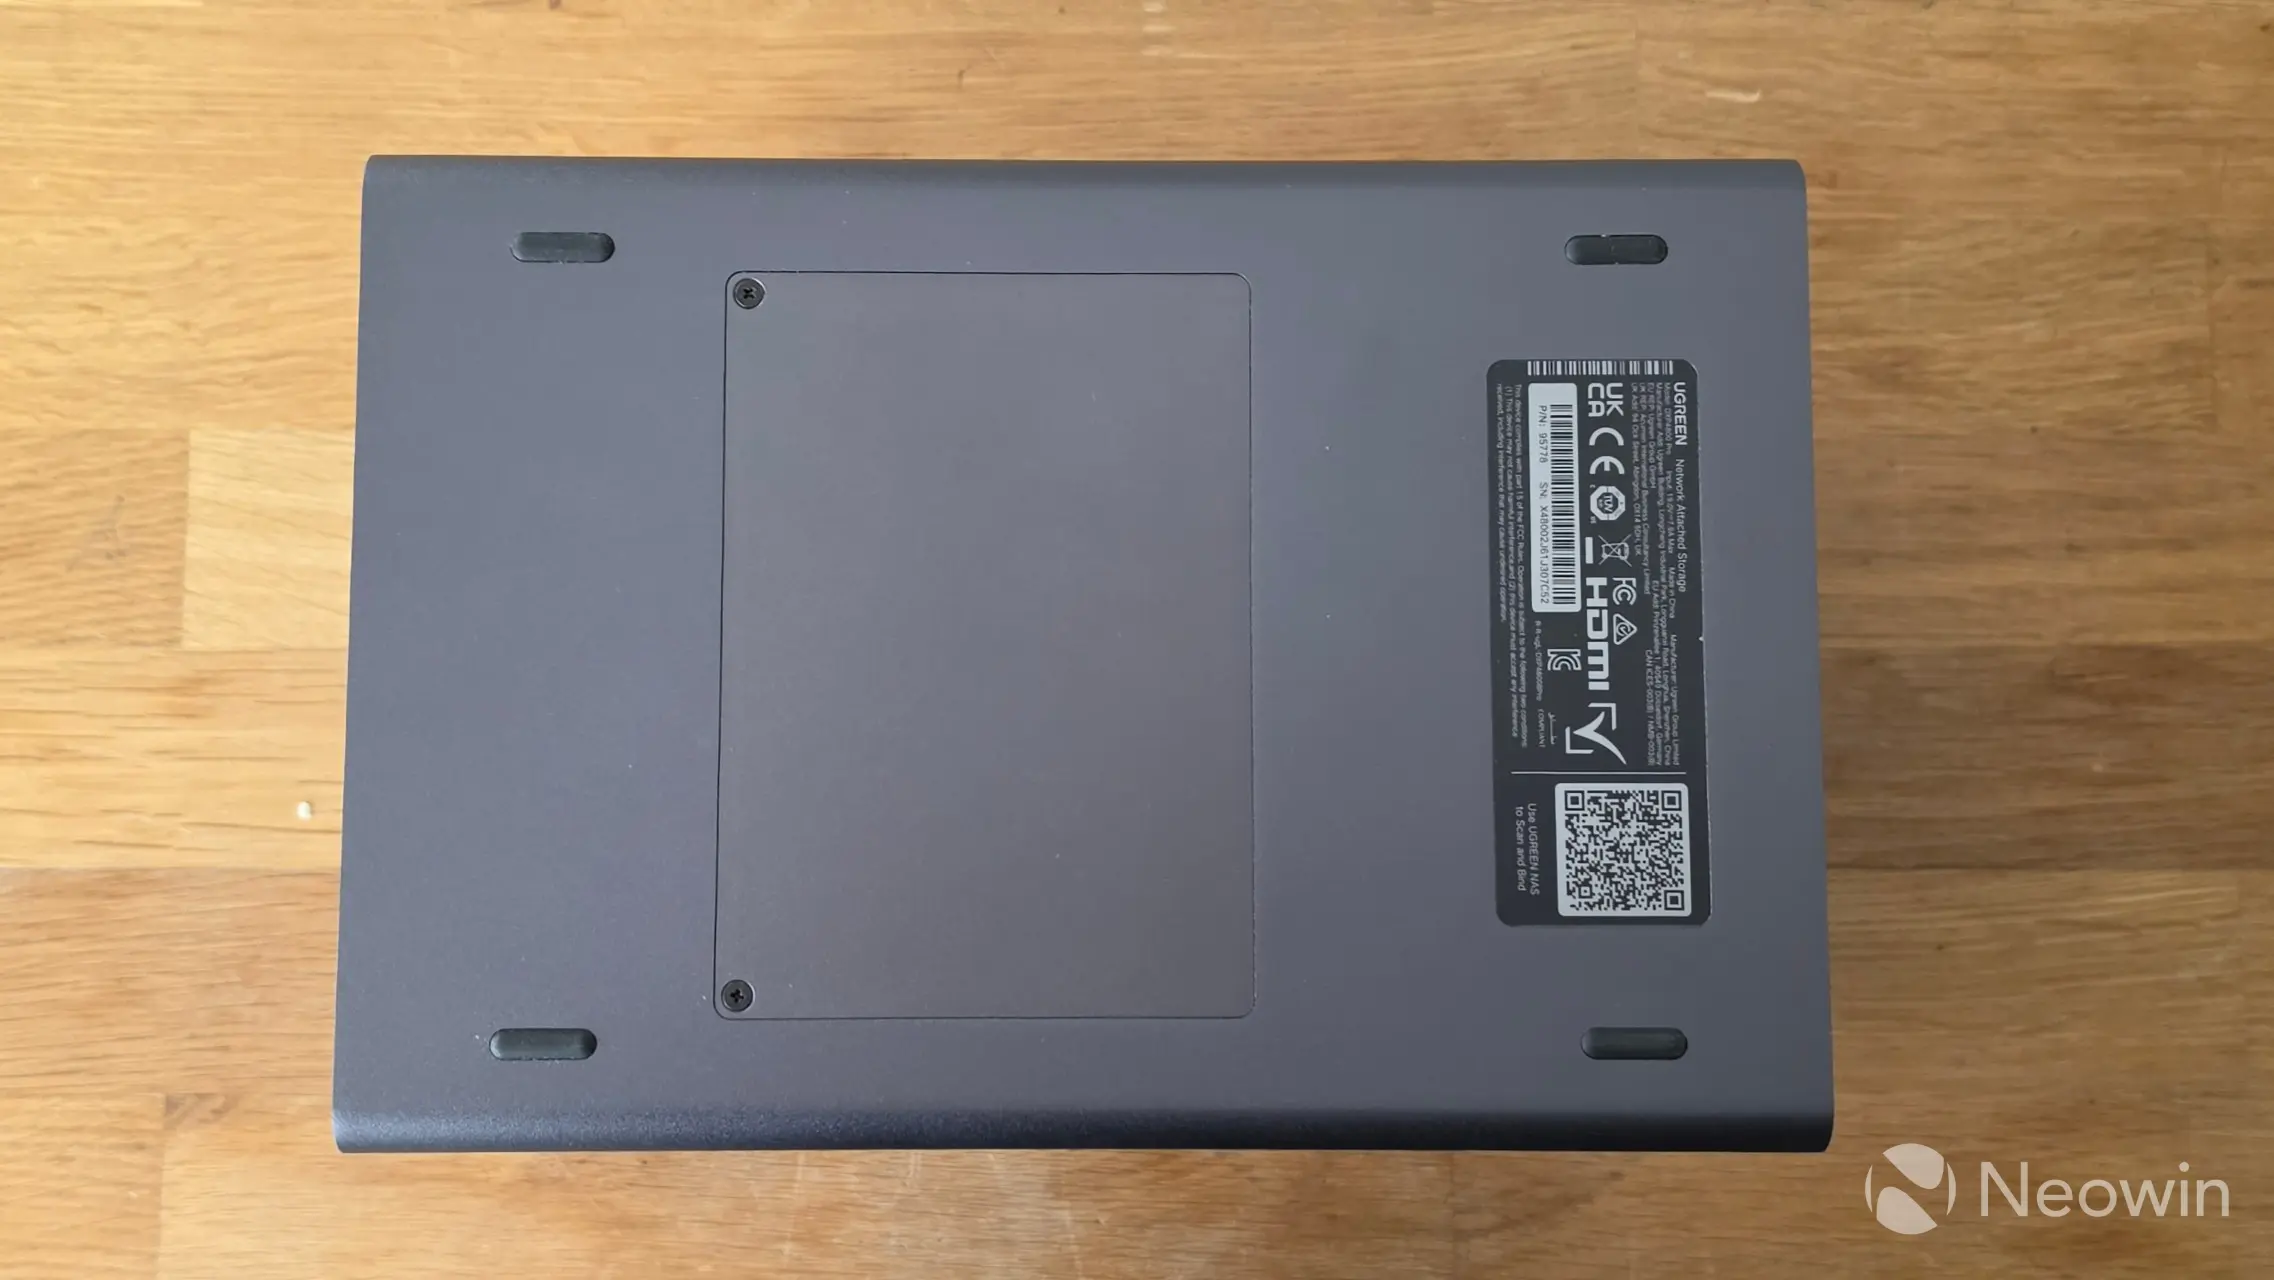
On the bottom, the four rubber feet are stuck on and give a height of around 0.3mm, and although there are no grills for heat dissipation on the bottom, the "door" of the M.2 SSDs and memory does get quite warm, so it makes sense to have some height there in order to expel some of that heat if you can. I am not sure why UGREEN opted to go with tiny rubber standoffs for feet; they should be half a centimeter at least in height if you ask me.
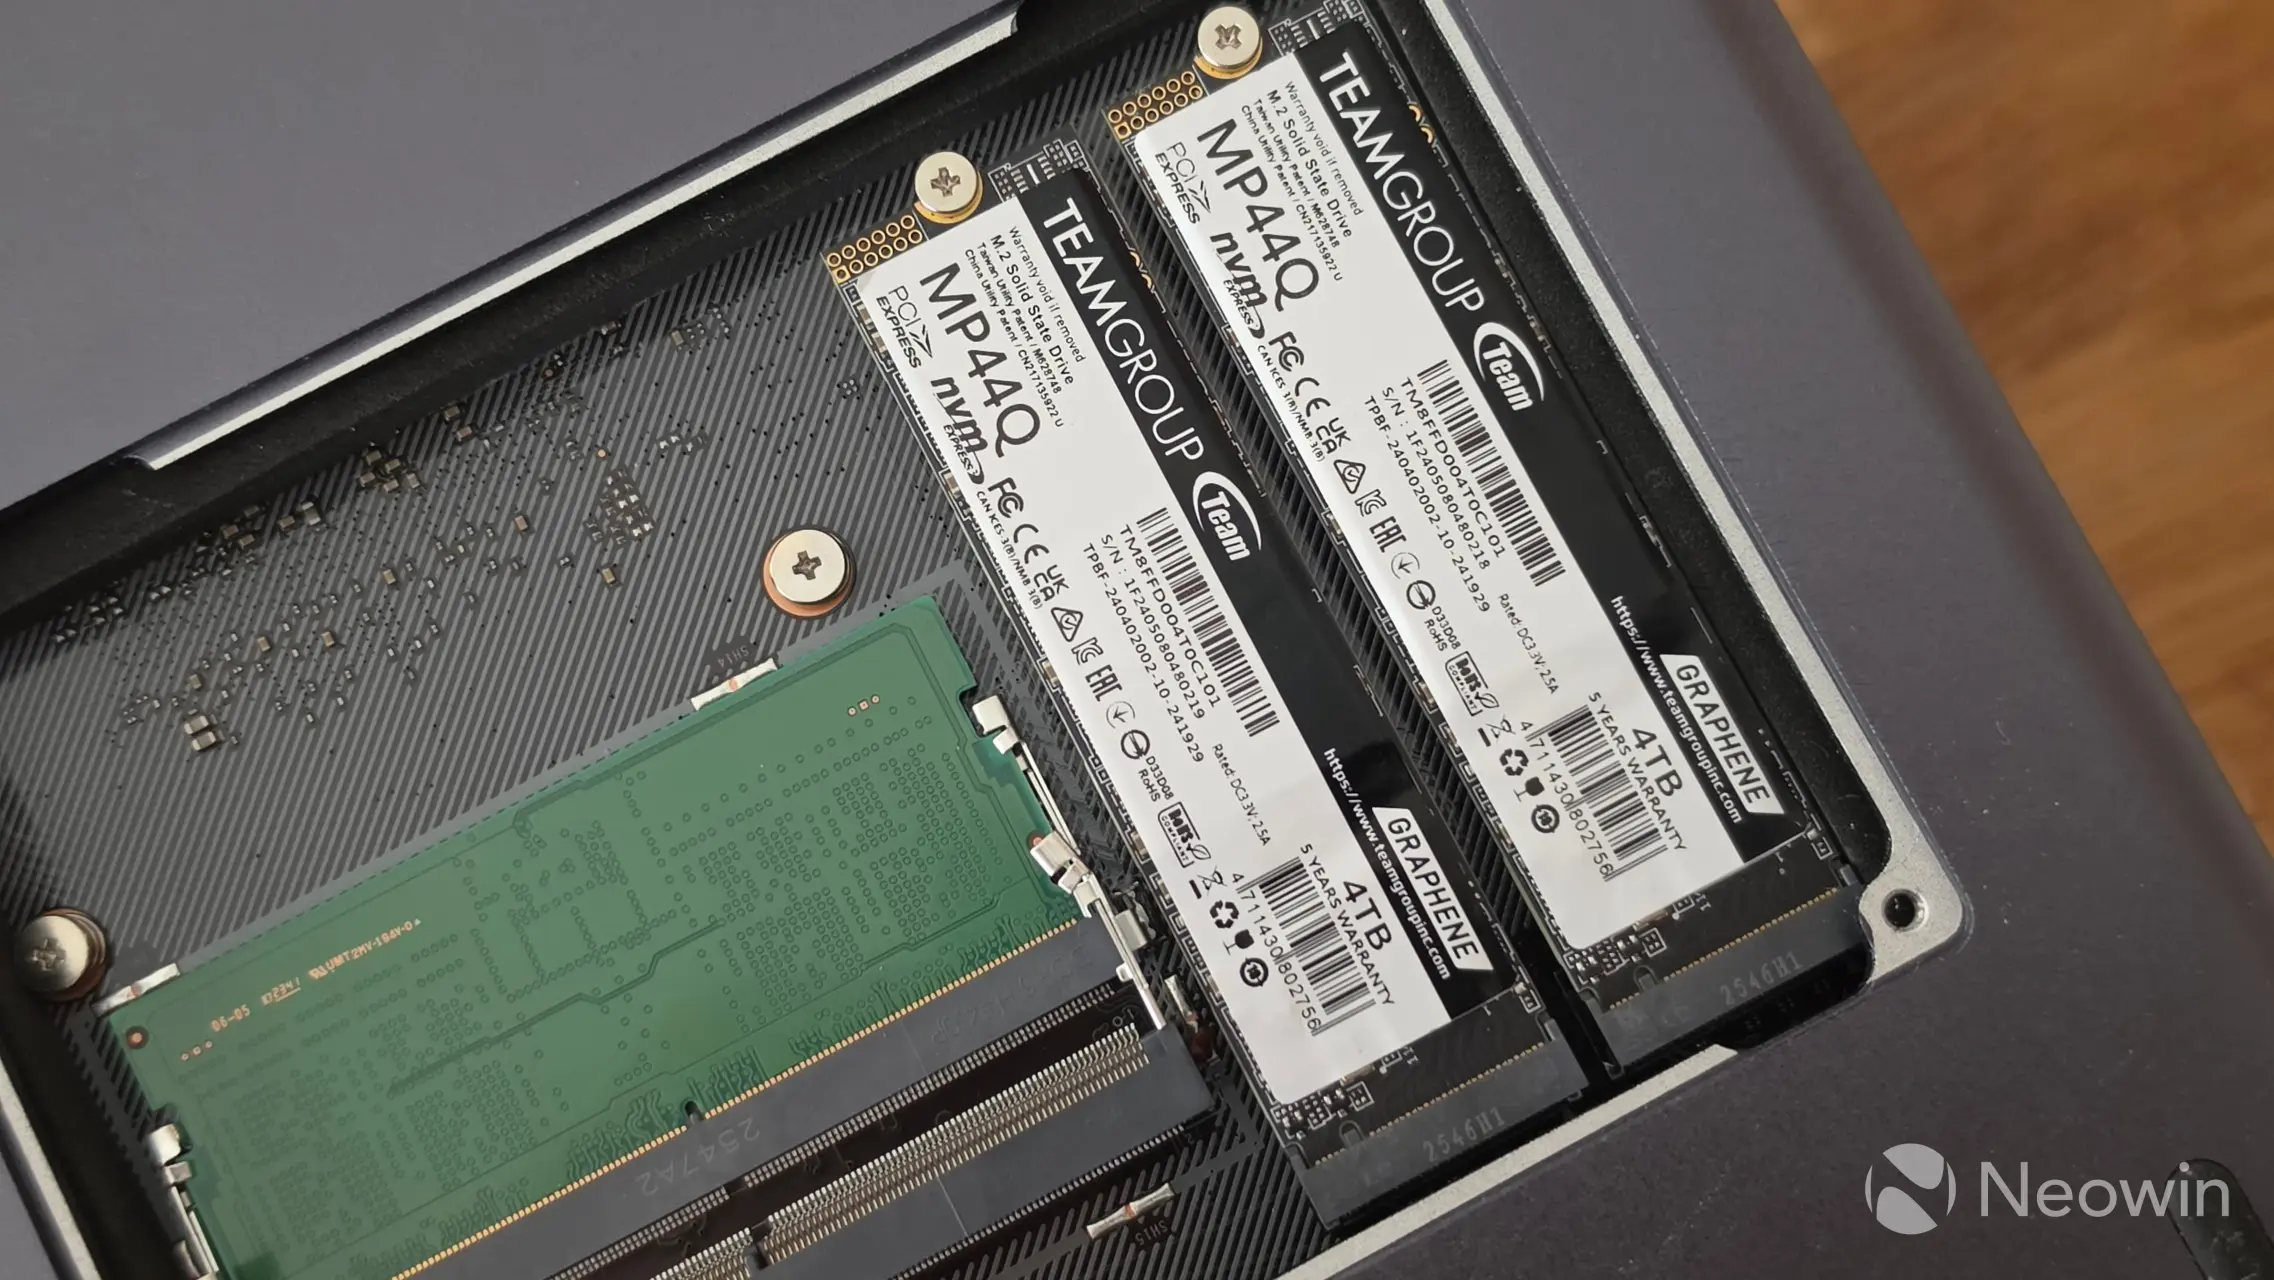
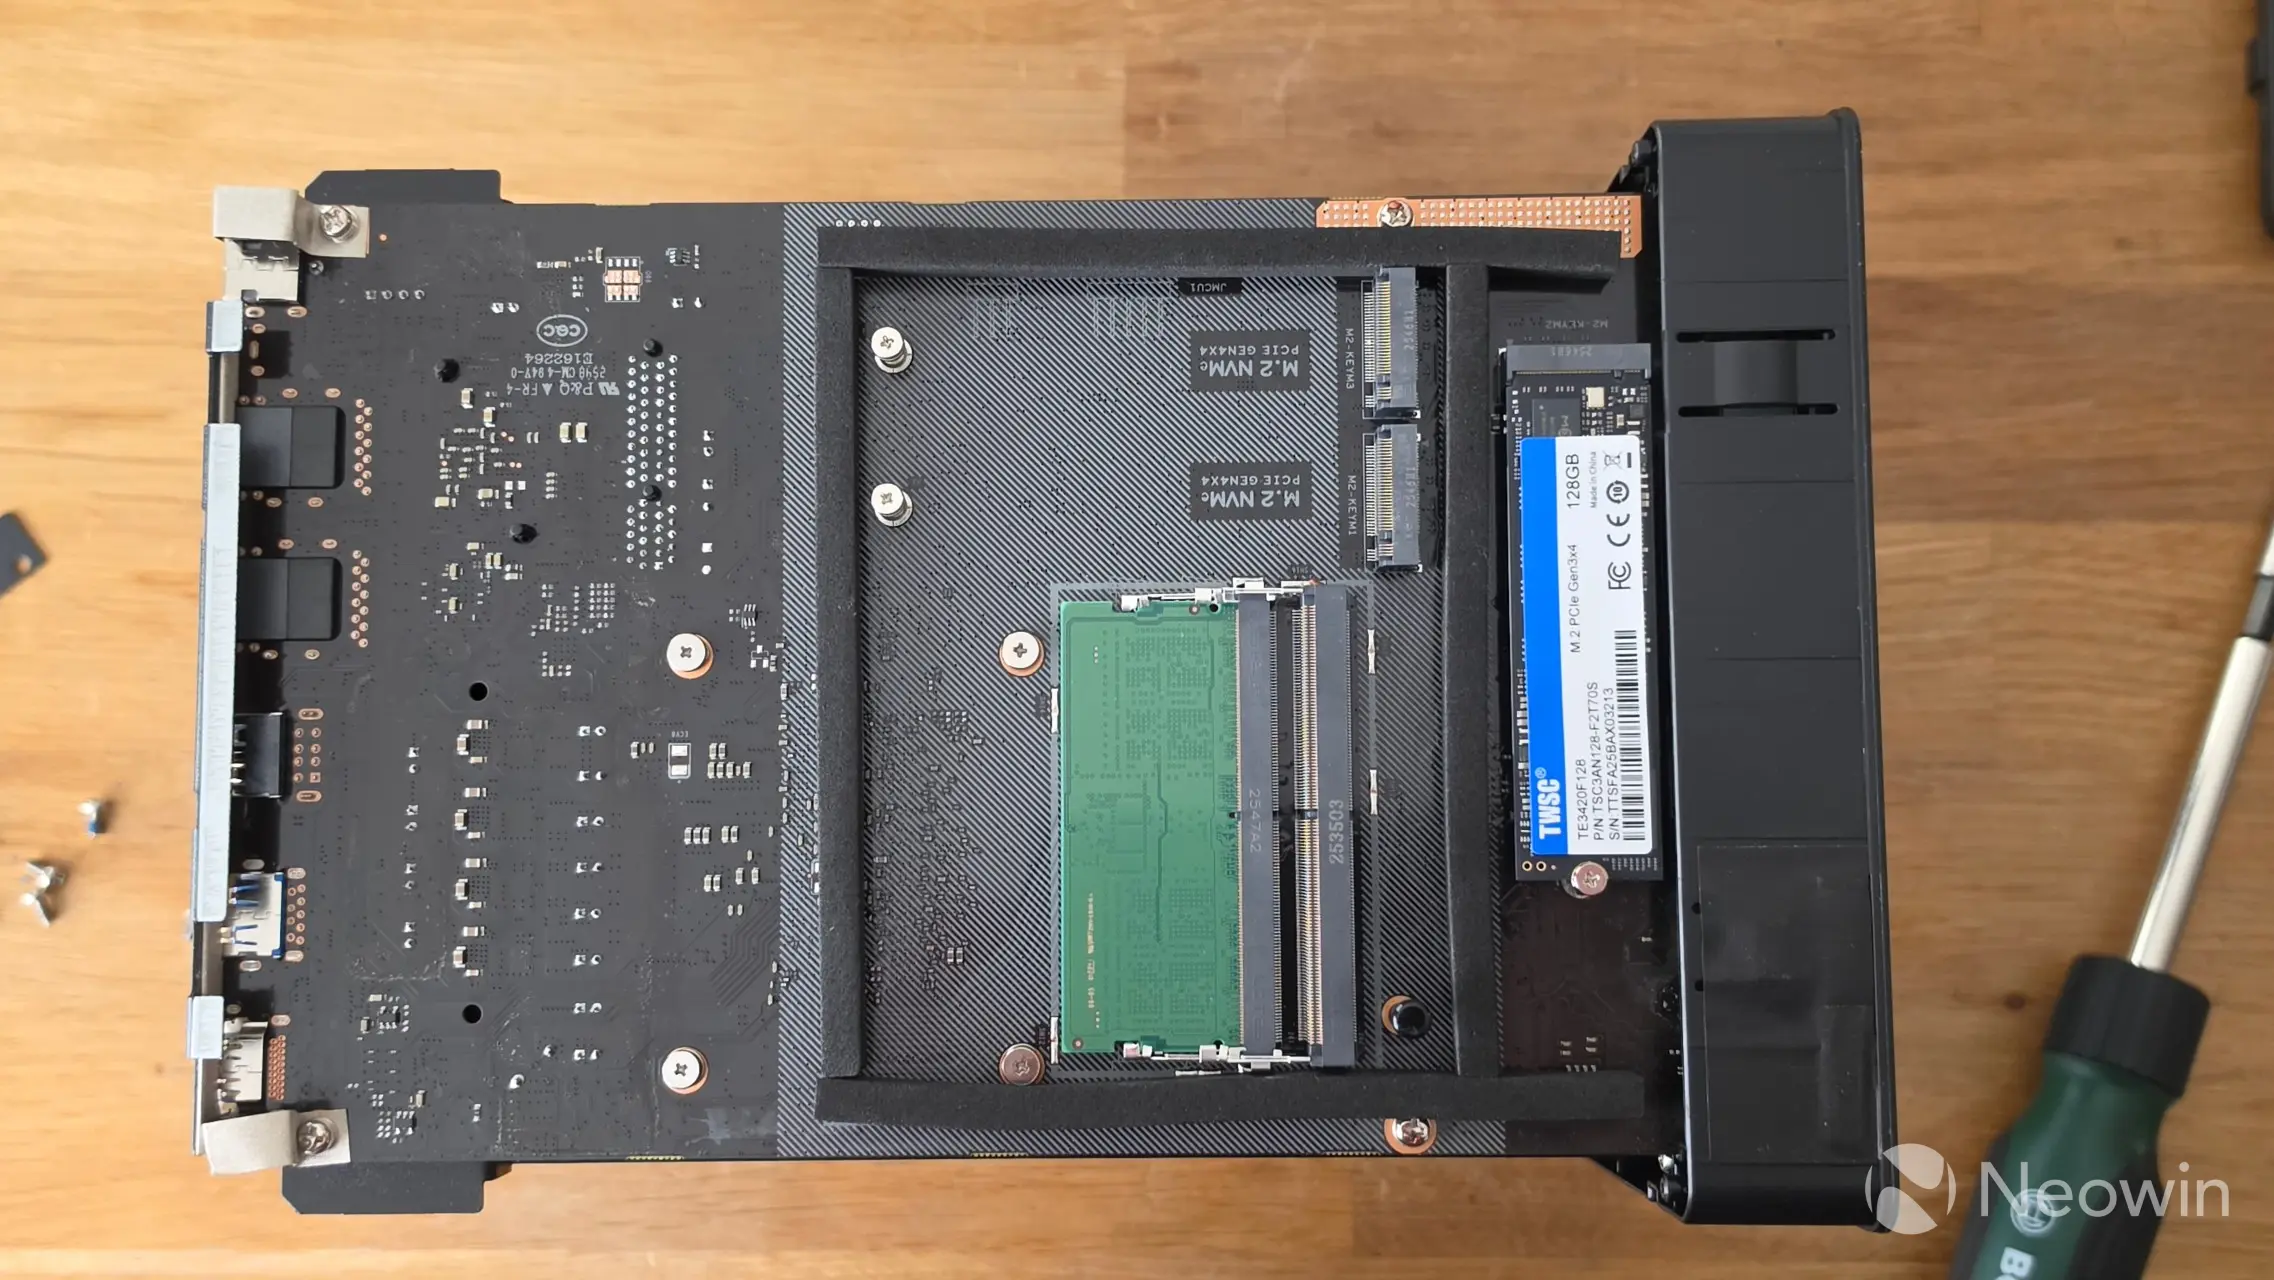
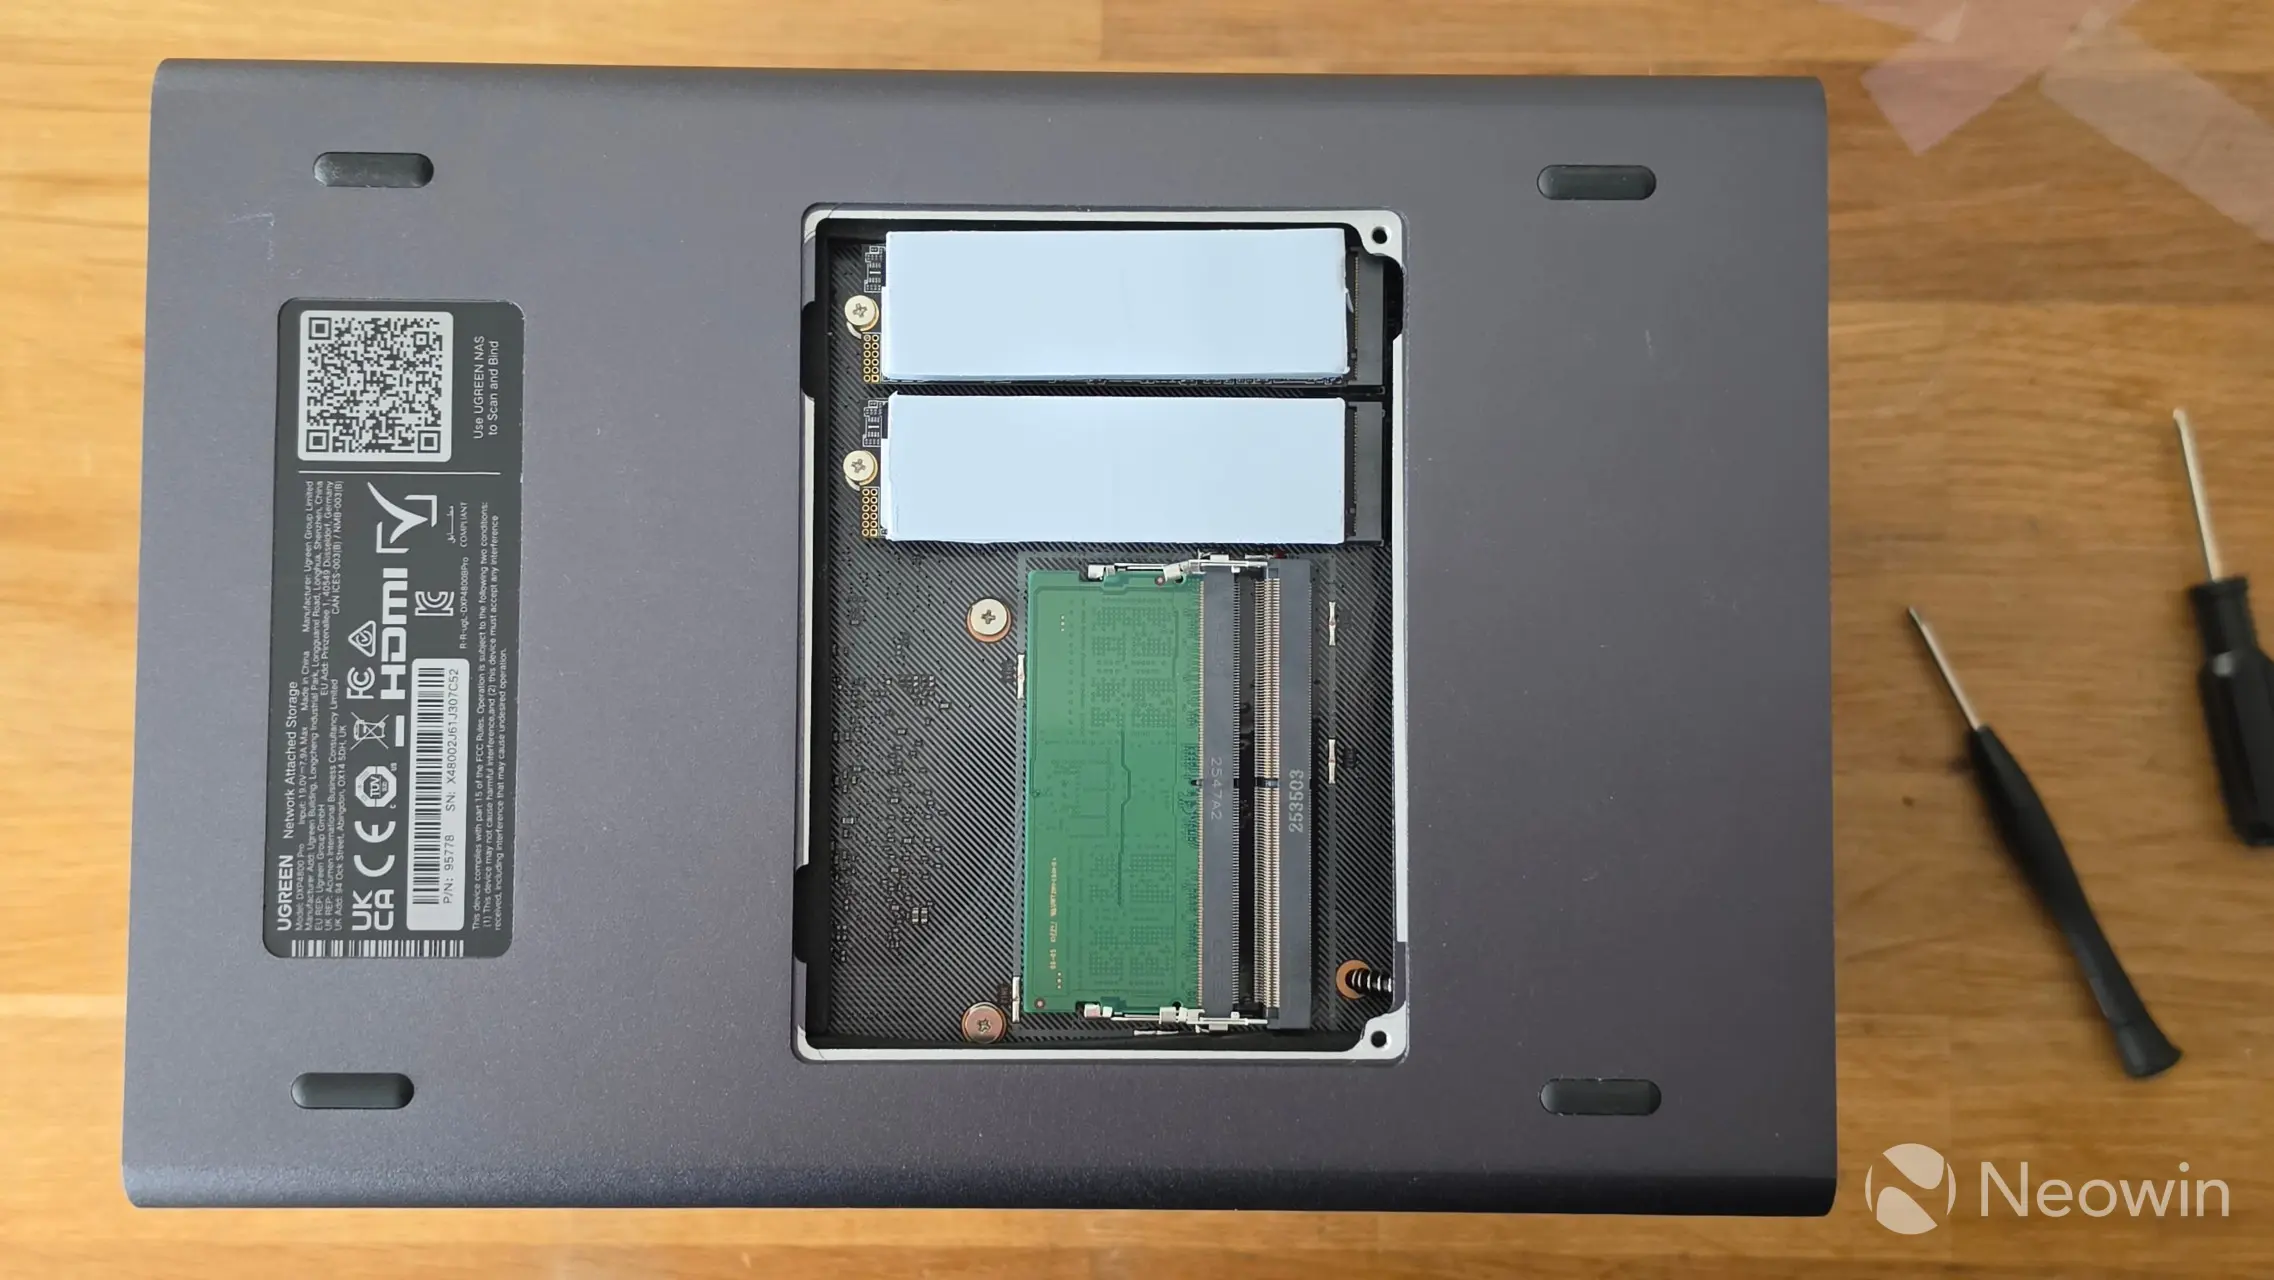
Upon removing a couple of screws for the bottom "door," you can access the memory and M.2 slots. The DXP4800 Pro comes preinstalled with 8GB of DDR5 (5600 MT/s) memory, although it supports up to 96 GB kits.
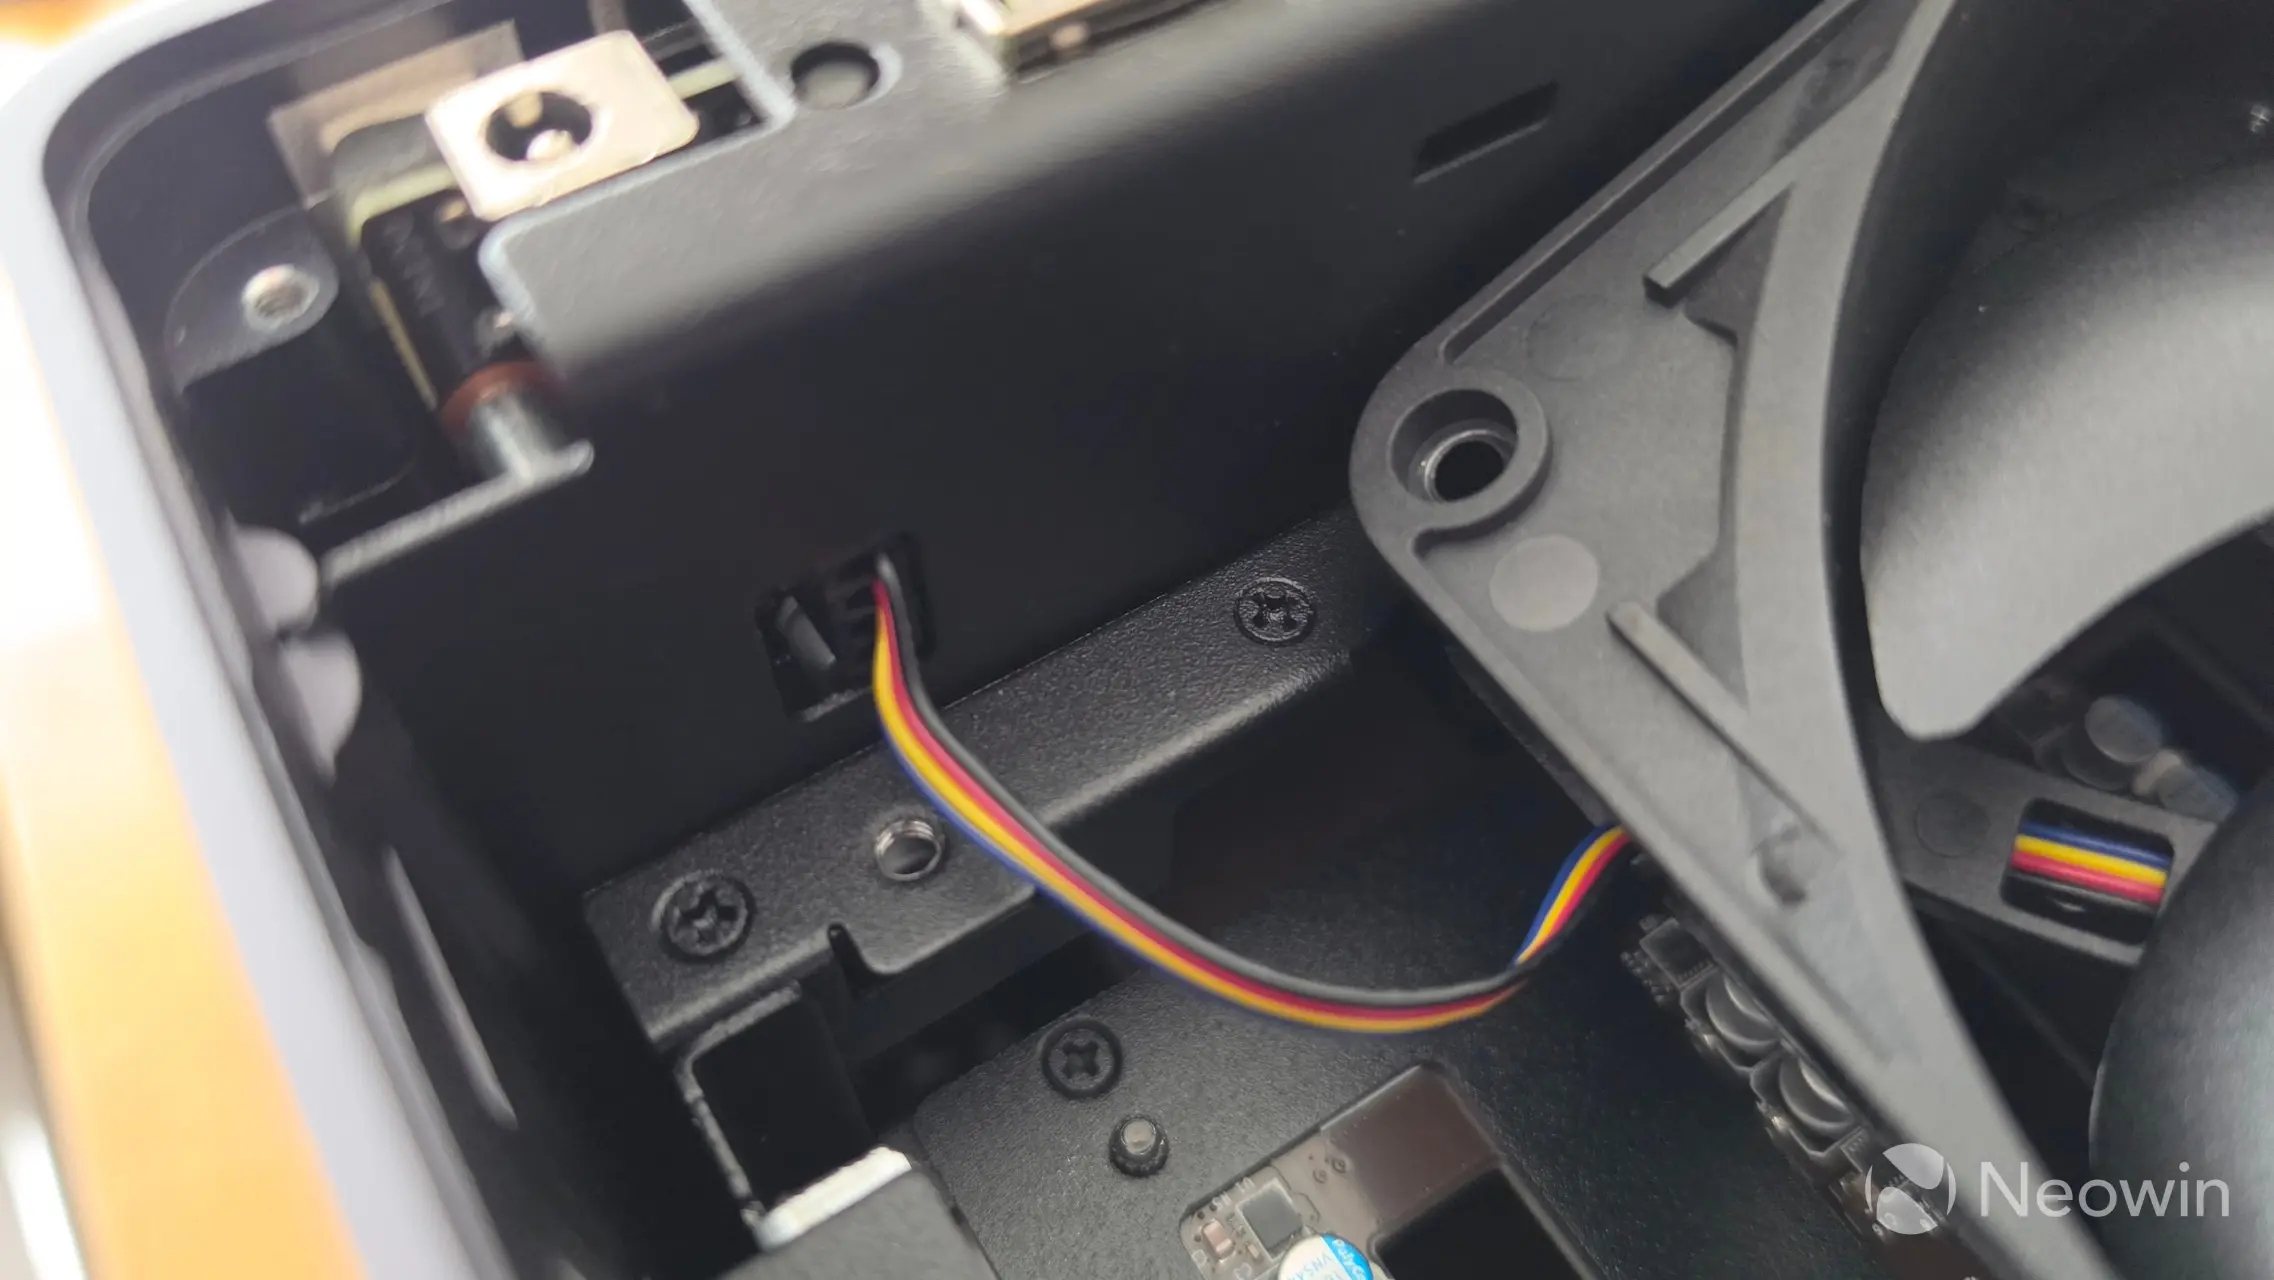
Teardown
No NAS review would be complete without some sort of teardown, and usually, it is required to manage some of the internal bays and memory anyway.
| With the rear panel removed | Fan removed, and 8 screws | Bottom of DXP4800 Pro |
|---|---|---|
|
|
|
|
|
|
||
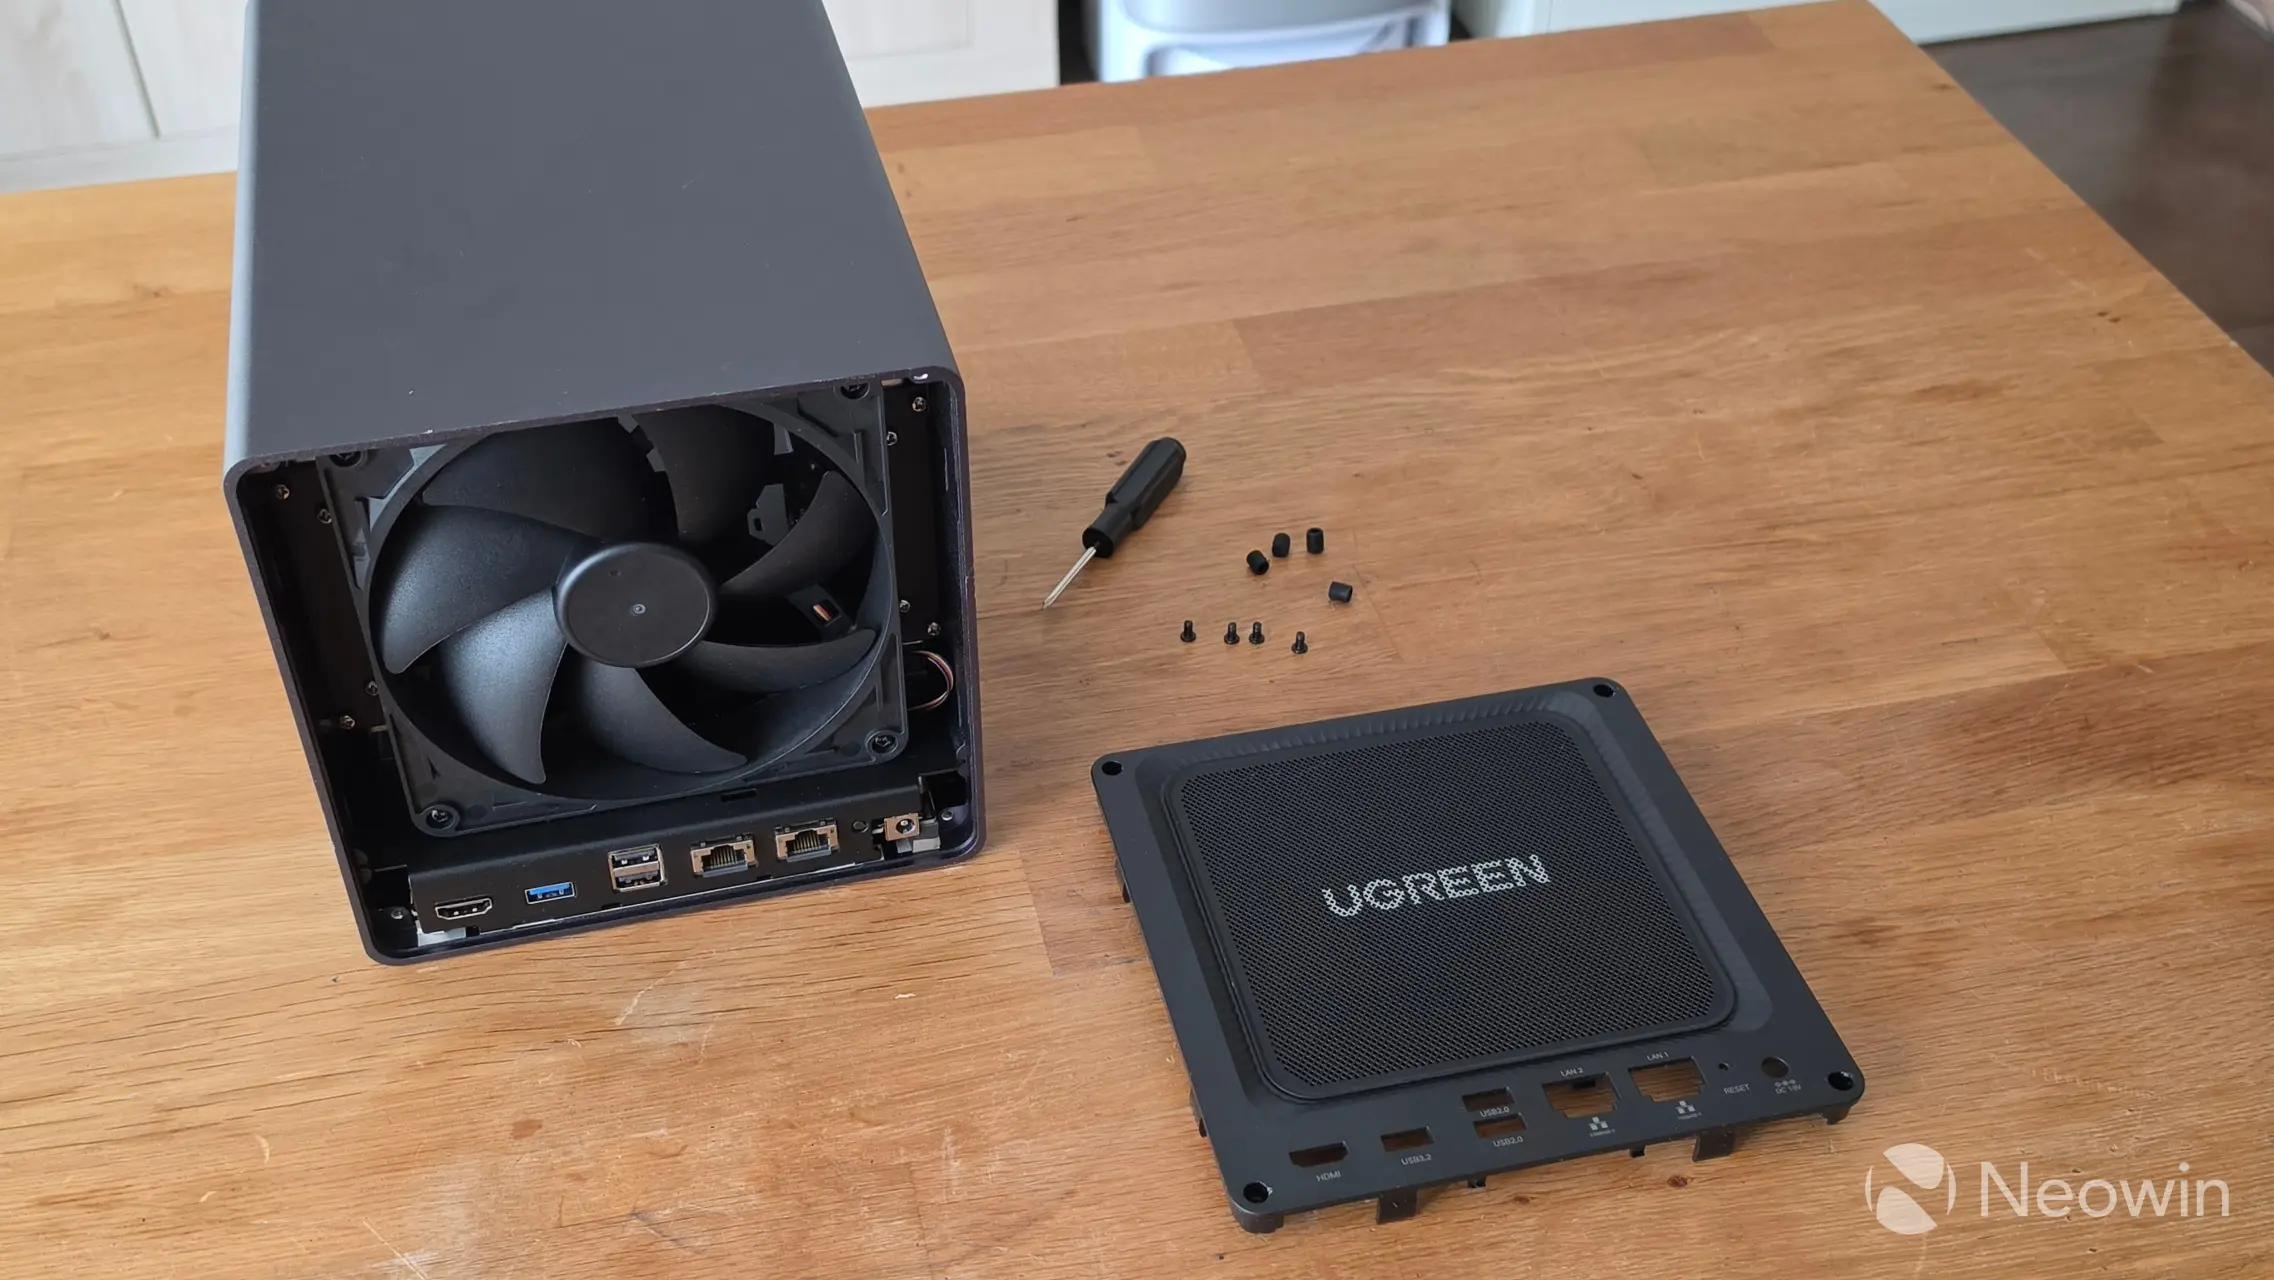
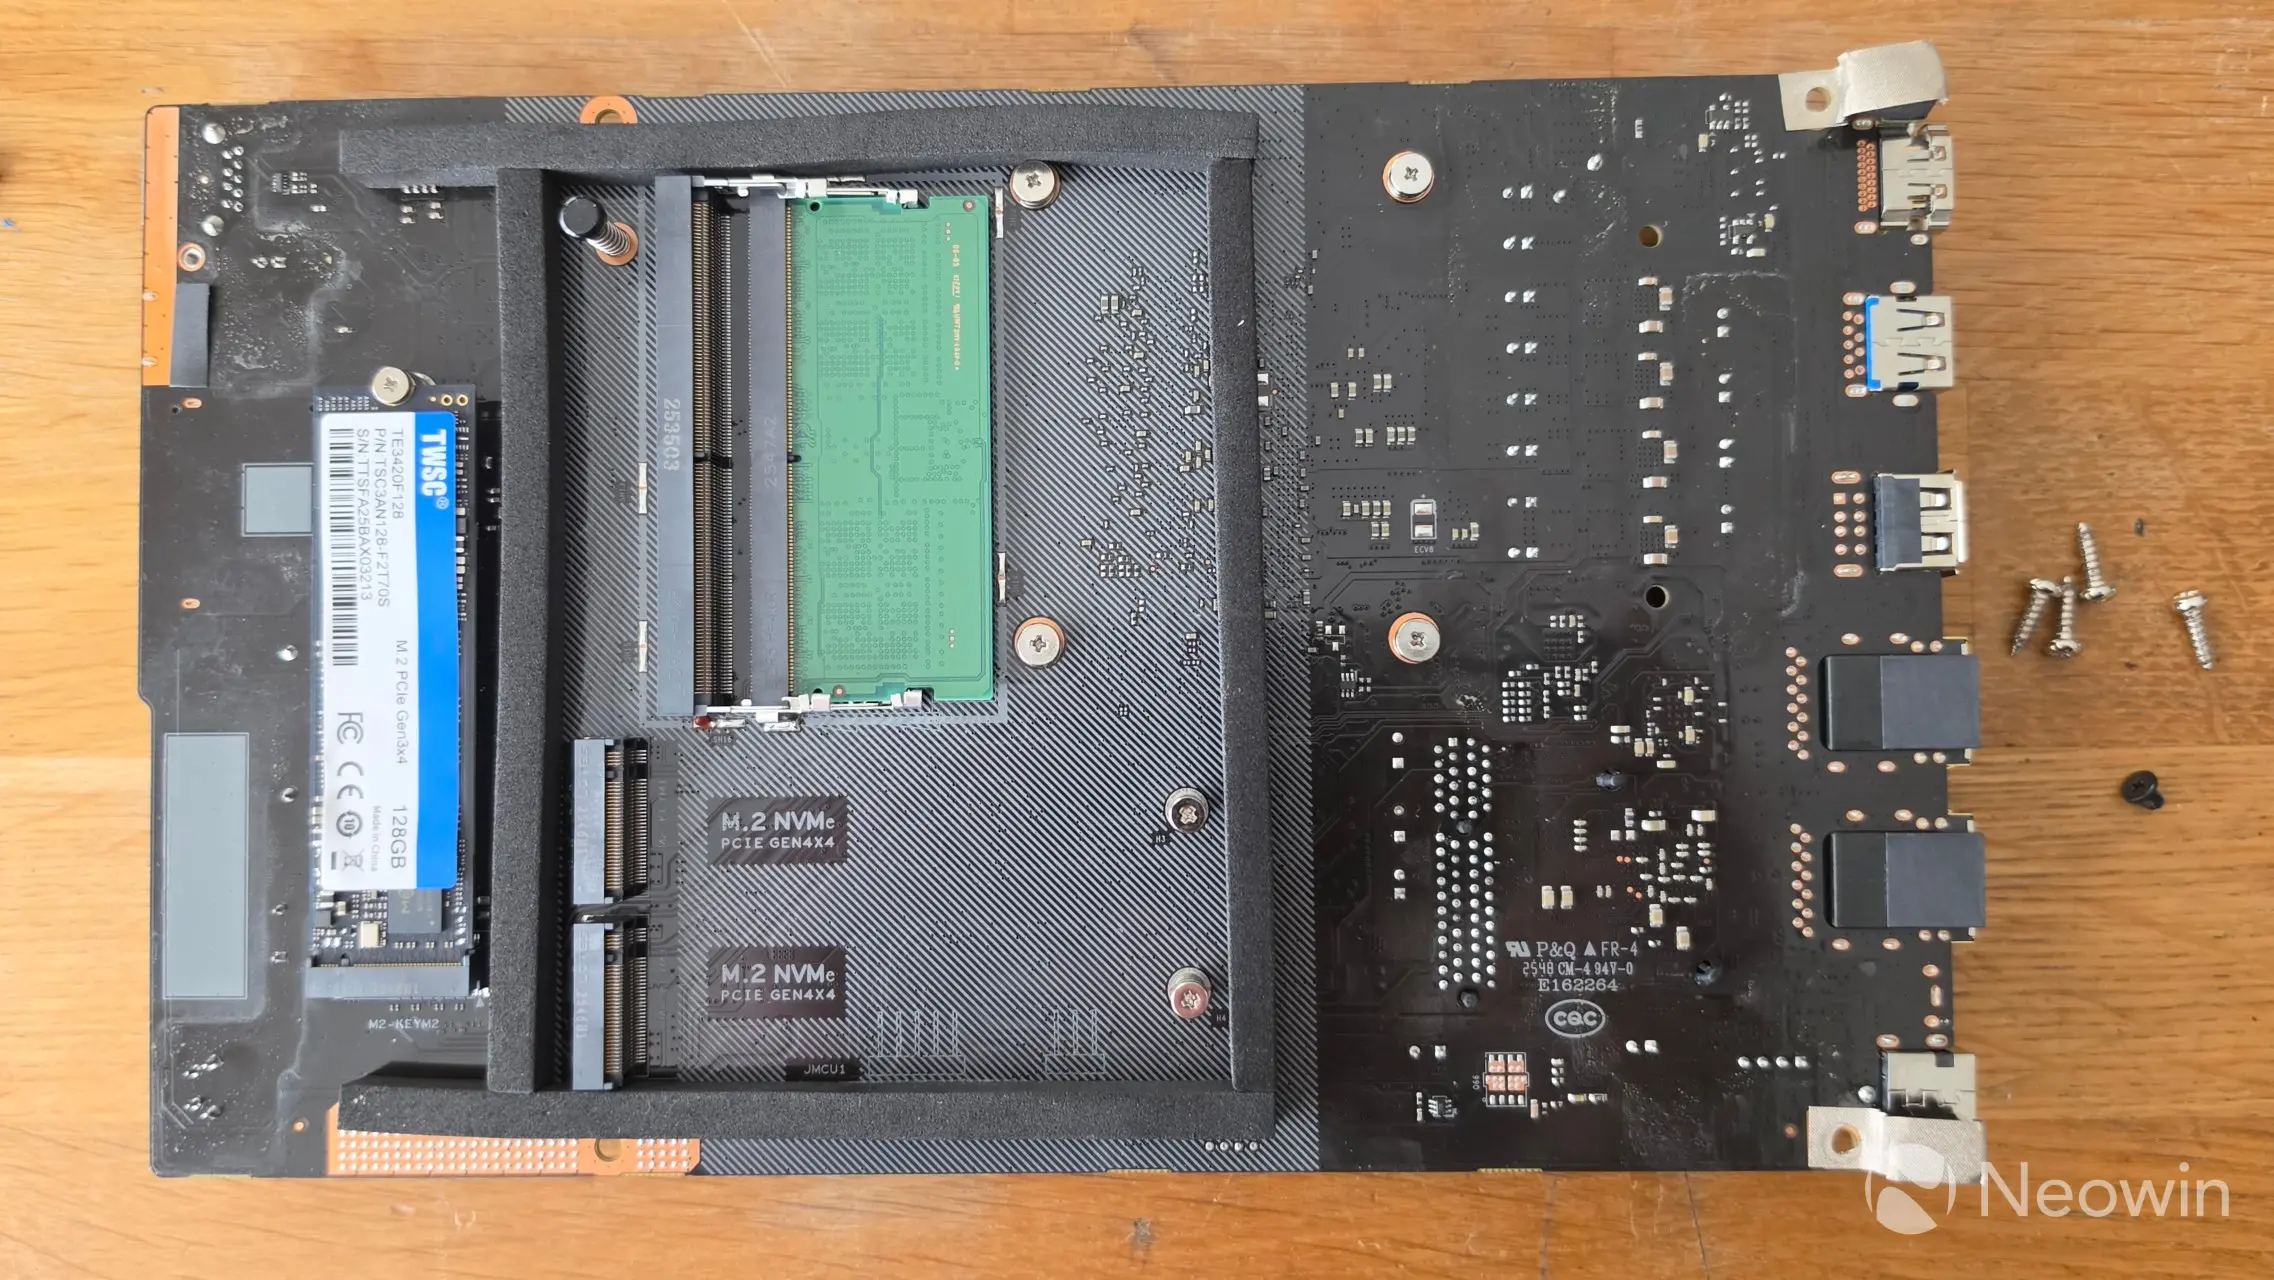
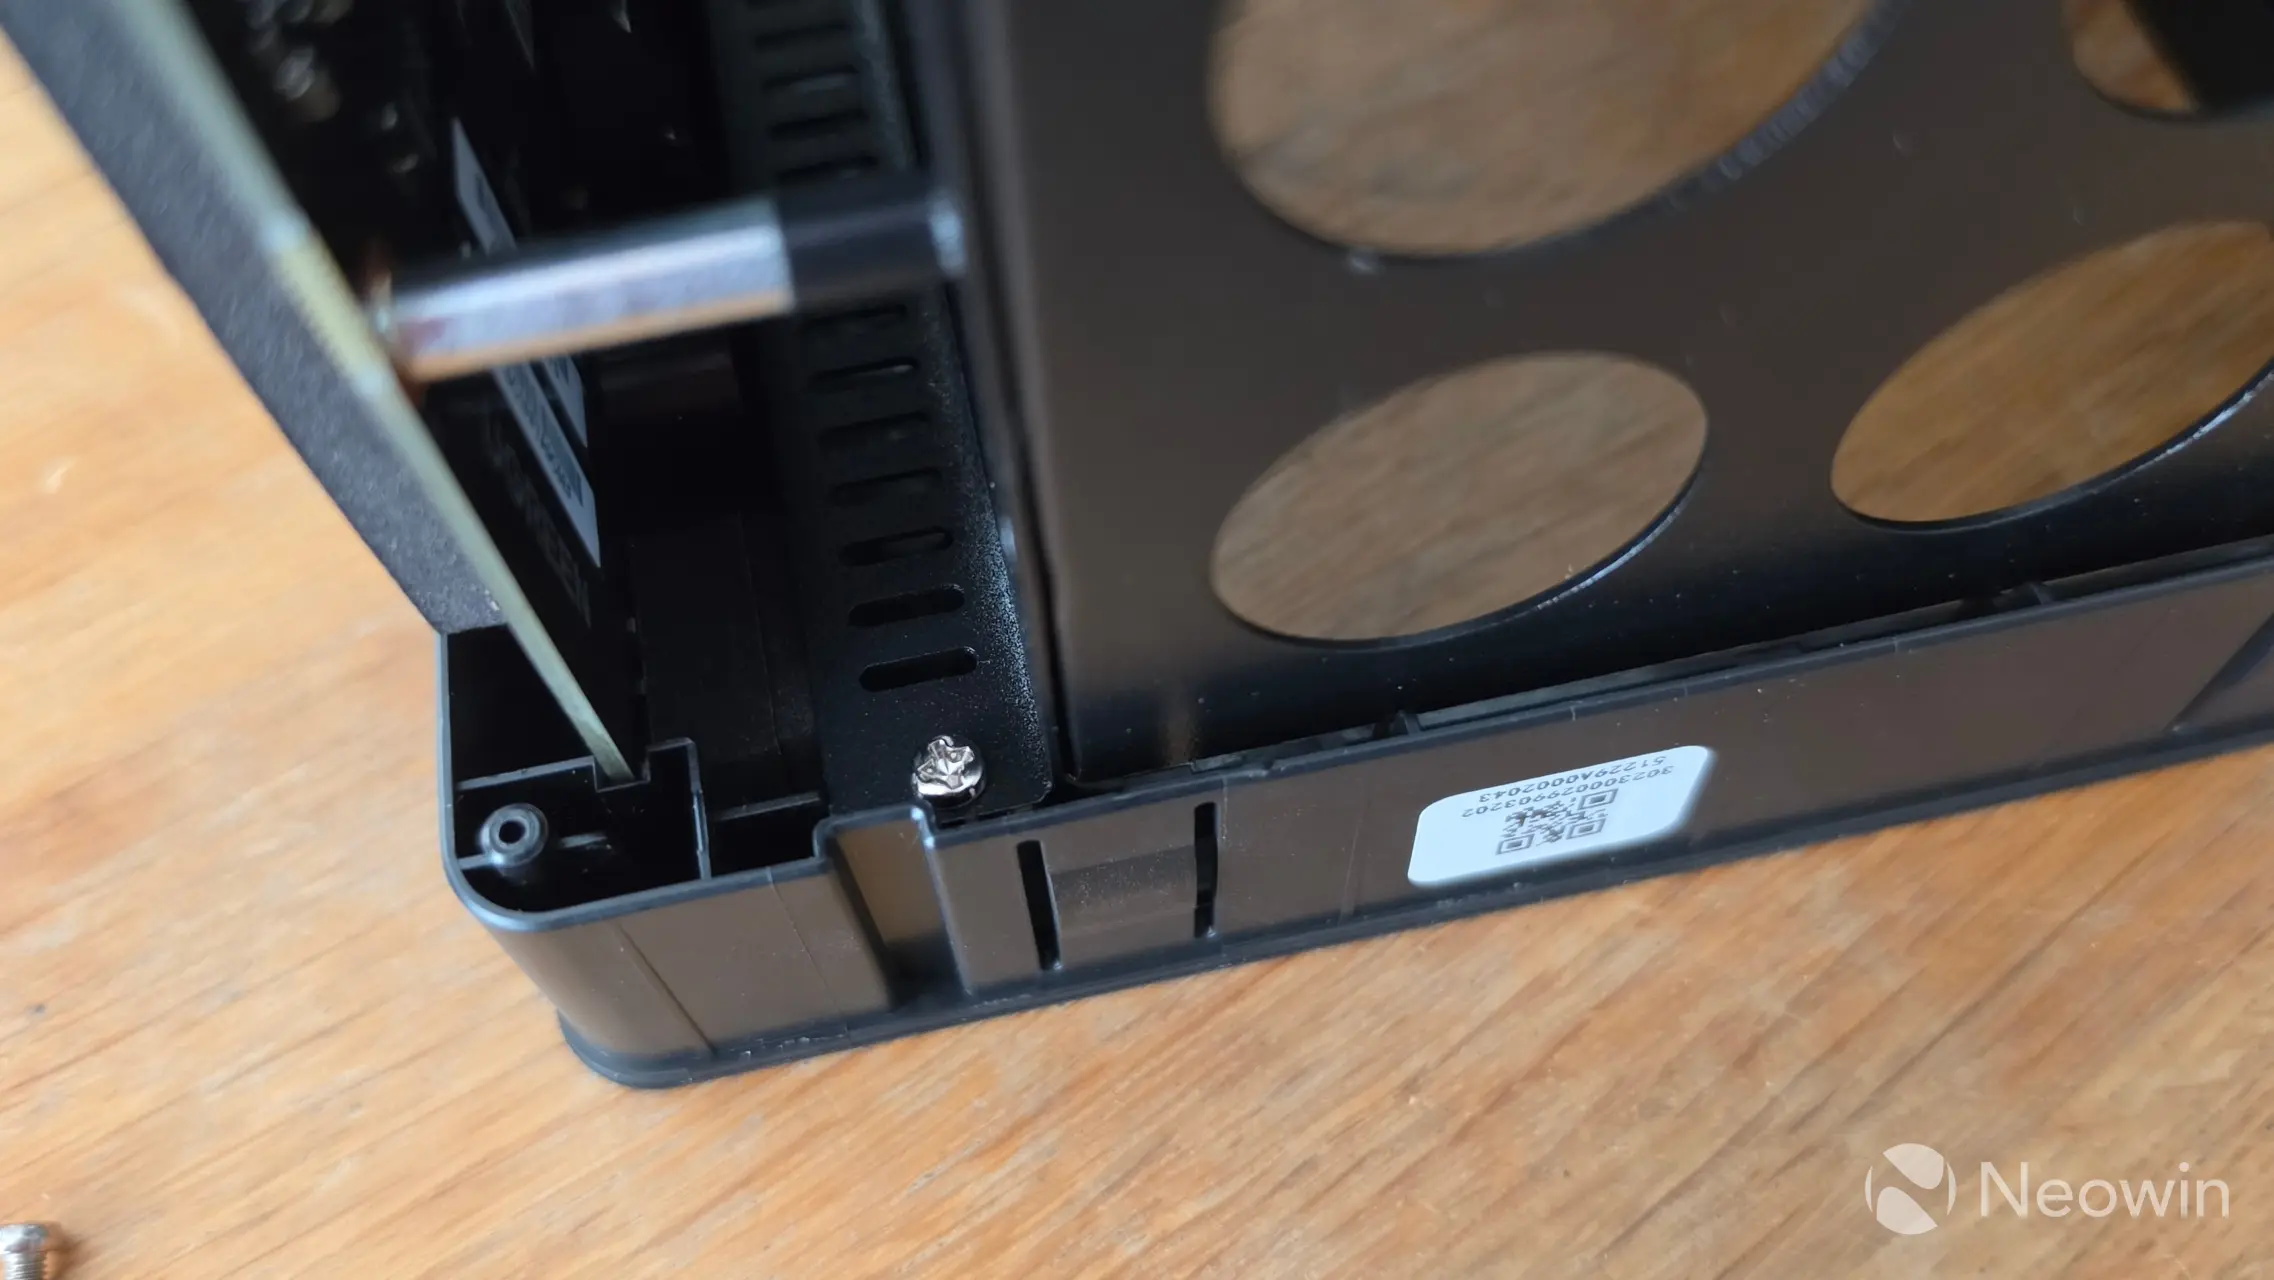
The DXP4800 Pro requires a full teardown in order to manage the onboard flash drive (SSD) or reseat the CMOS battery.
- Turn the NAS over so the bottom is facing upward;
- Remove the bottom panel (covering the M.2 SSDs and memory);
- Remove the four rubber feet stand-offs and screws;
- On the back panel, remove the four rubber covers and screws;
- After removing the back panel, unscrew the fan (four screws) and disconnect it;
- Unscrew eight internal fixing screws (four on each side) and remove both metal plates;
- Slide the unit out of the outer casing.
That's the basics of getting into it; to manage the CMOS battery and PCB requires a bit more.
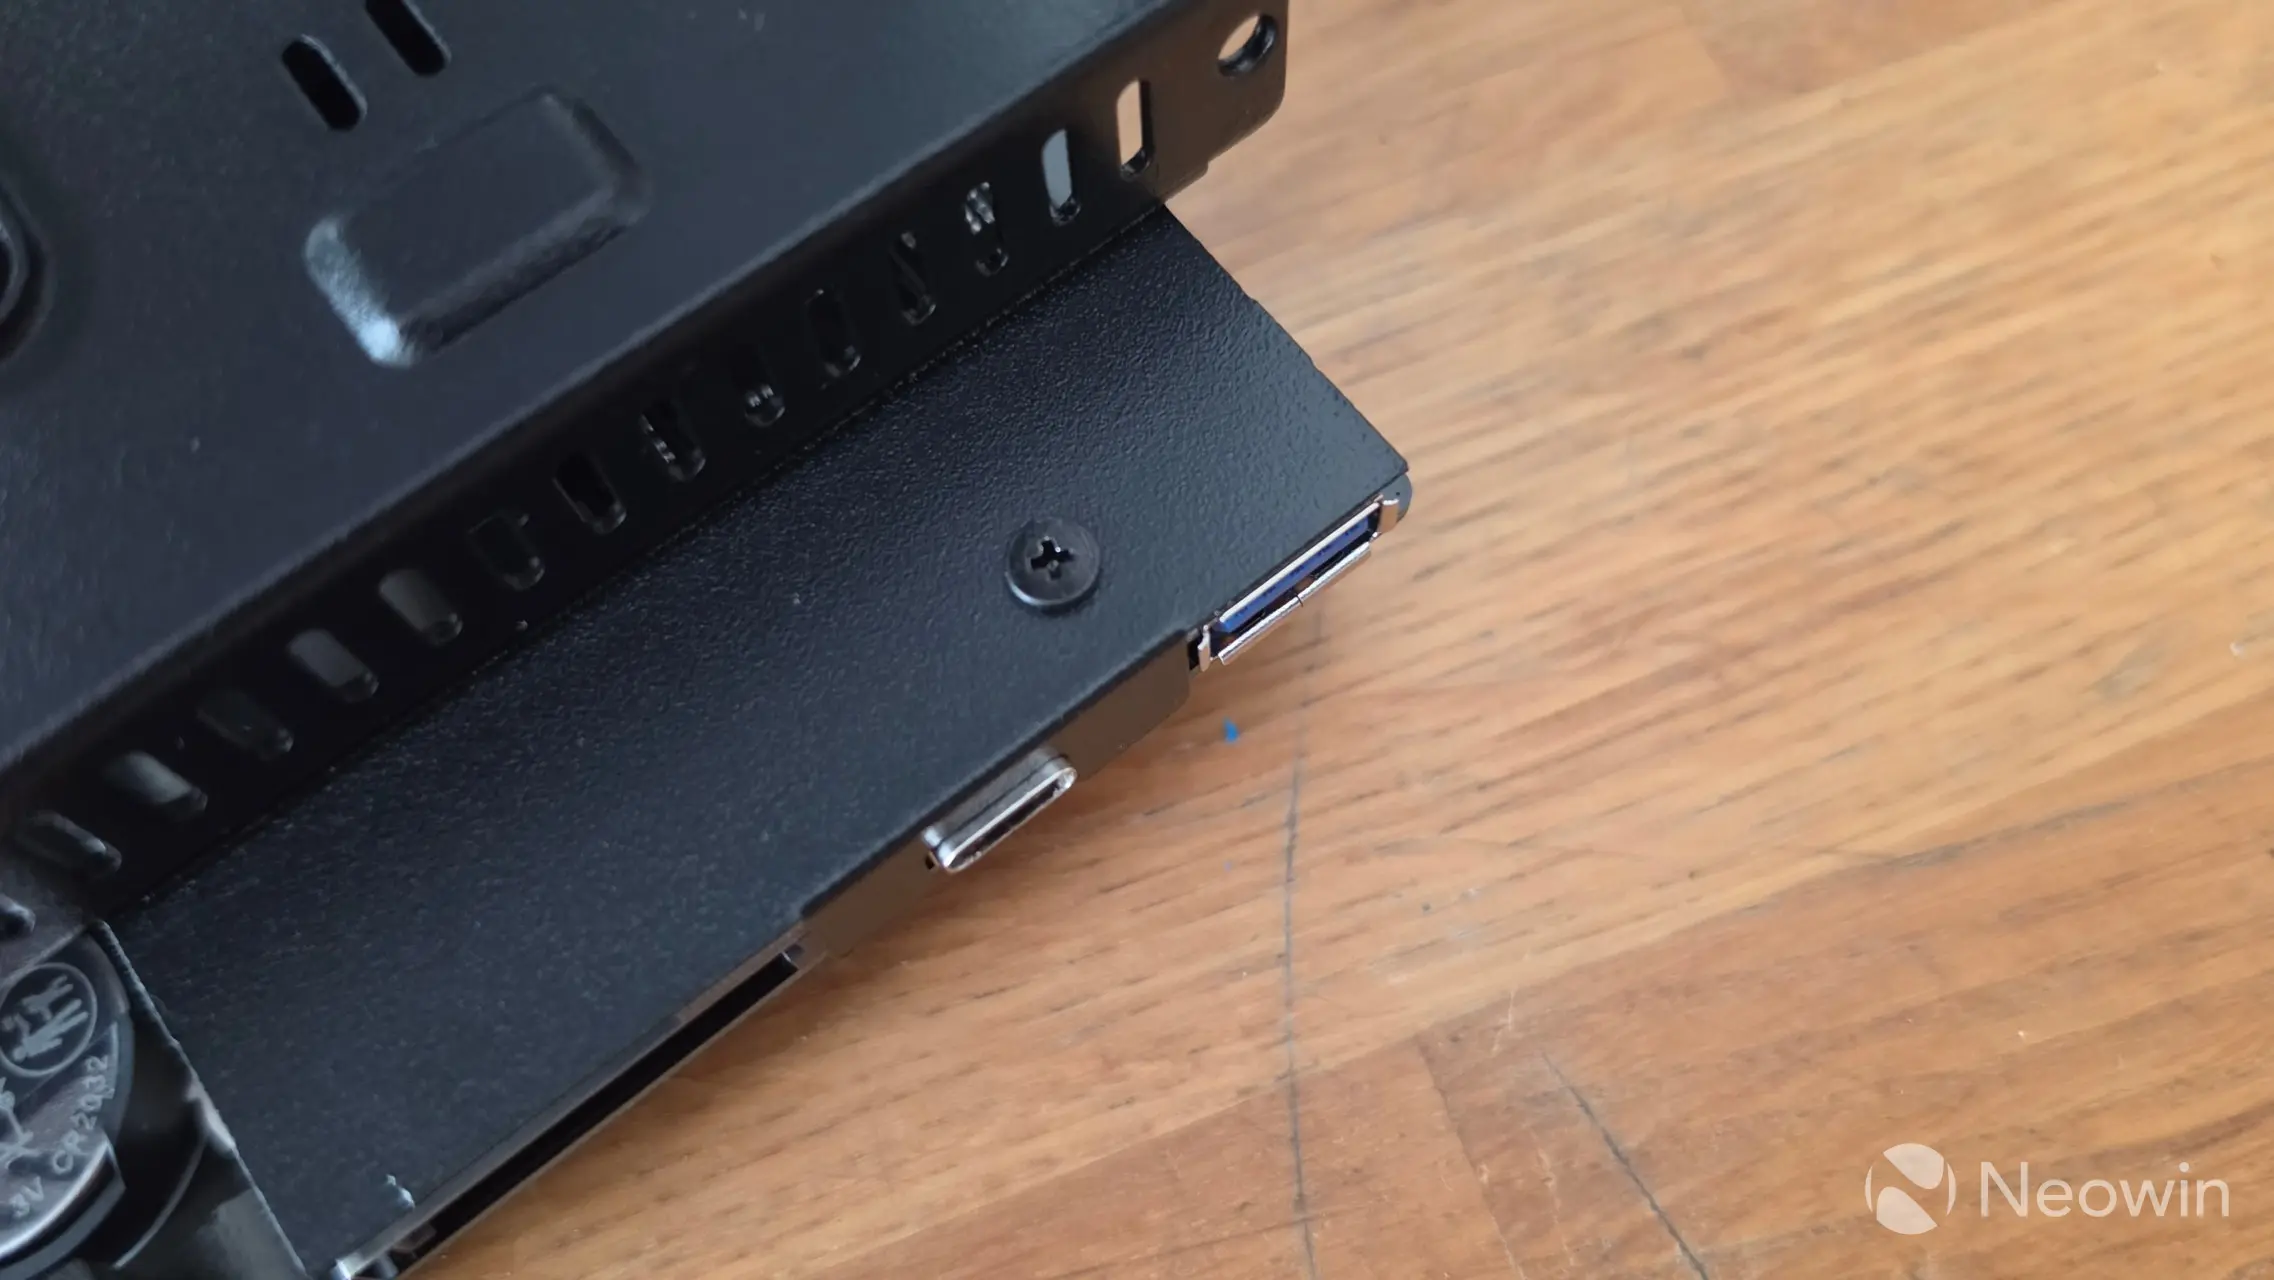
| Front panel screw | Screw under the USB ports | SATA connector |
|---|---|---|
|
|
 |
|
|
|
||
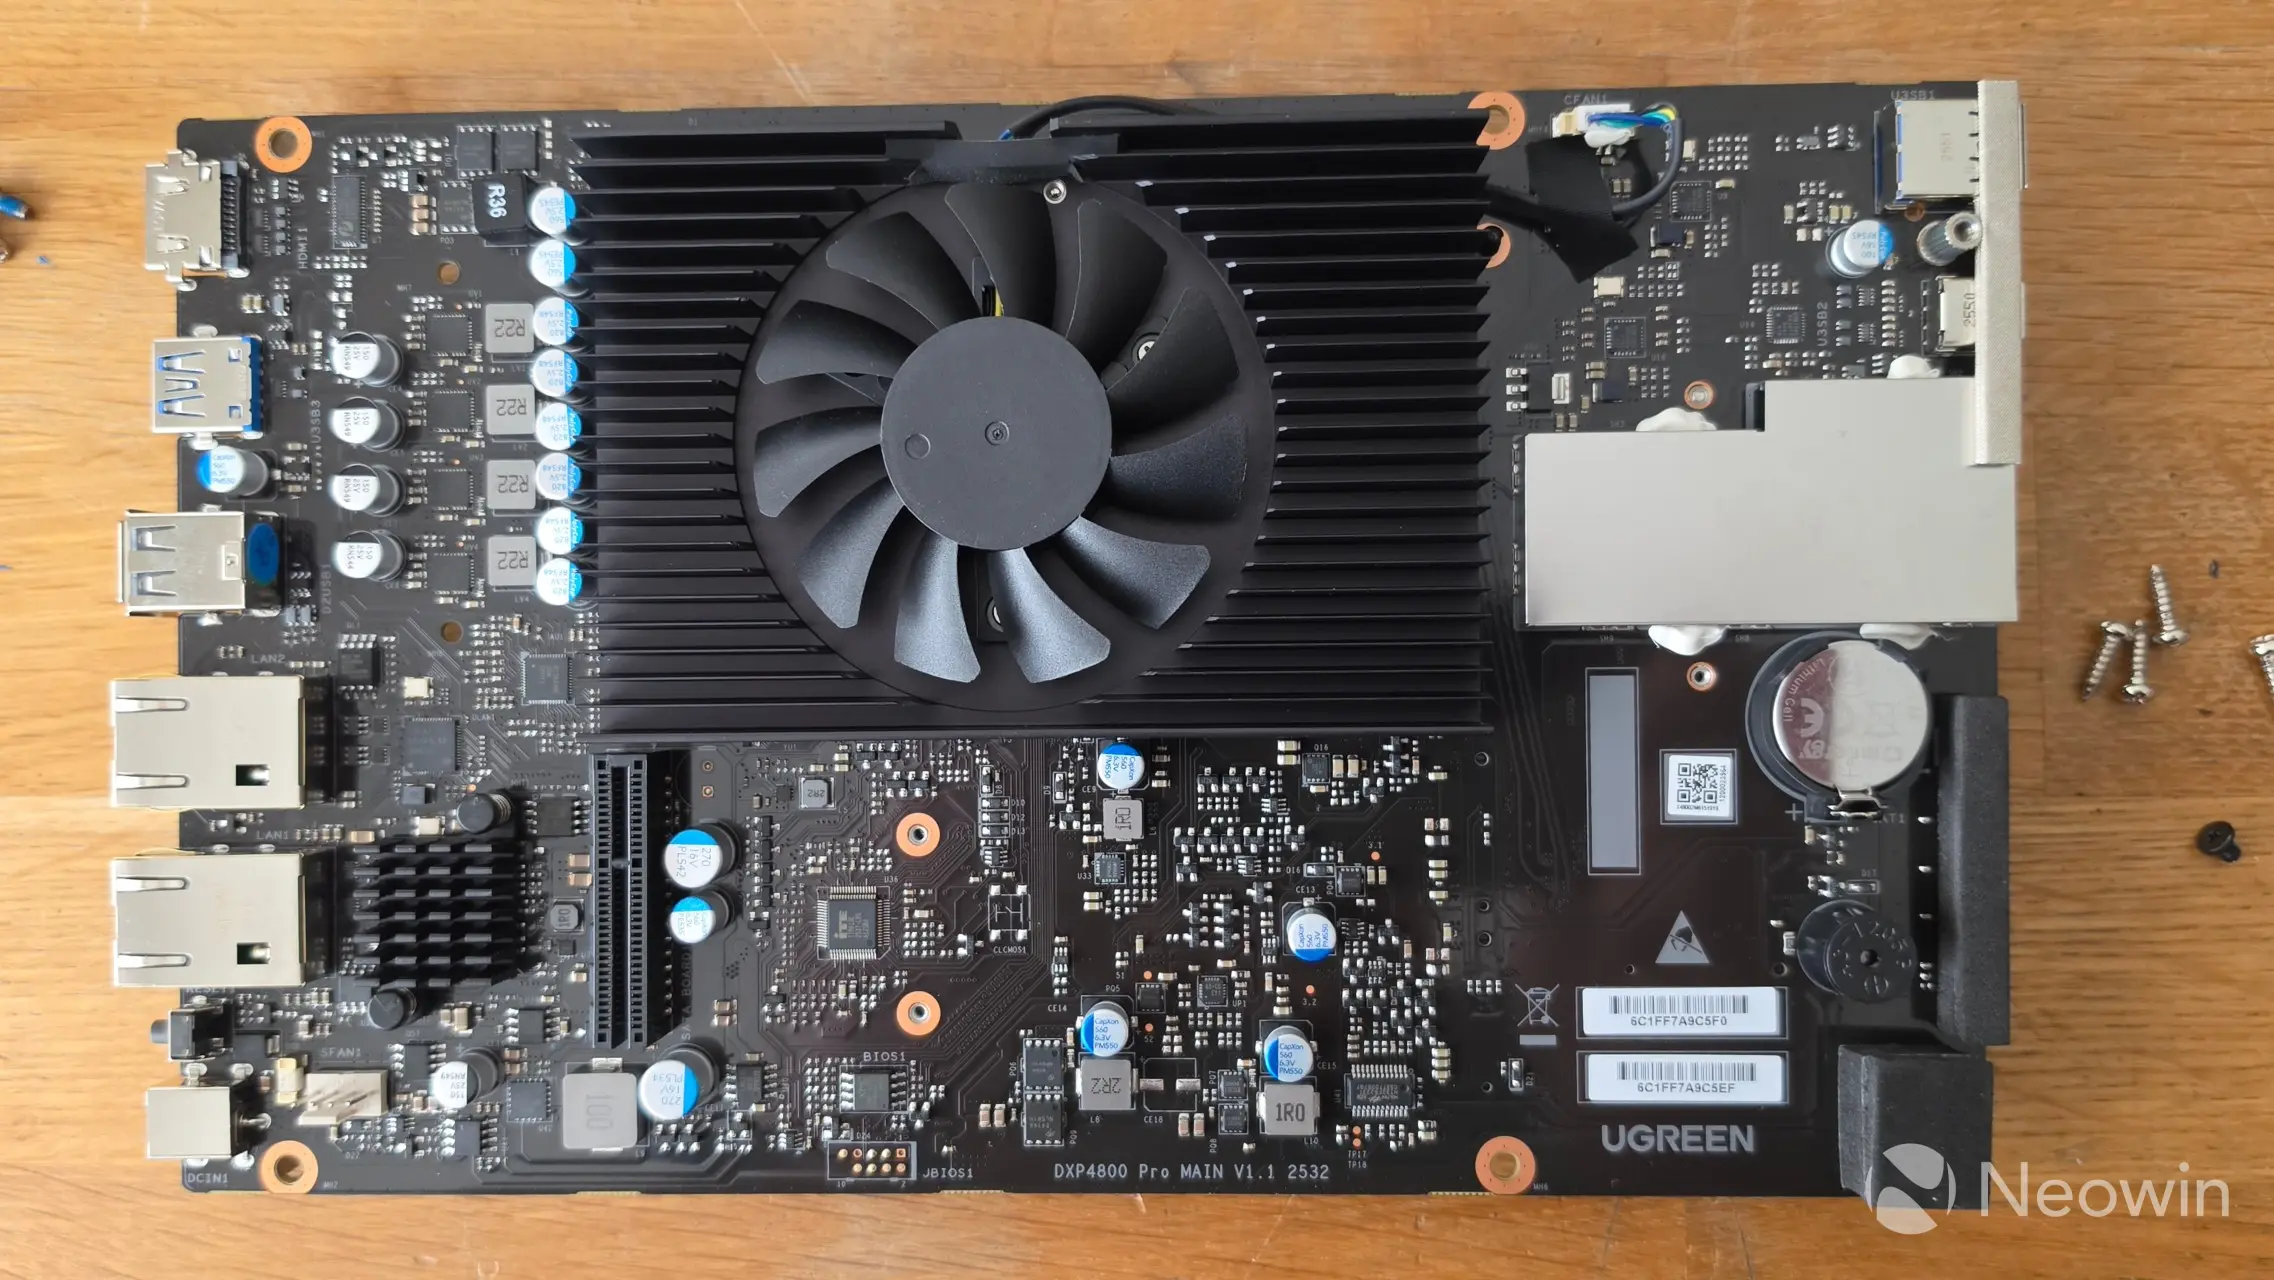
To be able to detach the PCB:
- Remove four inner screws from the front panel (one in each corner);
- Remove the front panel;
- Remove four screws from the PCB connecting it to the frame;
- Remove one screw under the front USB ports;
- Carefully lift the PCB off the internal SATA connector.
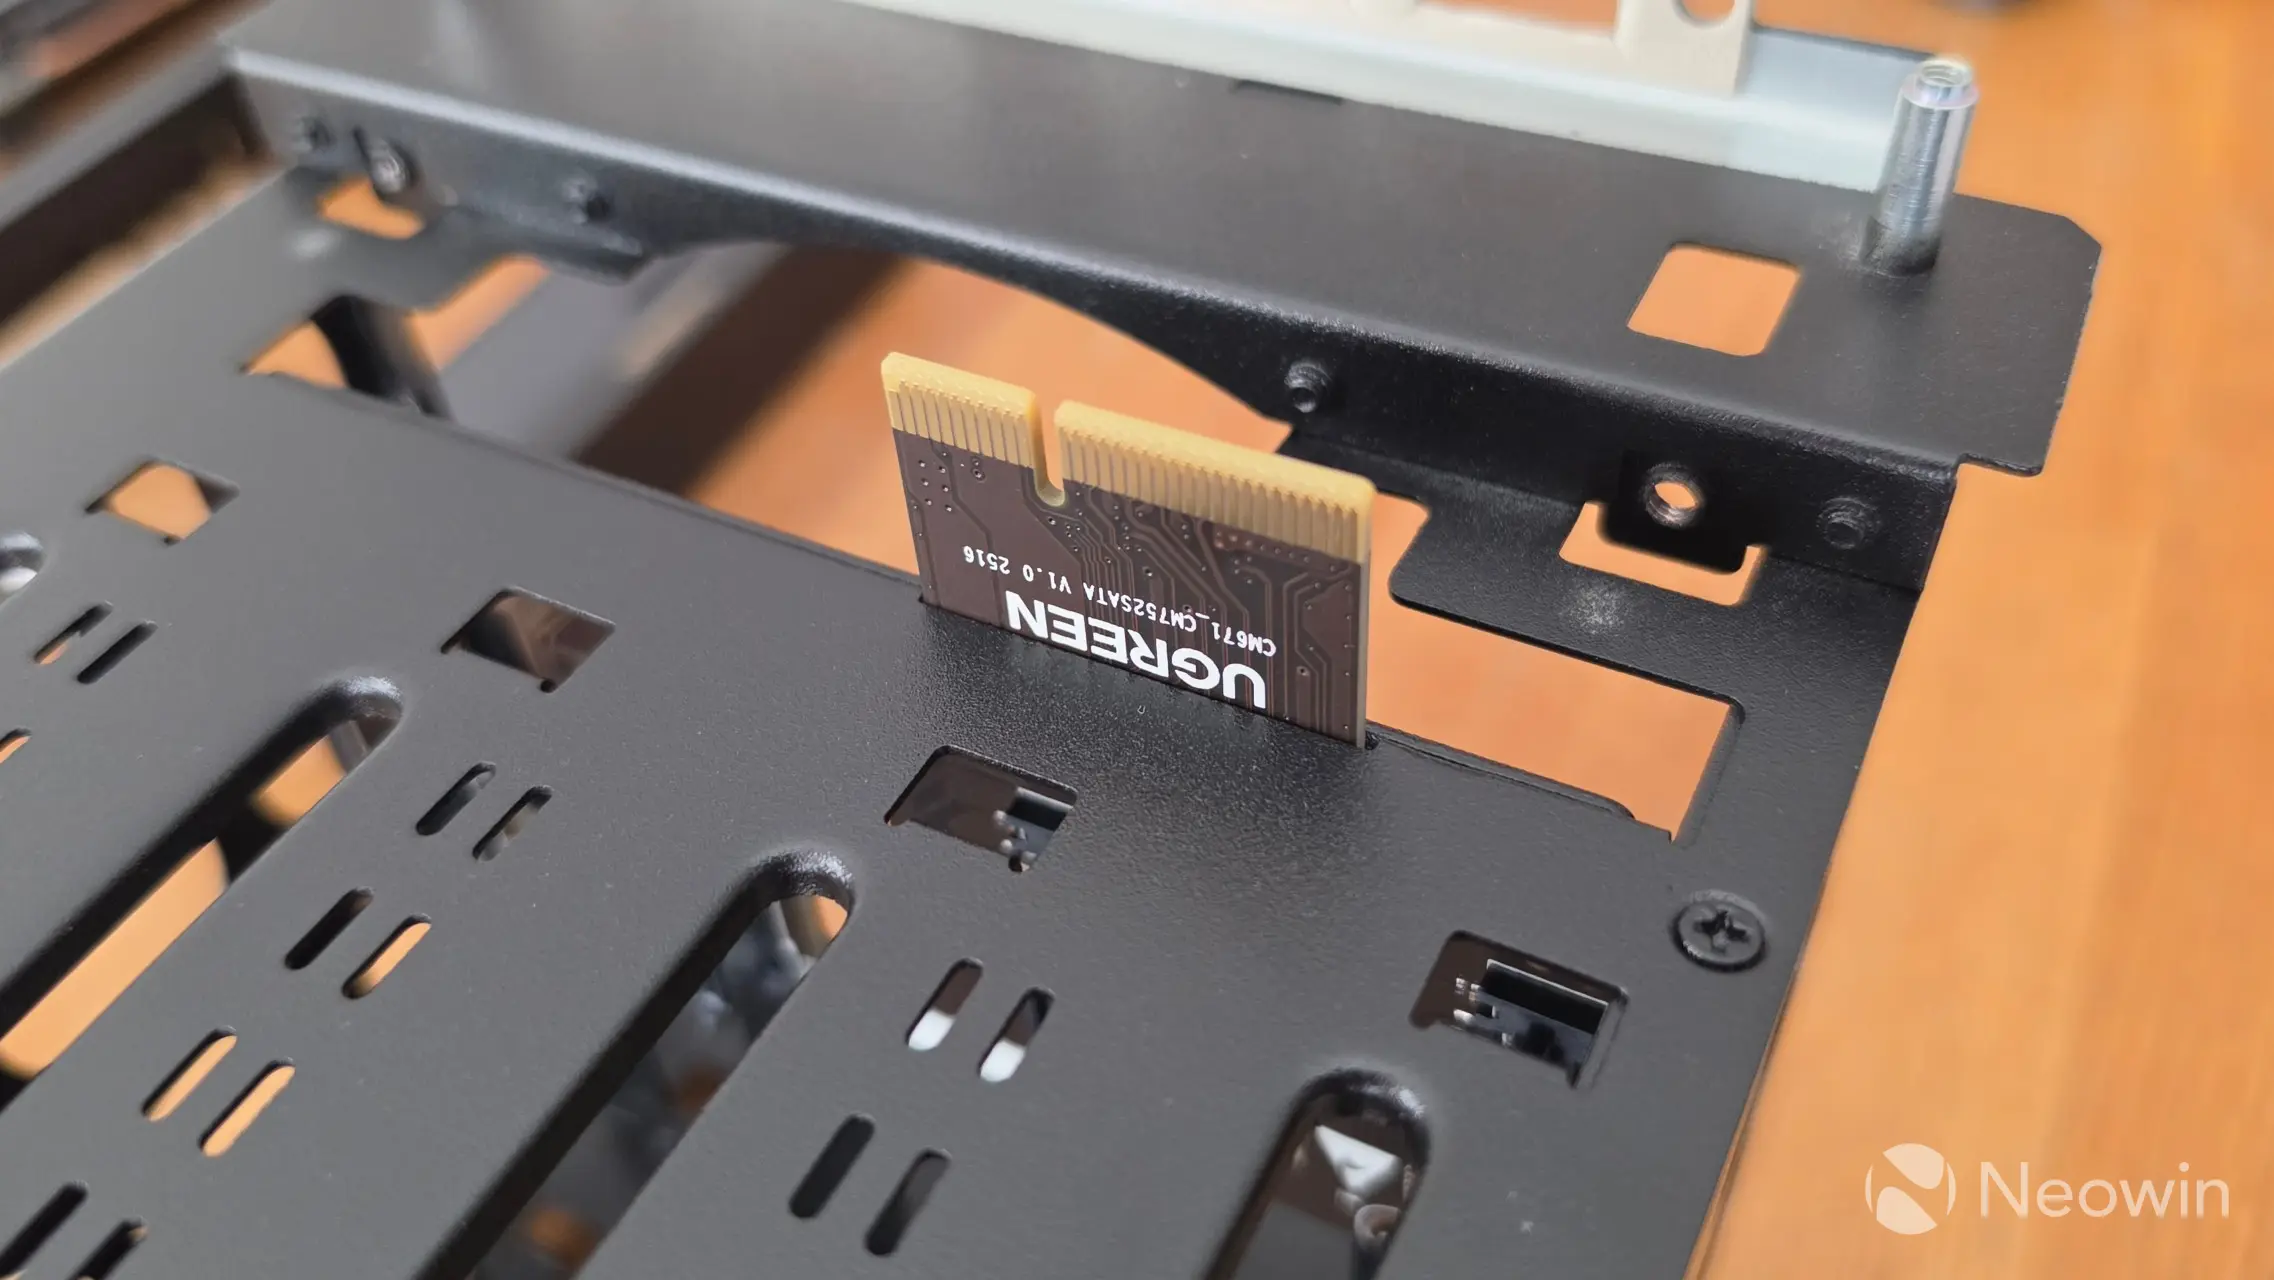
In the DXP6800 Pro [read our review here], it was awkward to get to the UGOS flash drive, but here, there is no metal frame covering the drive, and once you take the DXP4800 Pro outside of the exterior casing, you can manage the flash drive easily. However, if for some reason you need to remove the CMOS battery, then you will have to do the steps as detailed above in order to be able to get to it. You'll find that you can just about see the CMOS battery without removing the PCB from the frame, and perhaps with a small tool, you might have luck removing and reinserting it, but the placement of the battery definitely does not afford ease of use.
UGREEN also helpfully provides two massive thermal pads for the SSD slots, which, as you can see here, I used with the two drives I installed.
Getting Started
Now that we have managed the internals and installed our SSDs, next up are the drive bays, which have not changed since I reviewed the DXP6800 Pro.
| Top of sthe led | Bottom of the sled | HDD installed in sled |
|---|---|---|
|
|
|
|
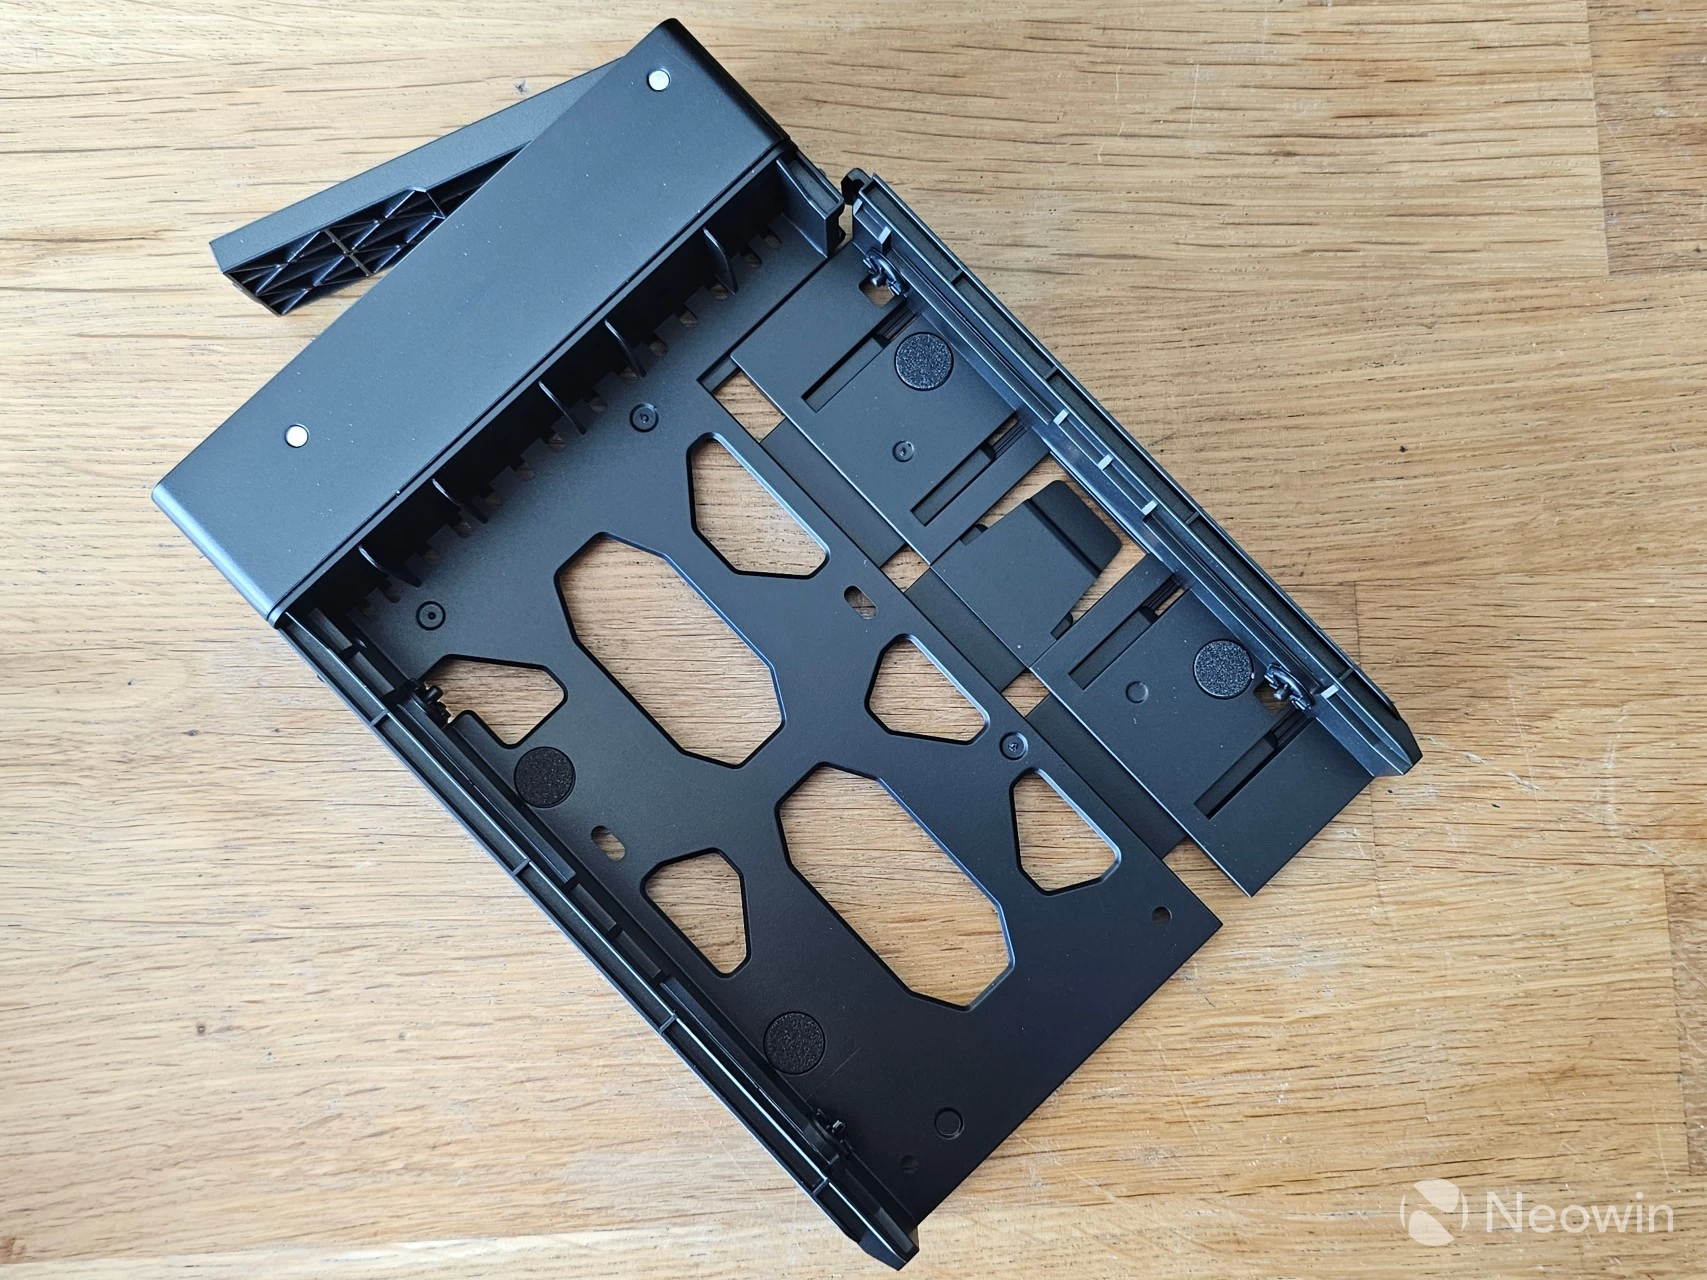
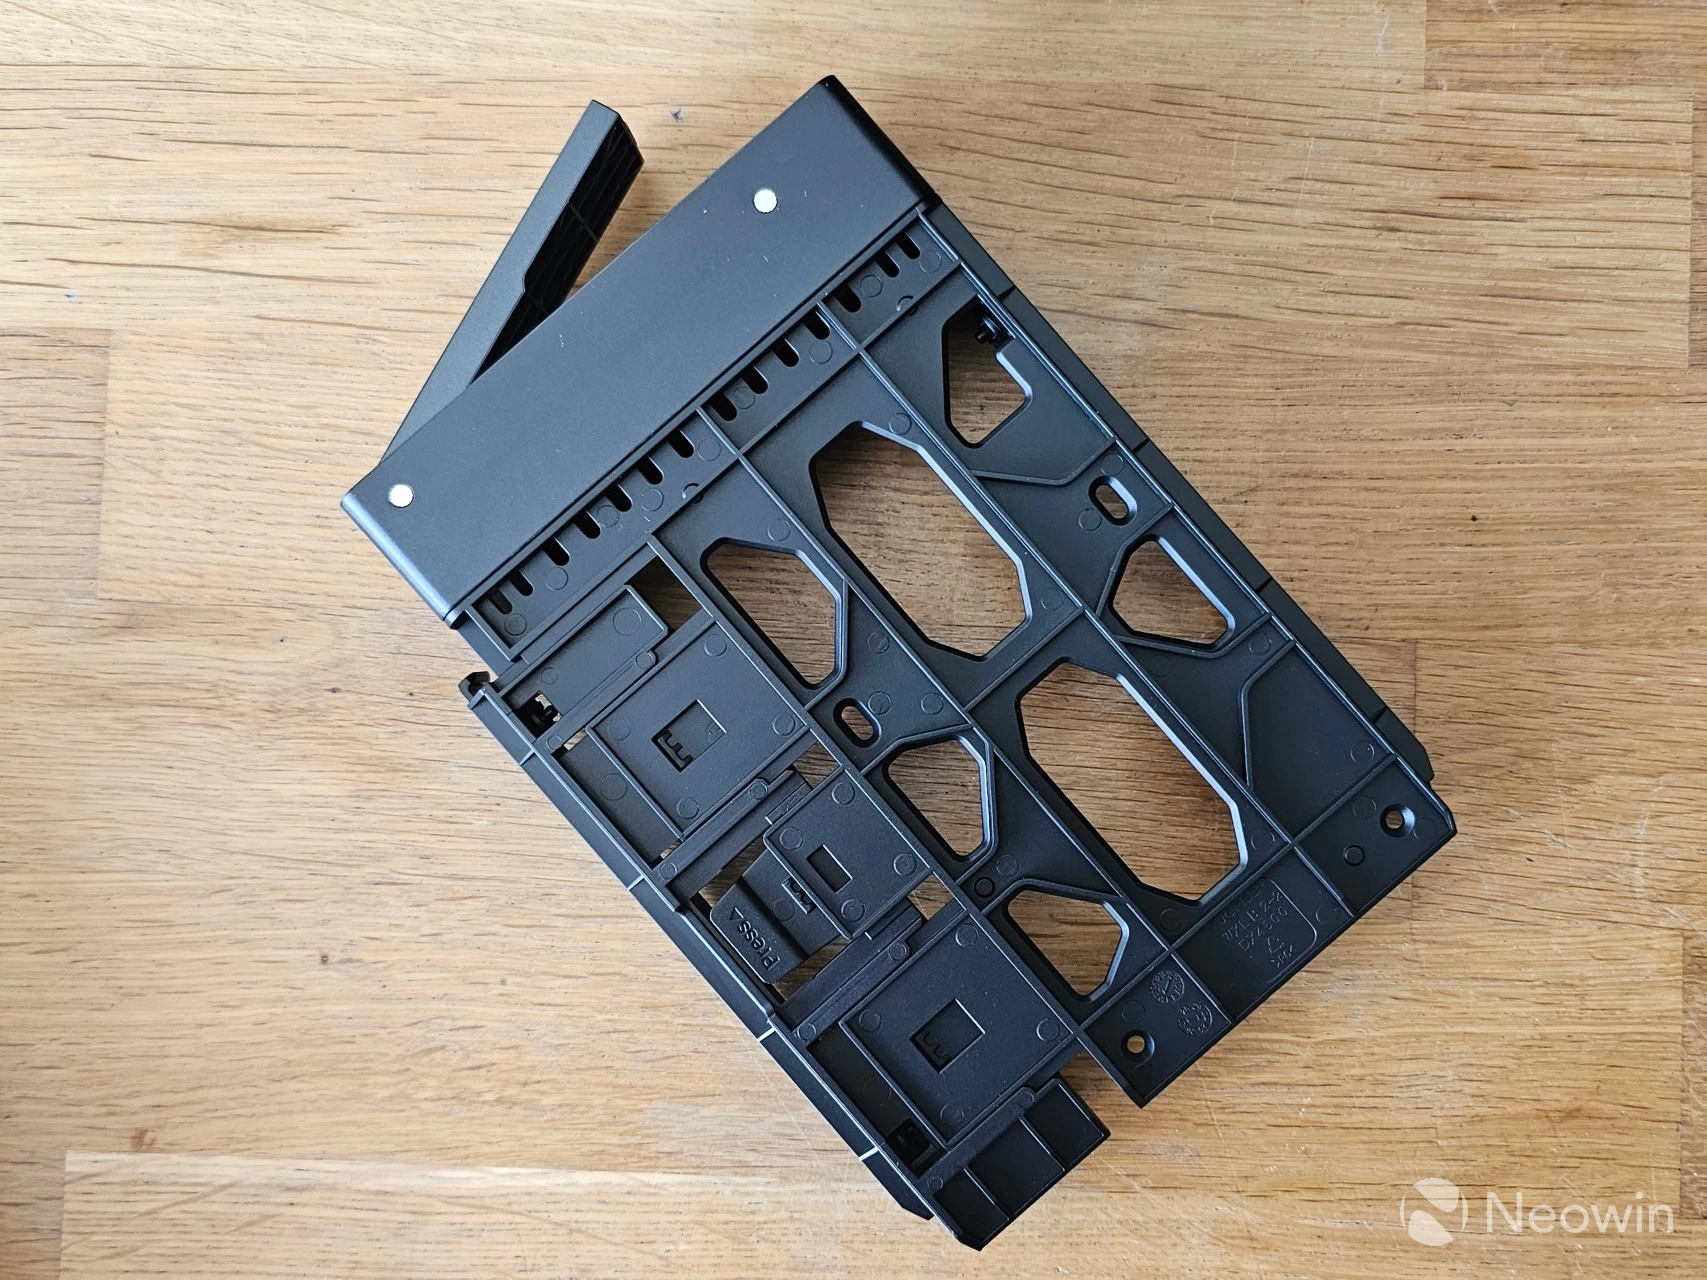
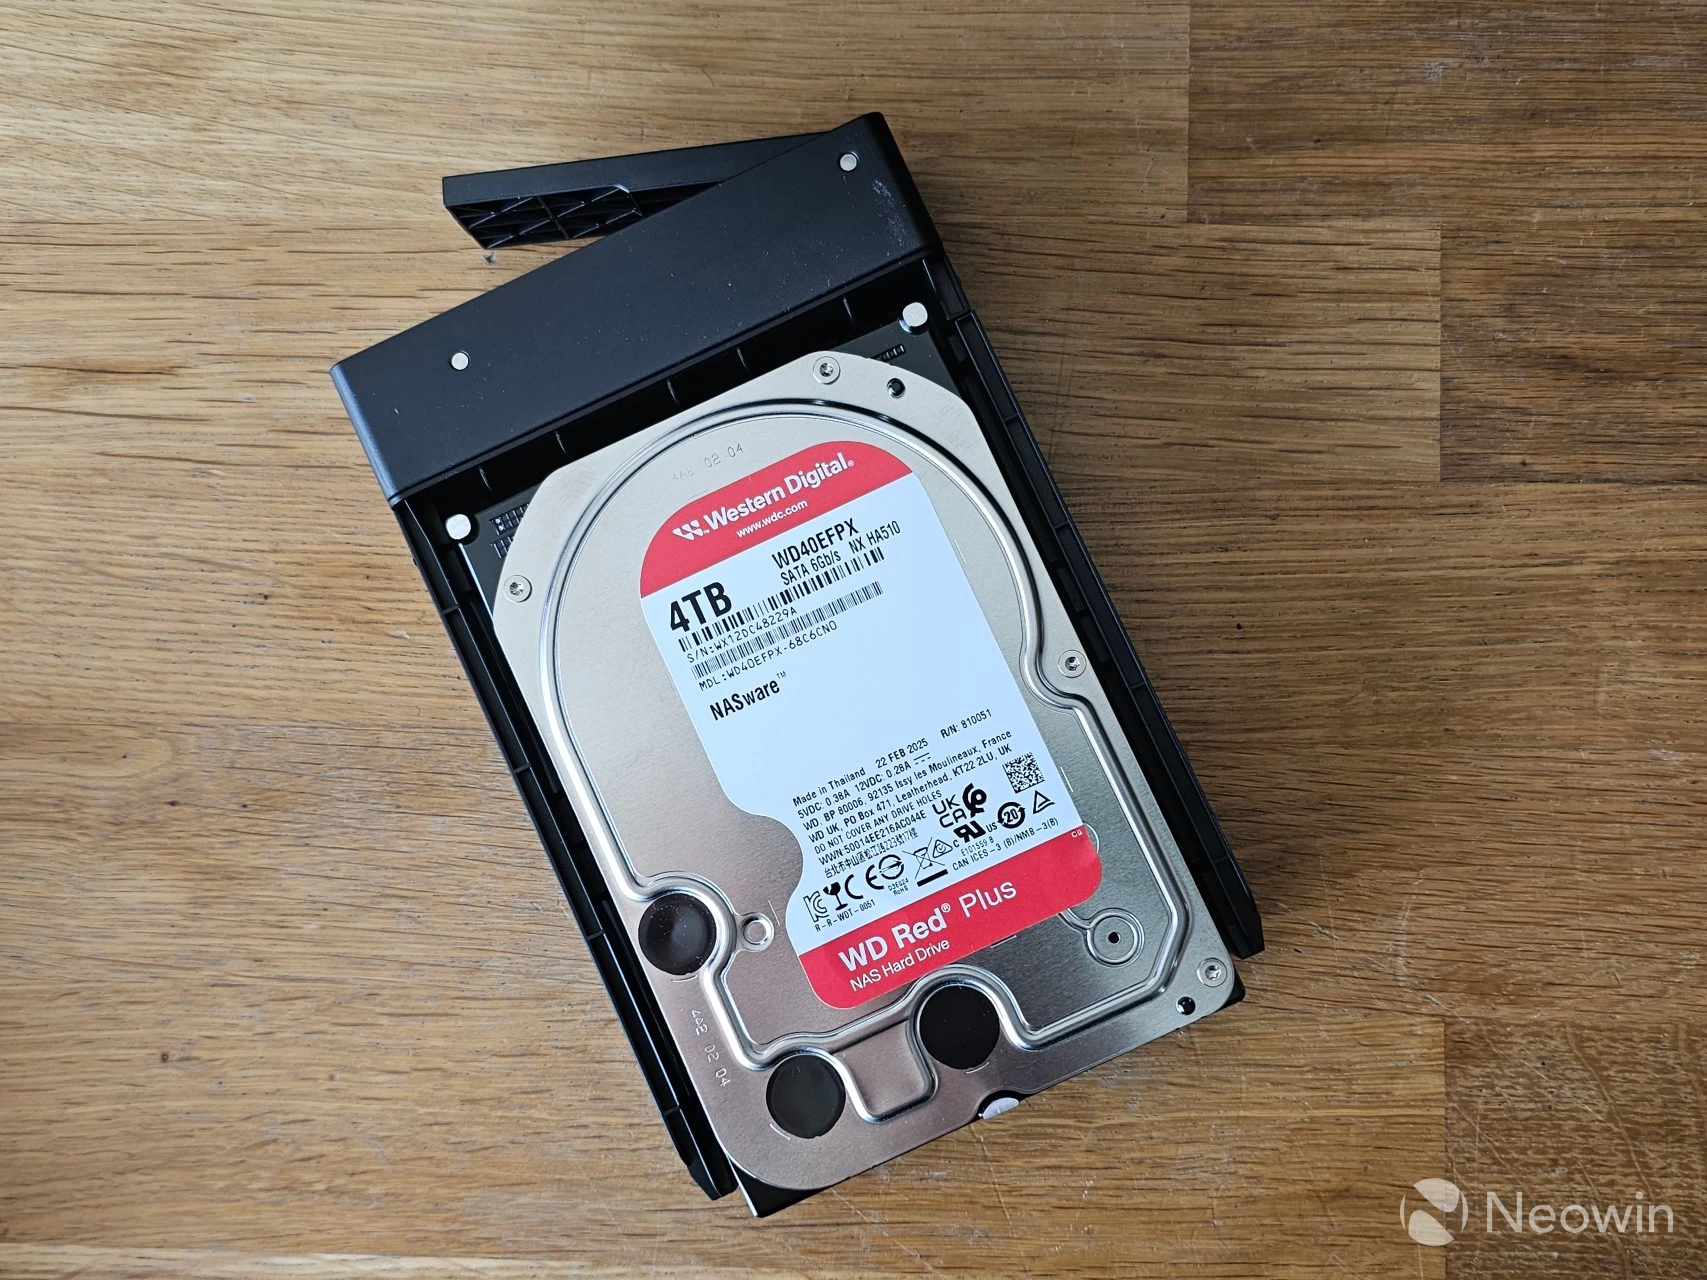
The HDD sleds are completely tool-less for traditional HDDs. One side of the sled can be pulled out a bit, then you place the HDD in at a slight angle to align the plastic pins with the screw holes of the HDD, press down, and then press the right side in until you hear it click, and that's it. Pressing down on the button on the bottom of the sled releases the side, which can then be pulled out to release the HDD from the sled.
If you opt for an all-SSD (2.5-inch) setup for your bays, then UGREEN has you covered there, too, because there are 24 screws included in the box so you can screw them into the bays from the bottom.
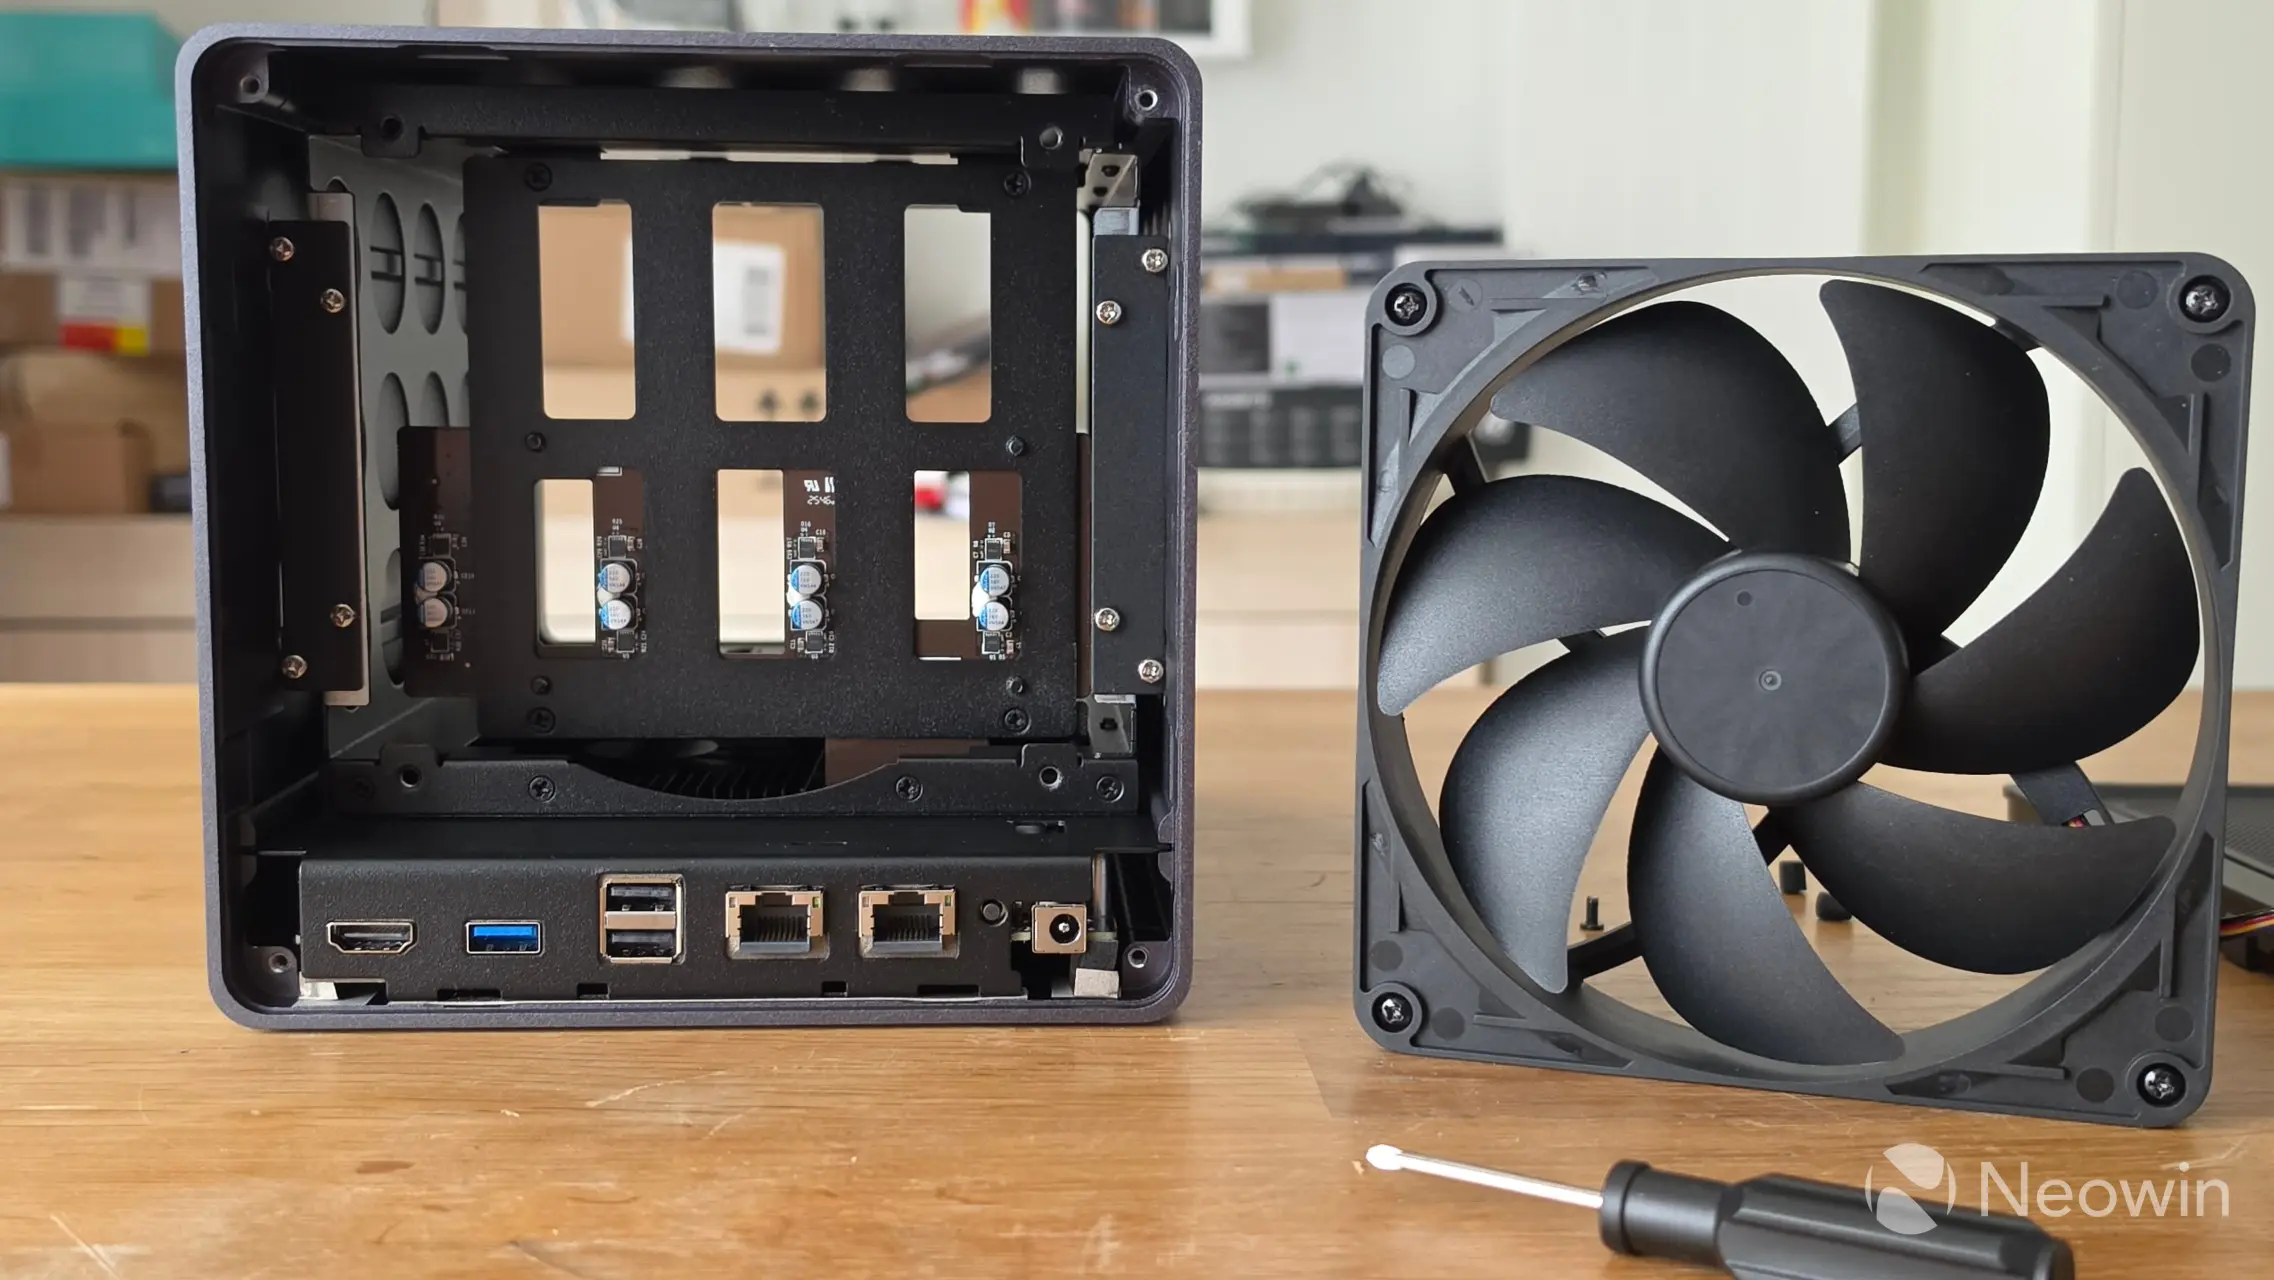
Fans are intake
Here you can view the inside of the DXP4800 Pro with its single 120mm fan. From looking online and having a bit of a feel (but also looking at the direction of the fan blades), this actually pulls in air over the HDDs in an intake configuration rather than as an exhaust.
Setup
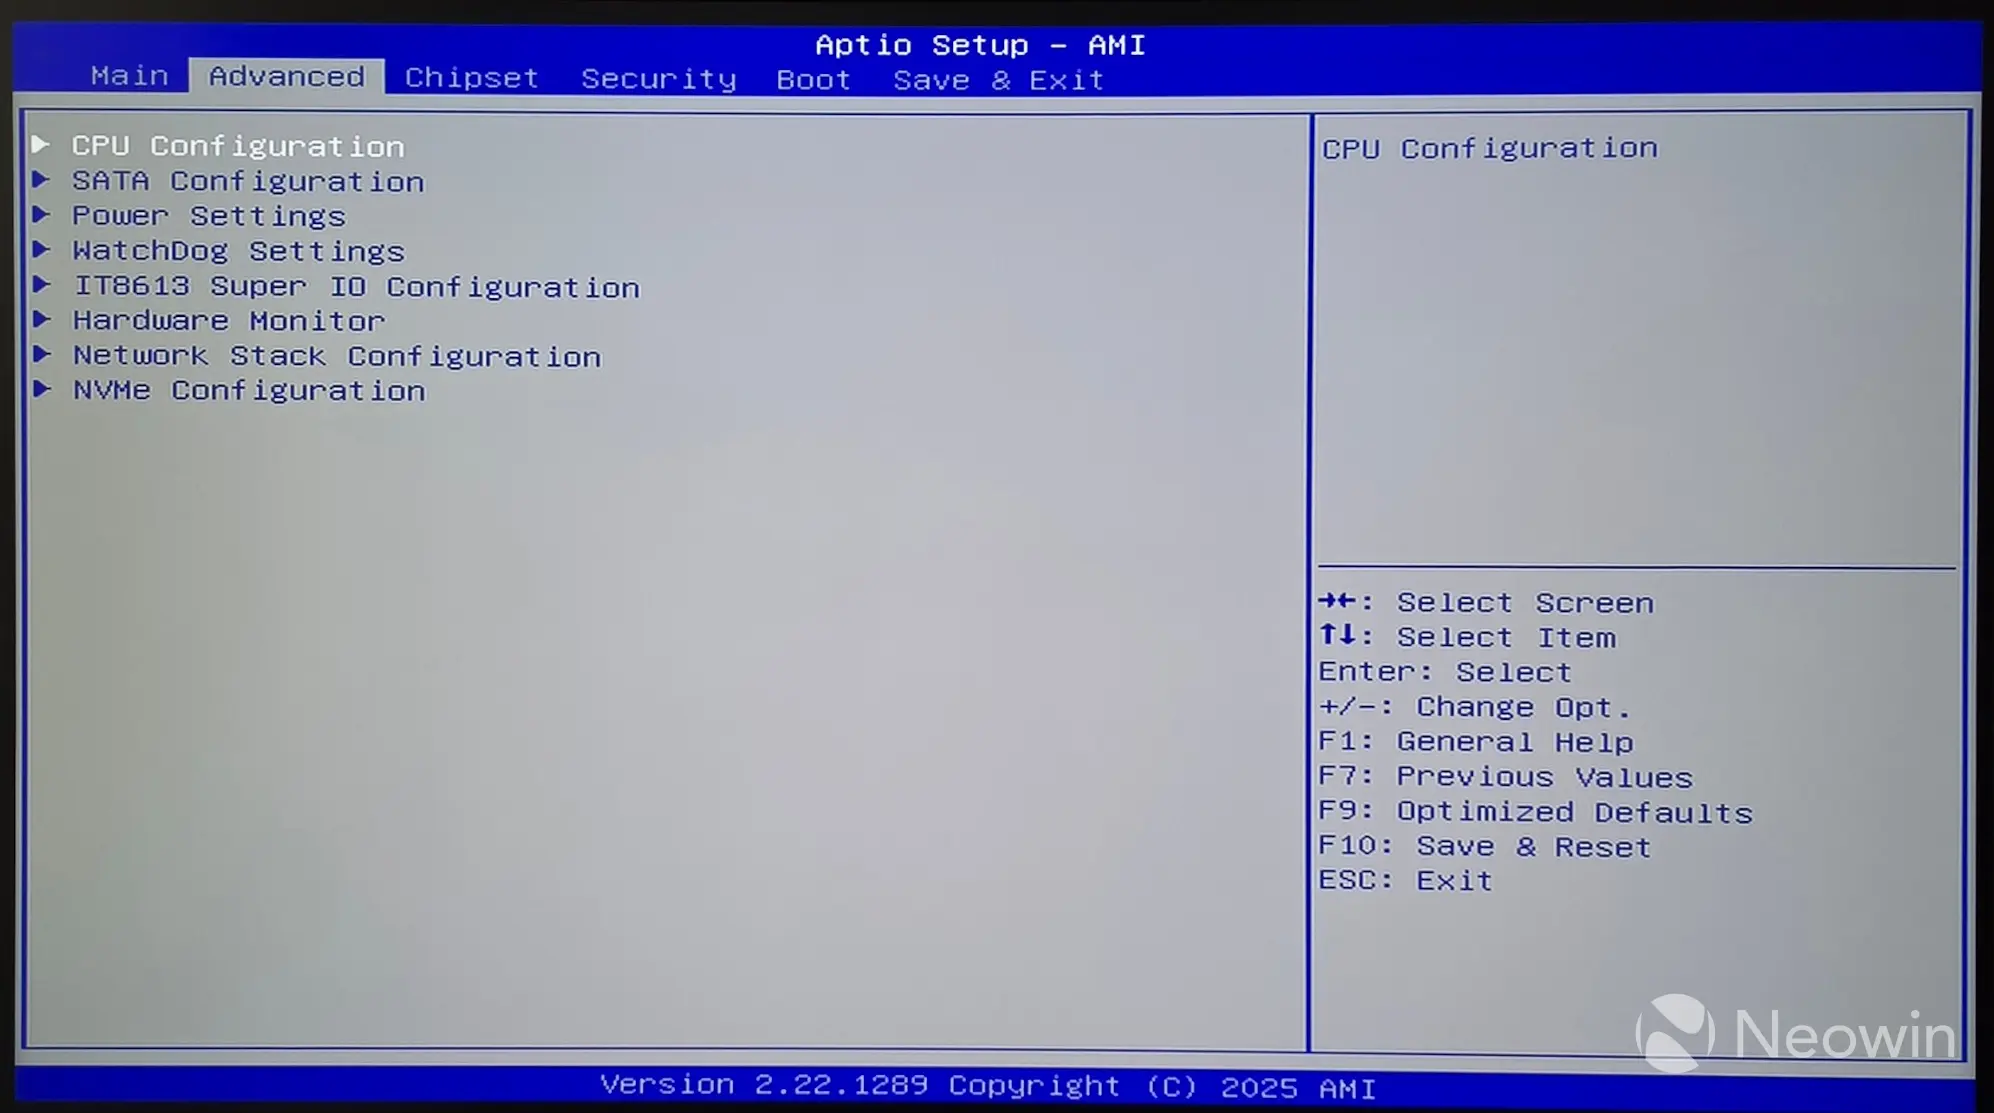
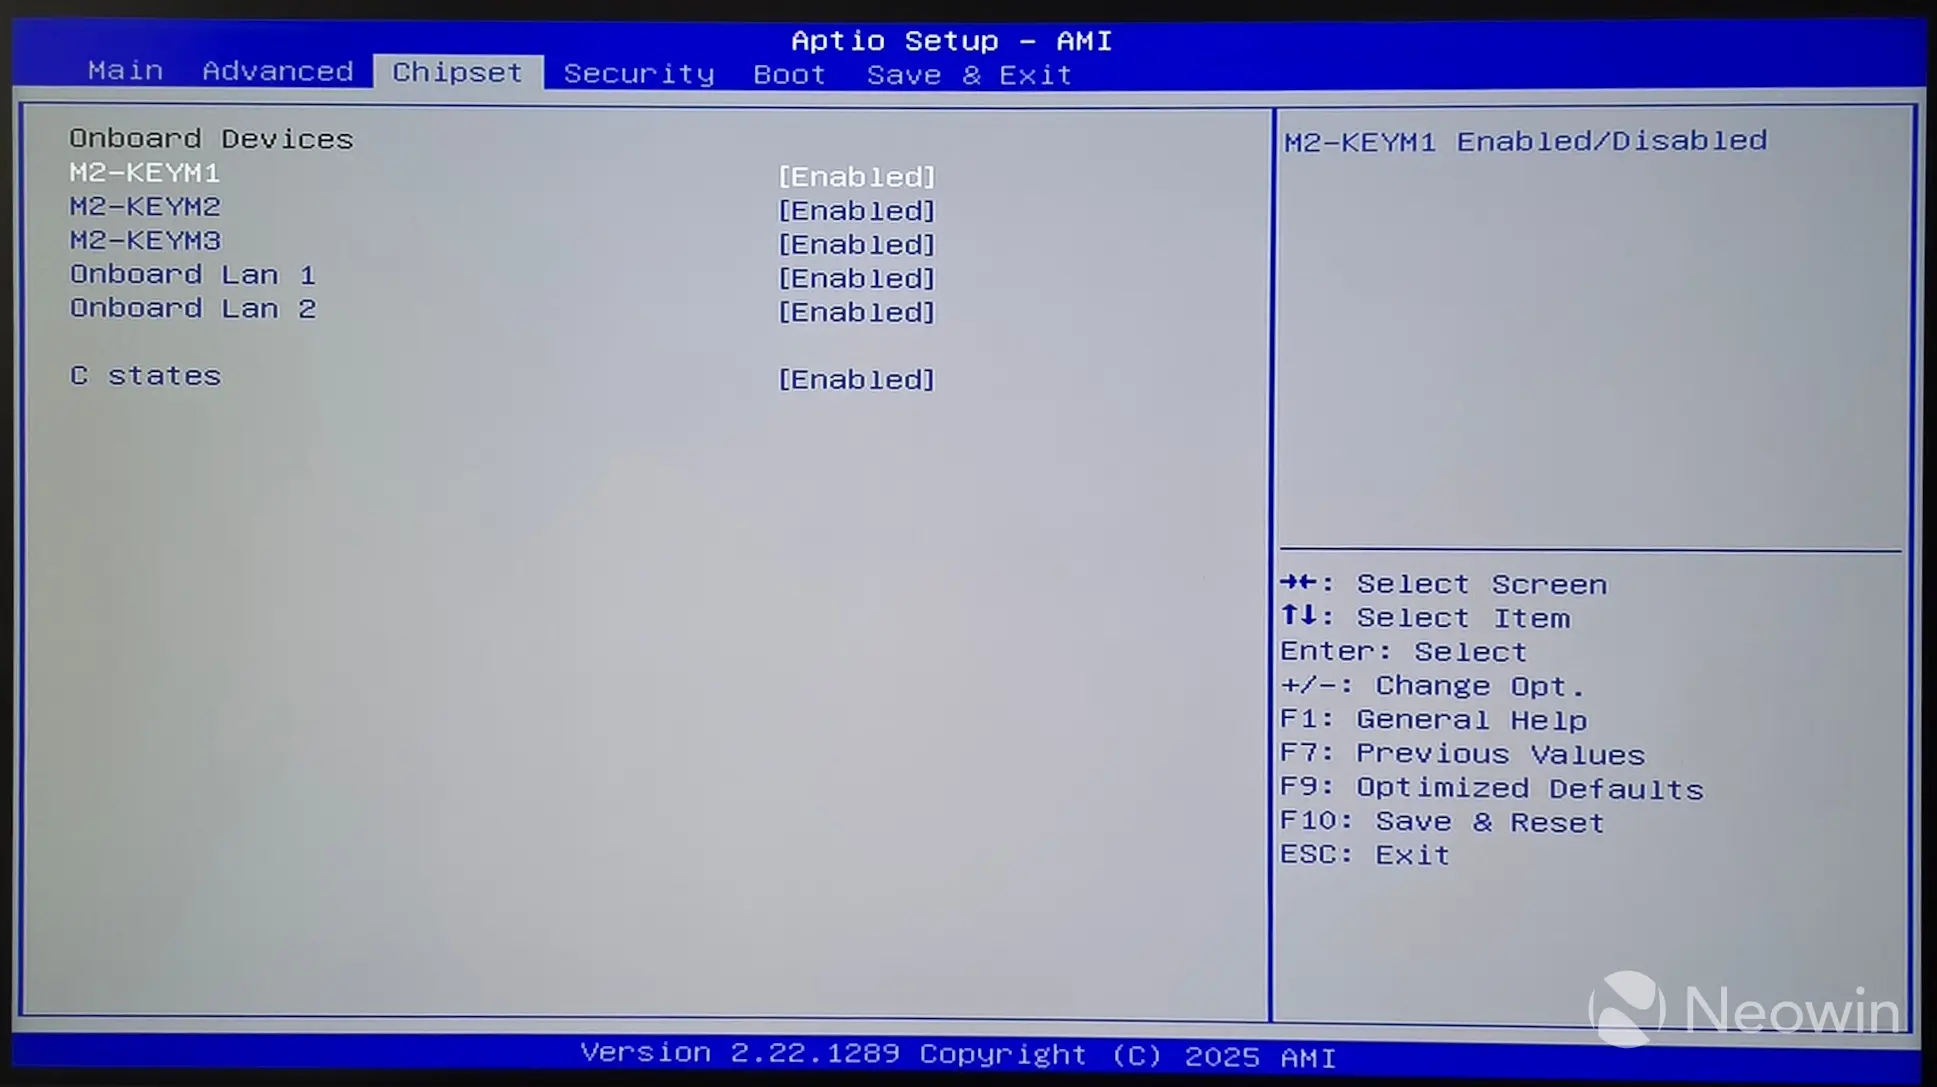
BIOS
The DXP4800 Pro includes an Aptio BIOS from American Megatrends (1) (2) (3), and you can set up pretty much everything here, including the boot order. To access the UGREEN NAS BIOS, you need a keyboard and an HDMI monitor connected to the device, then upon powering on, press the CTRL + F12 key combination during the boot-up process. This will interrupt the normal boot and display a menu, allowing you to enter the BIOS setup. The menu displays booting to UGOS, any USB sticks you have attached to it, and Enter Setup (the BIOS).
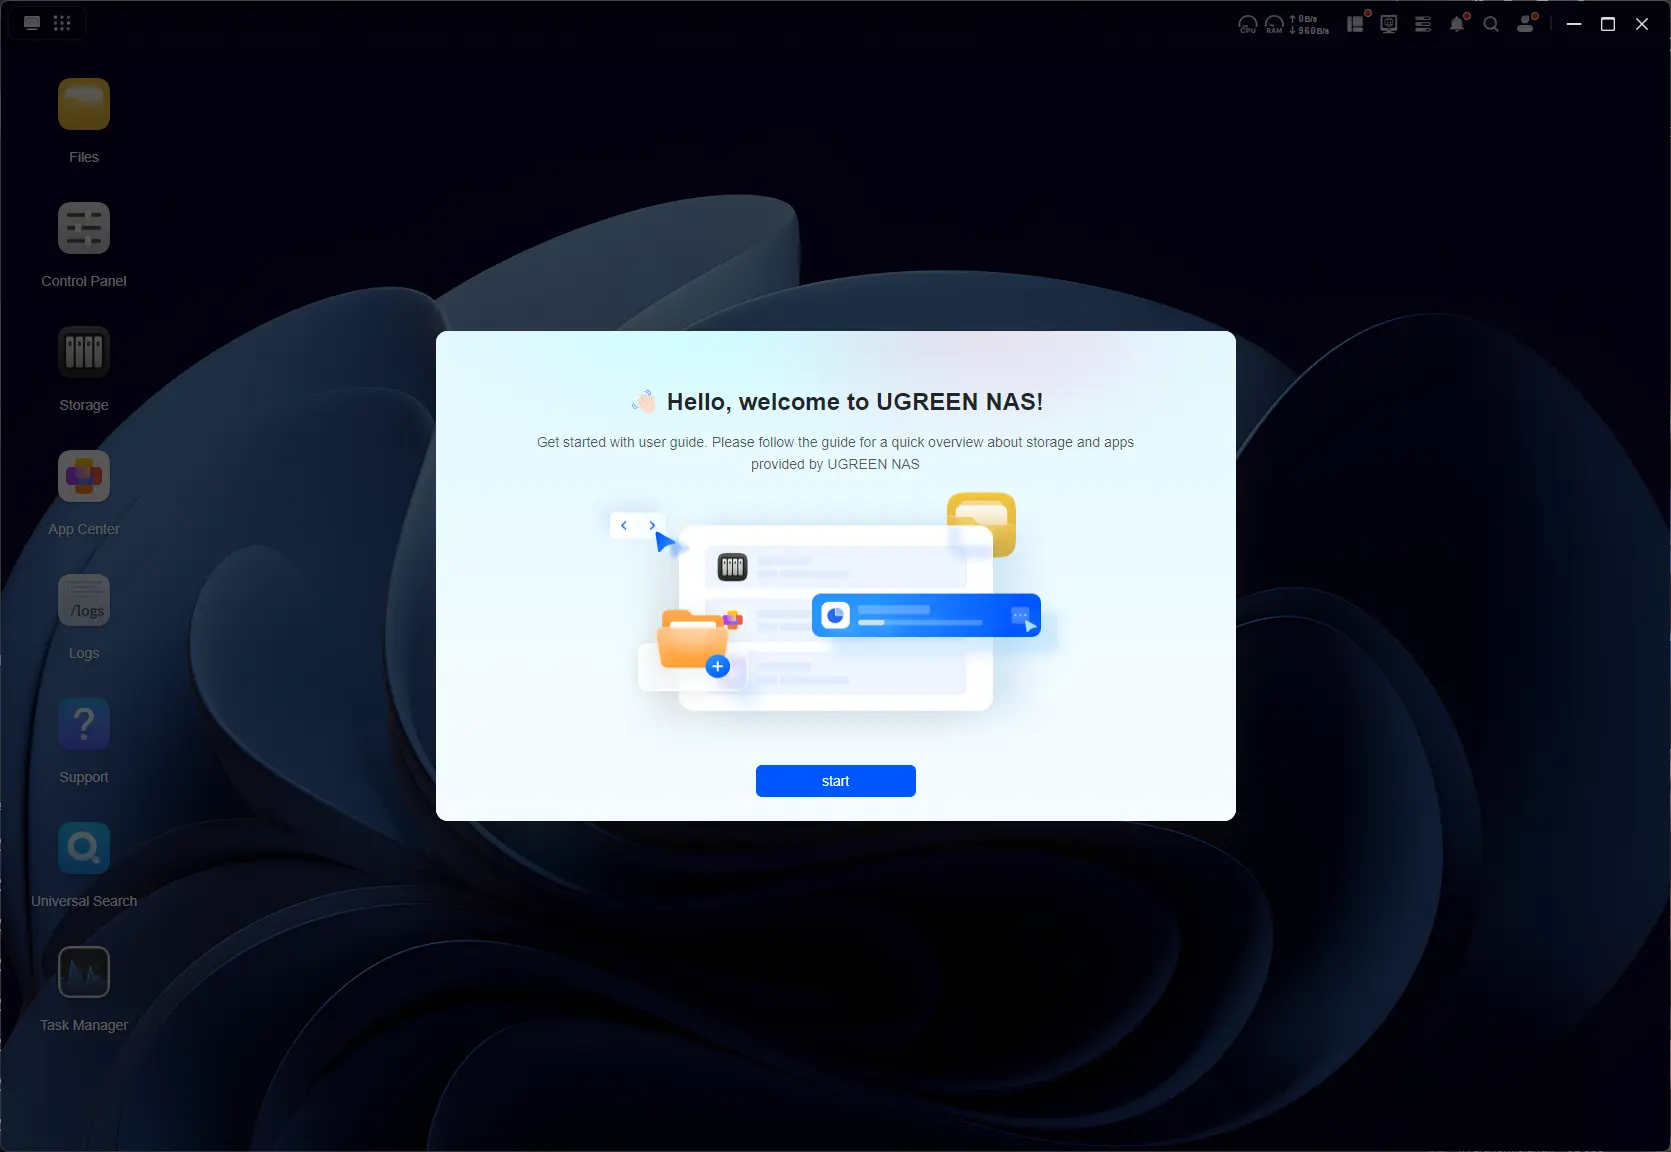
Initial Setup
Aside from the web address https://find.ugnas.com, which you can use to find your UGREEN NAS in any browser, there's also an app for that you can use for Windows, Mac, Apple TVOS, Android, and iOS, which we'll get into a bit later.
| UGREEN NAS Finder | Login screen |
|---|---|
|
|
|
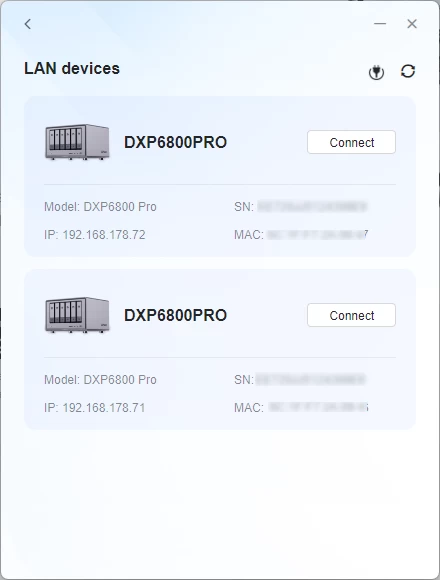
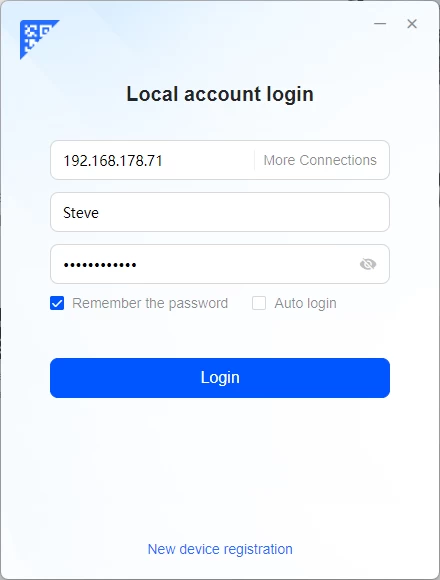
The above two images are from the Windows app that, upon opening, scans for any UGREEN NAS devices on the network, and then either lets you log in to an already initialized system or set one up.
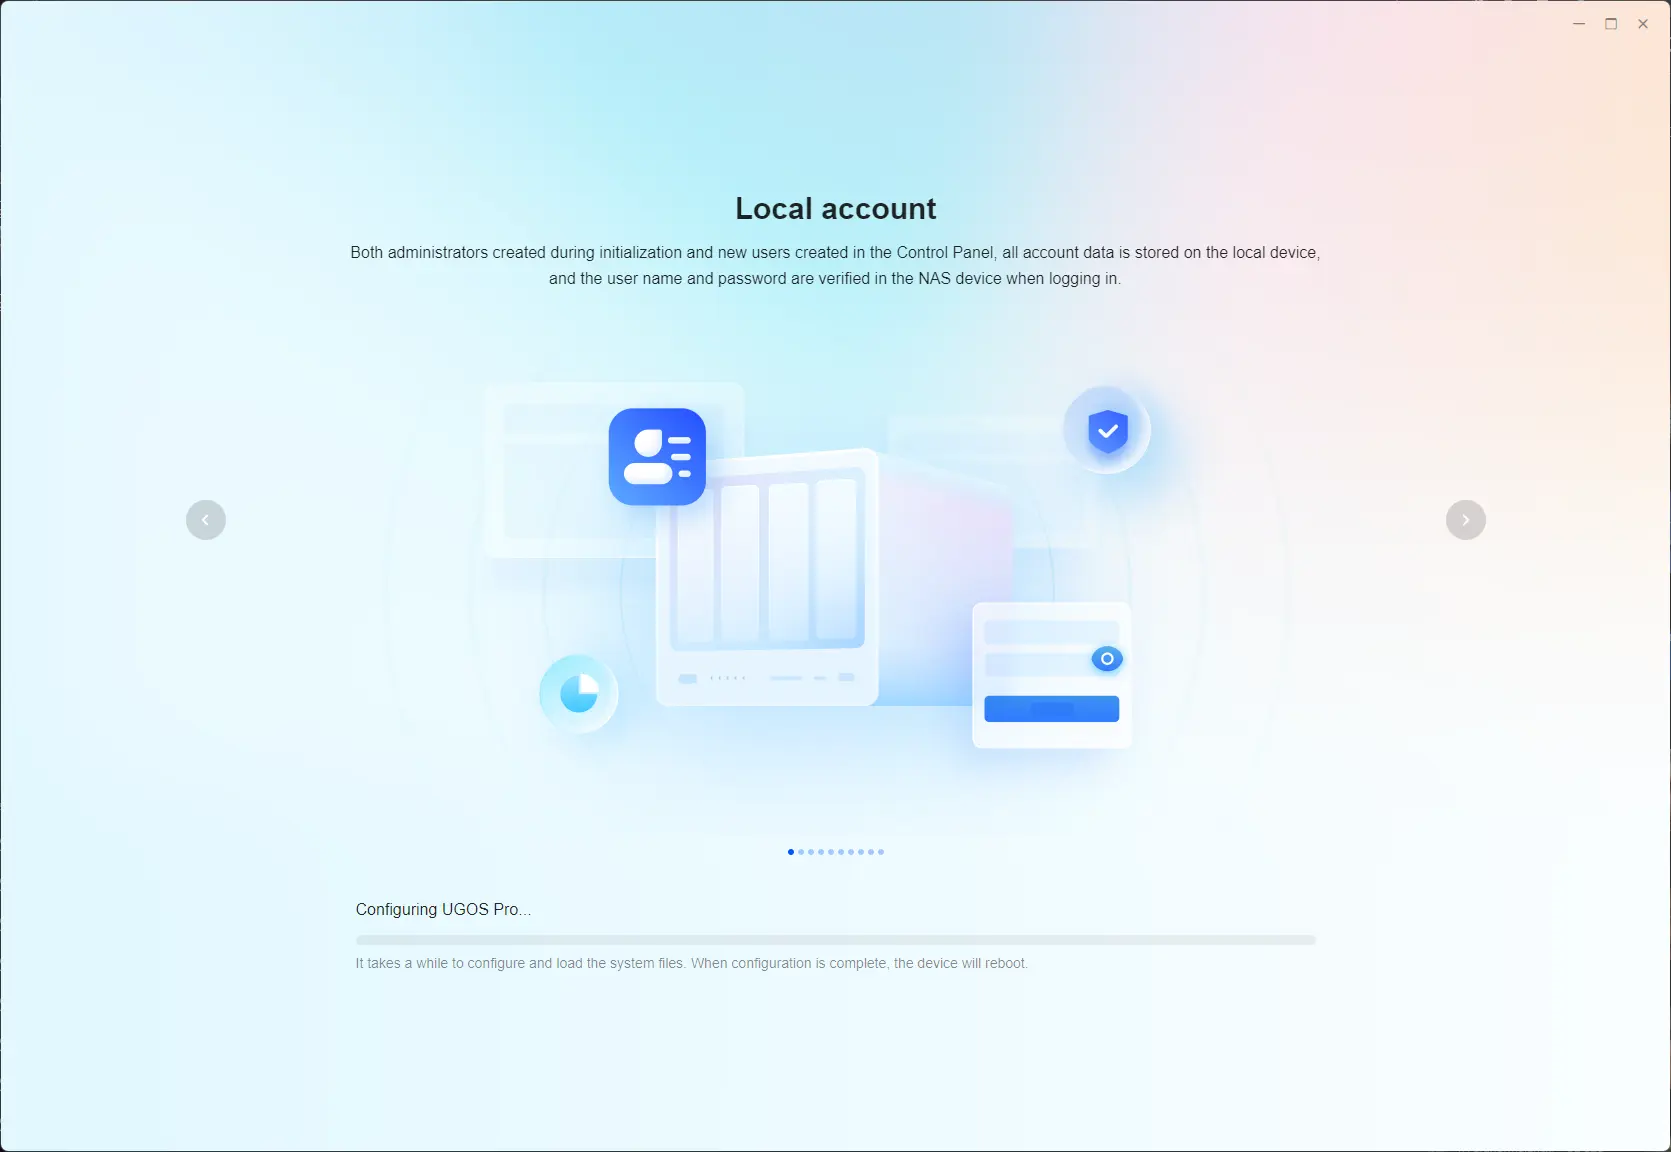
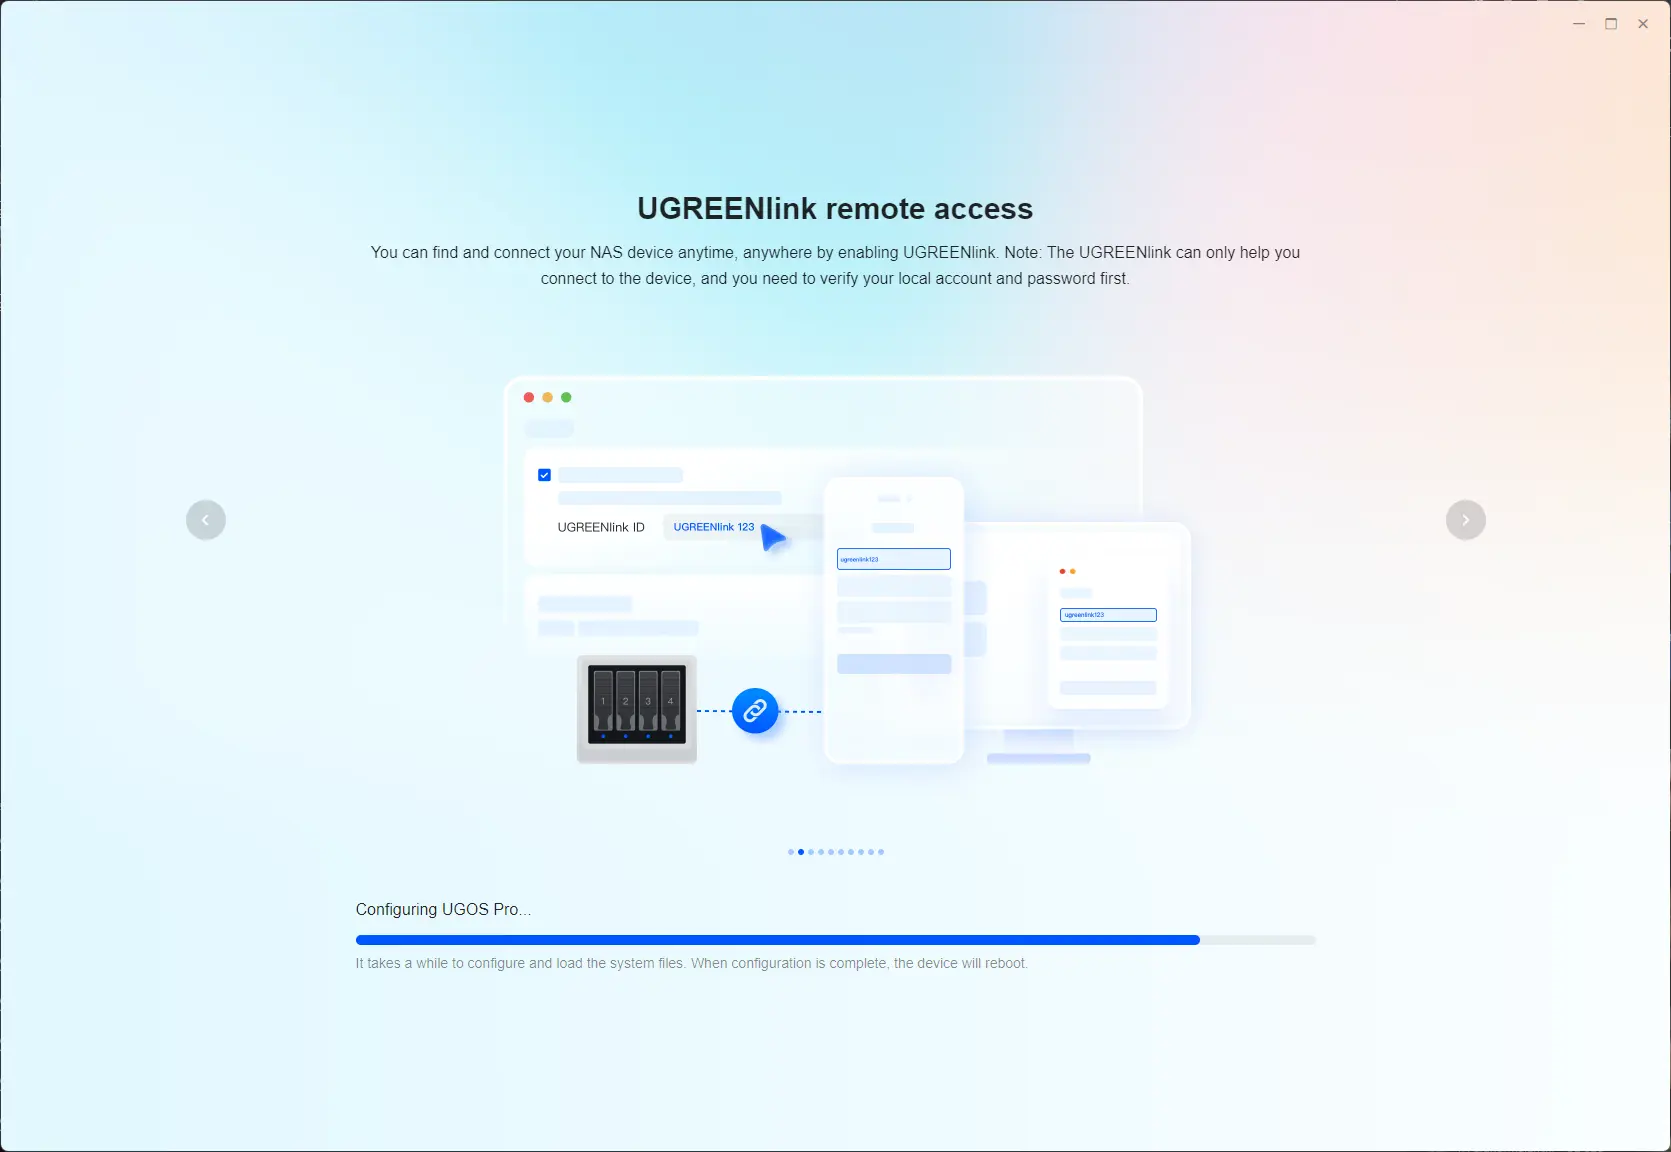
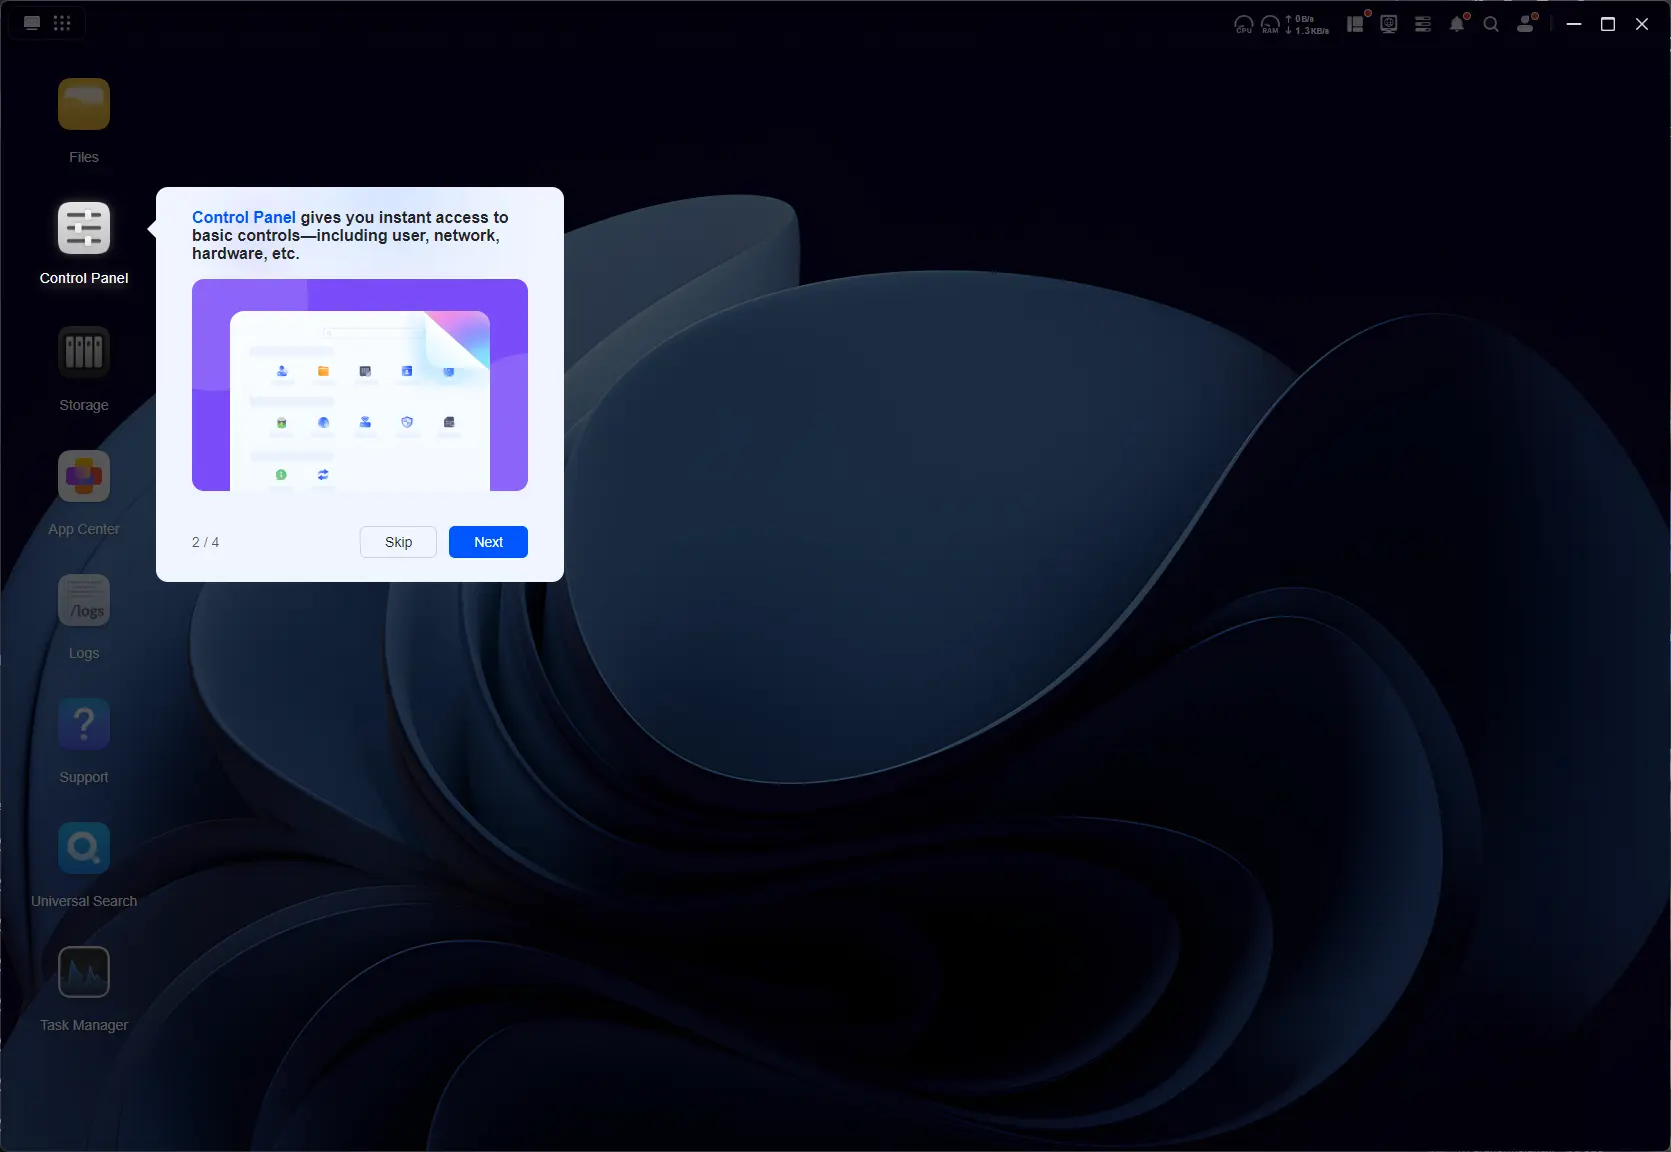
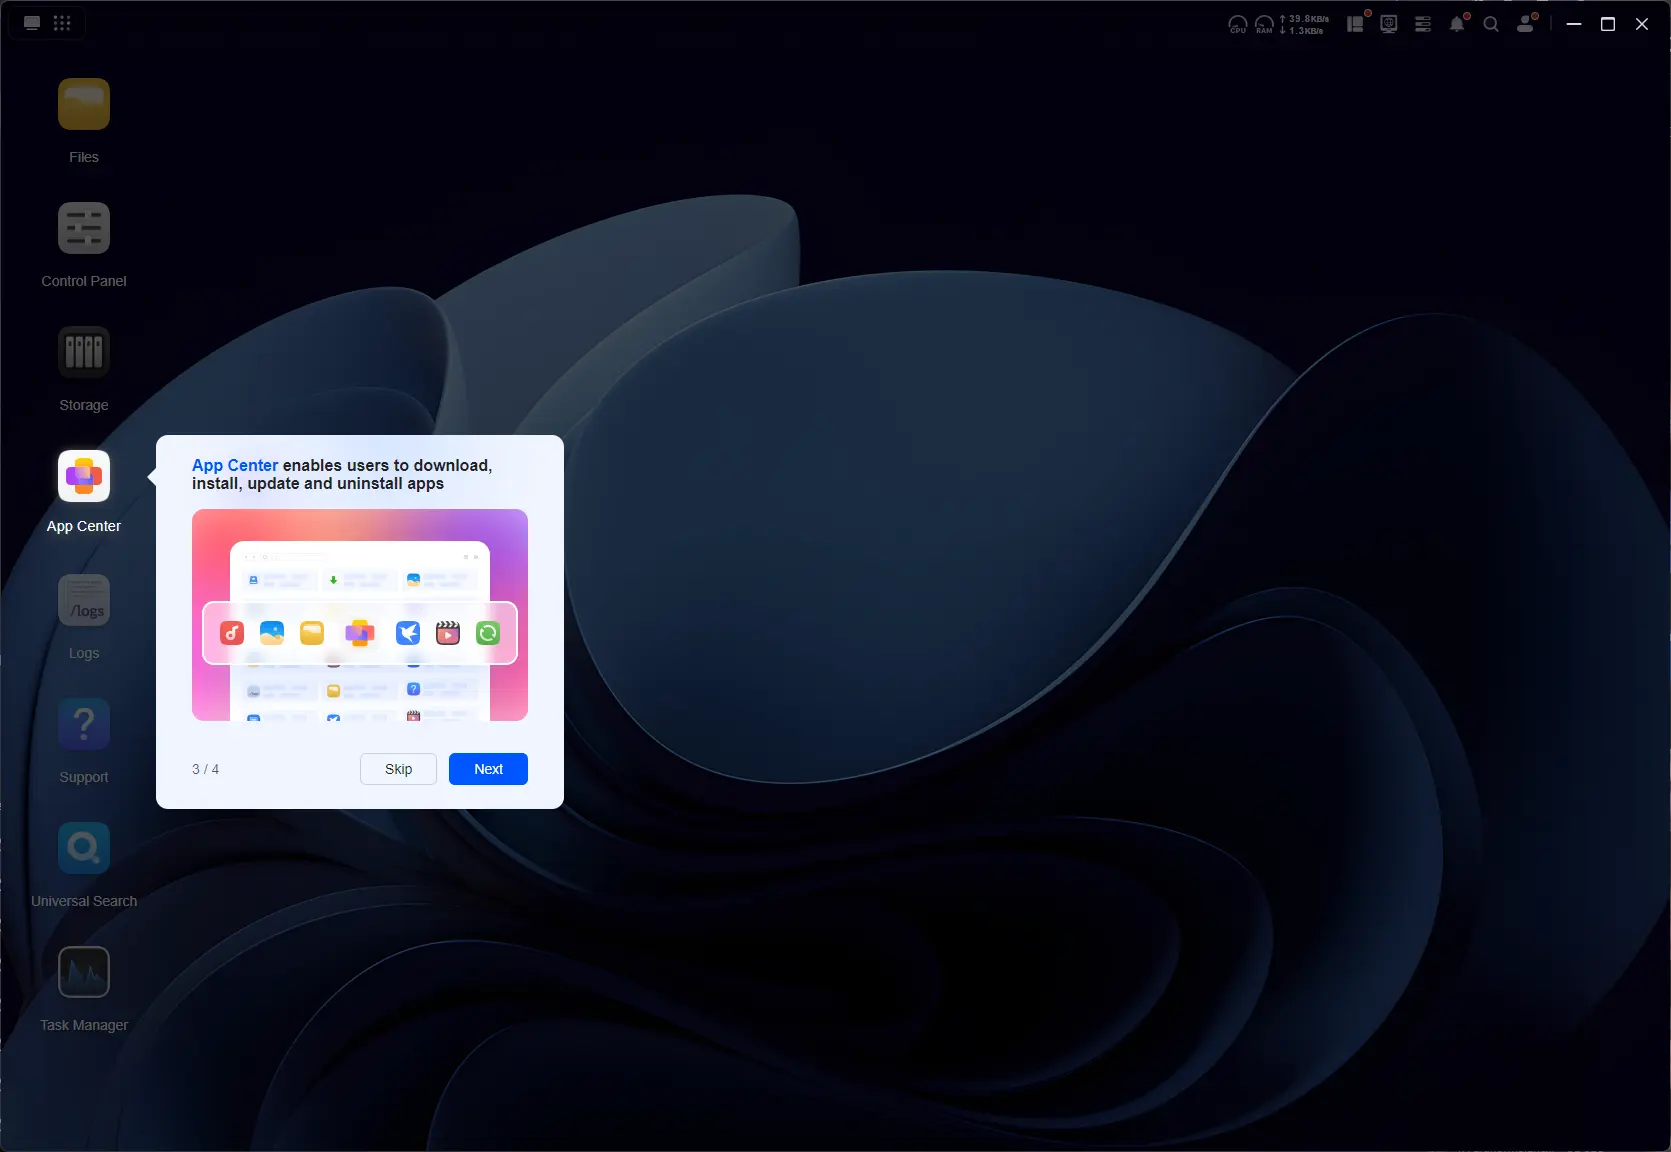
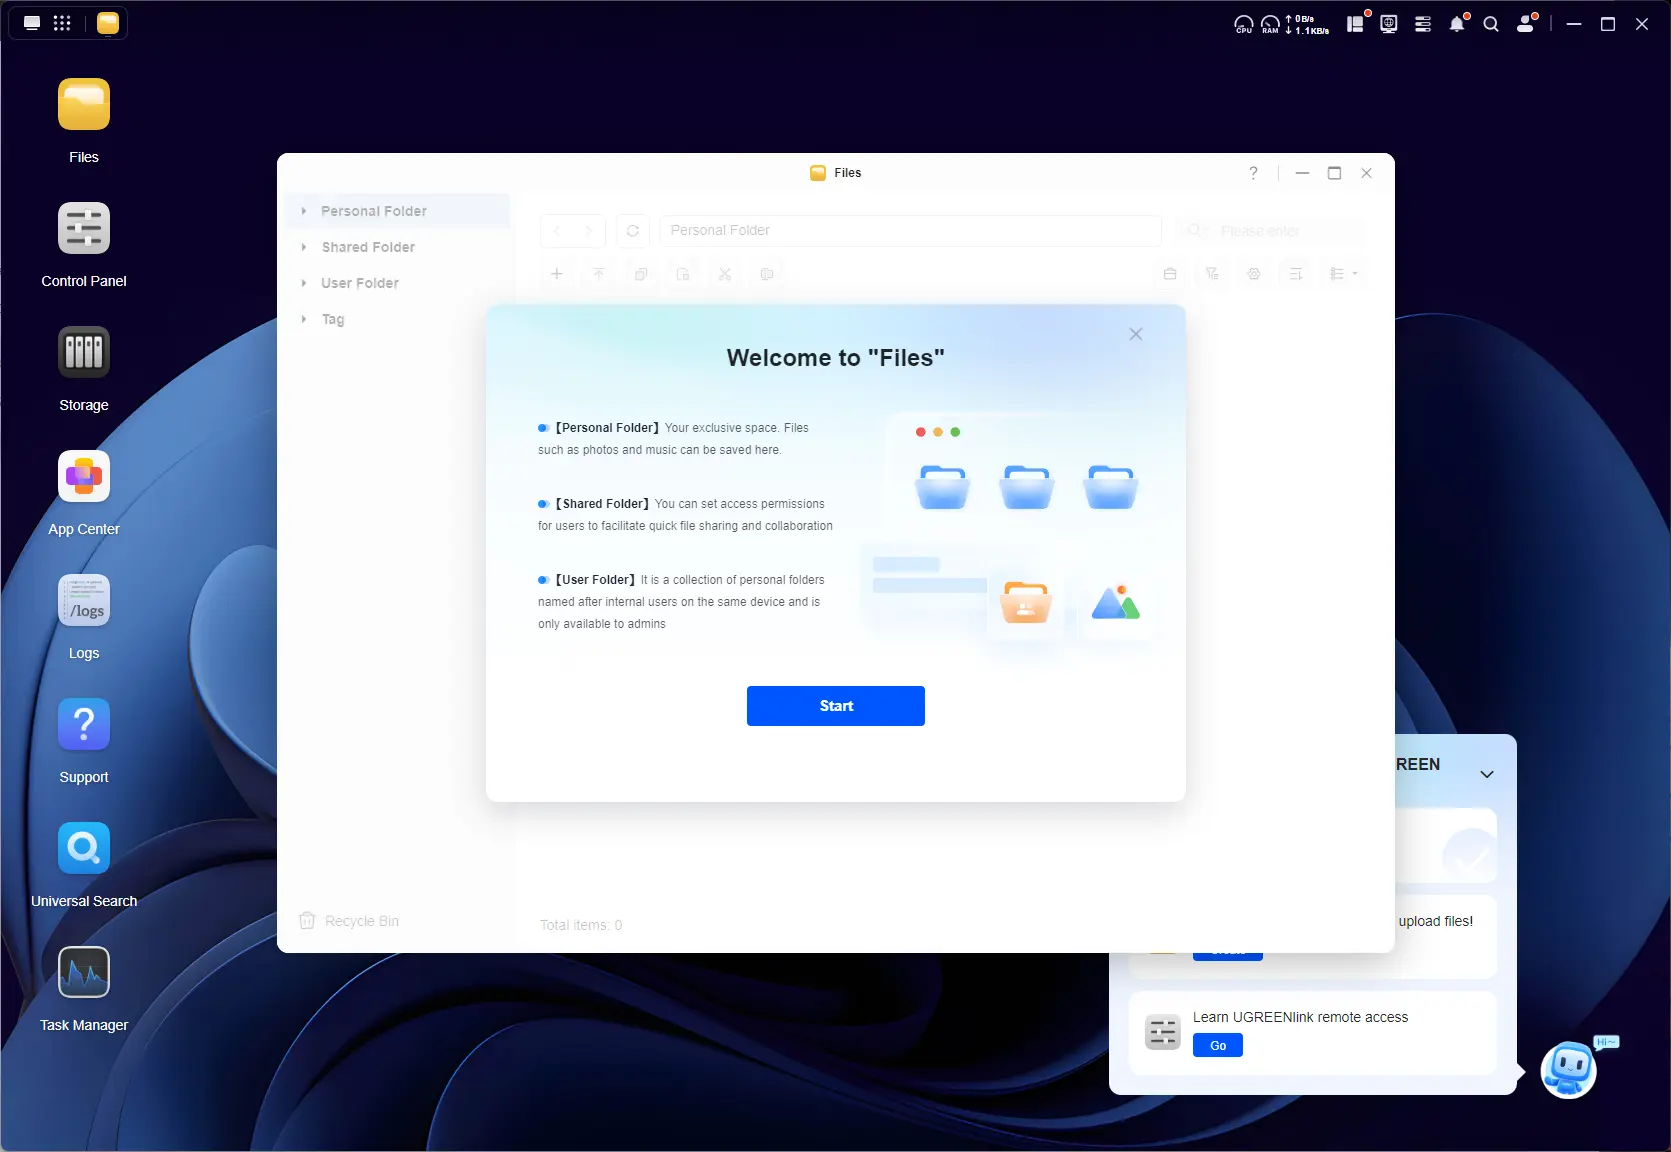
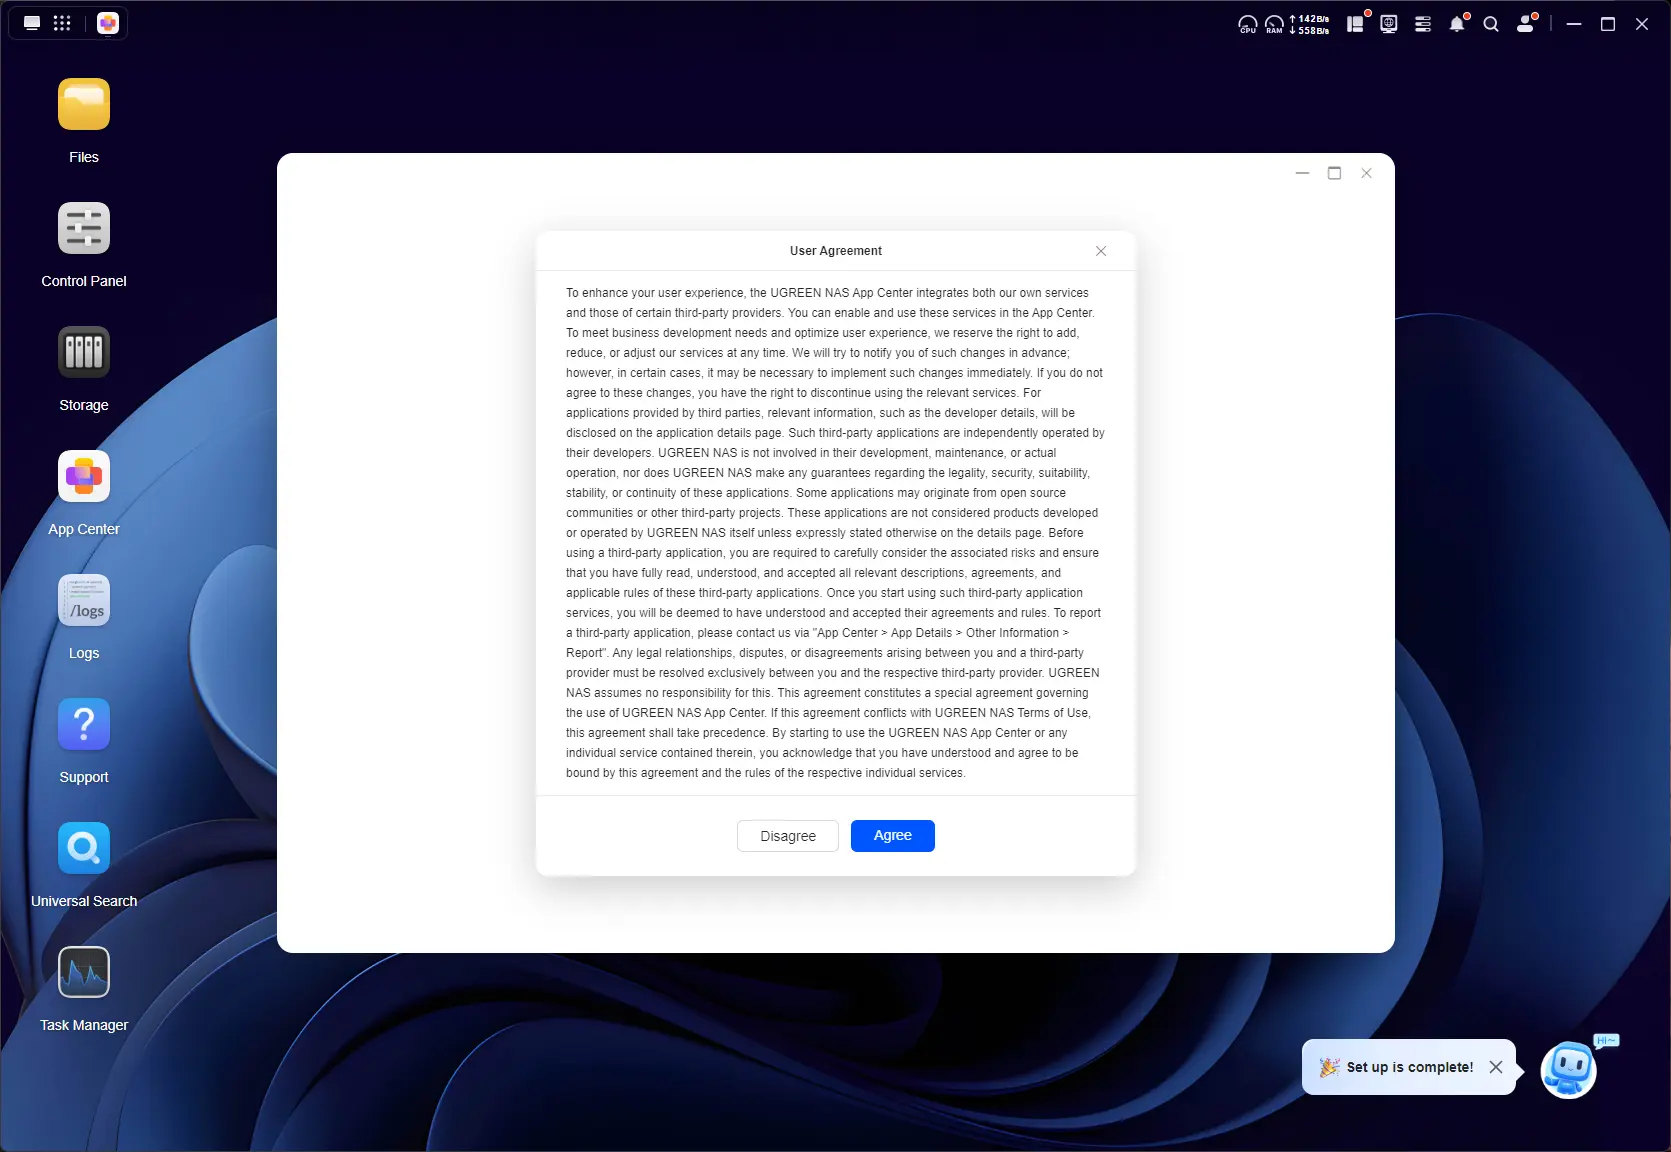
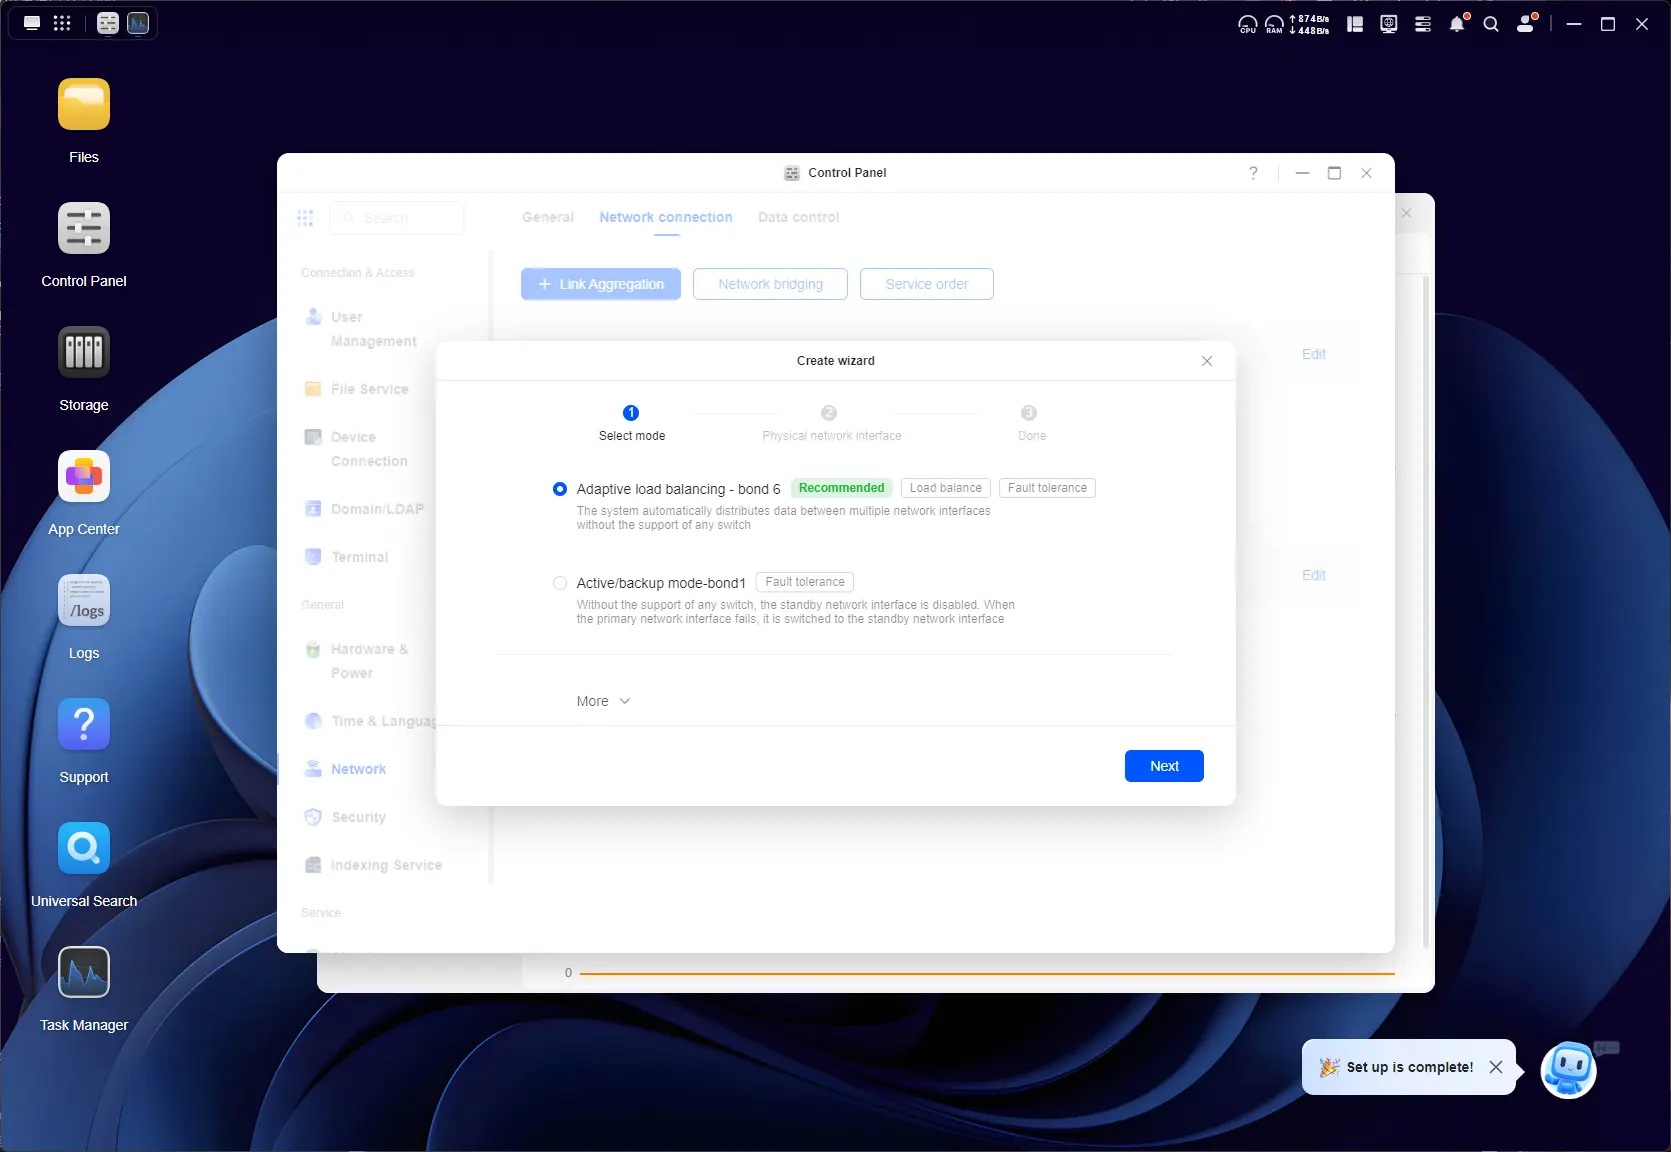
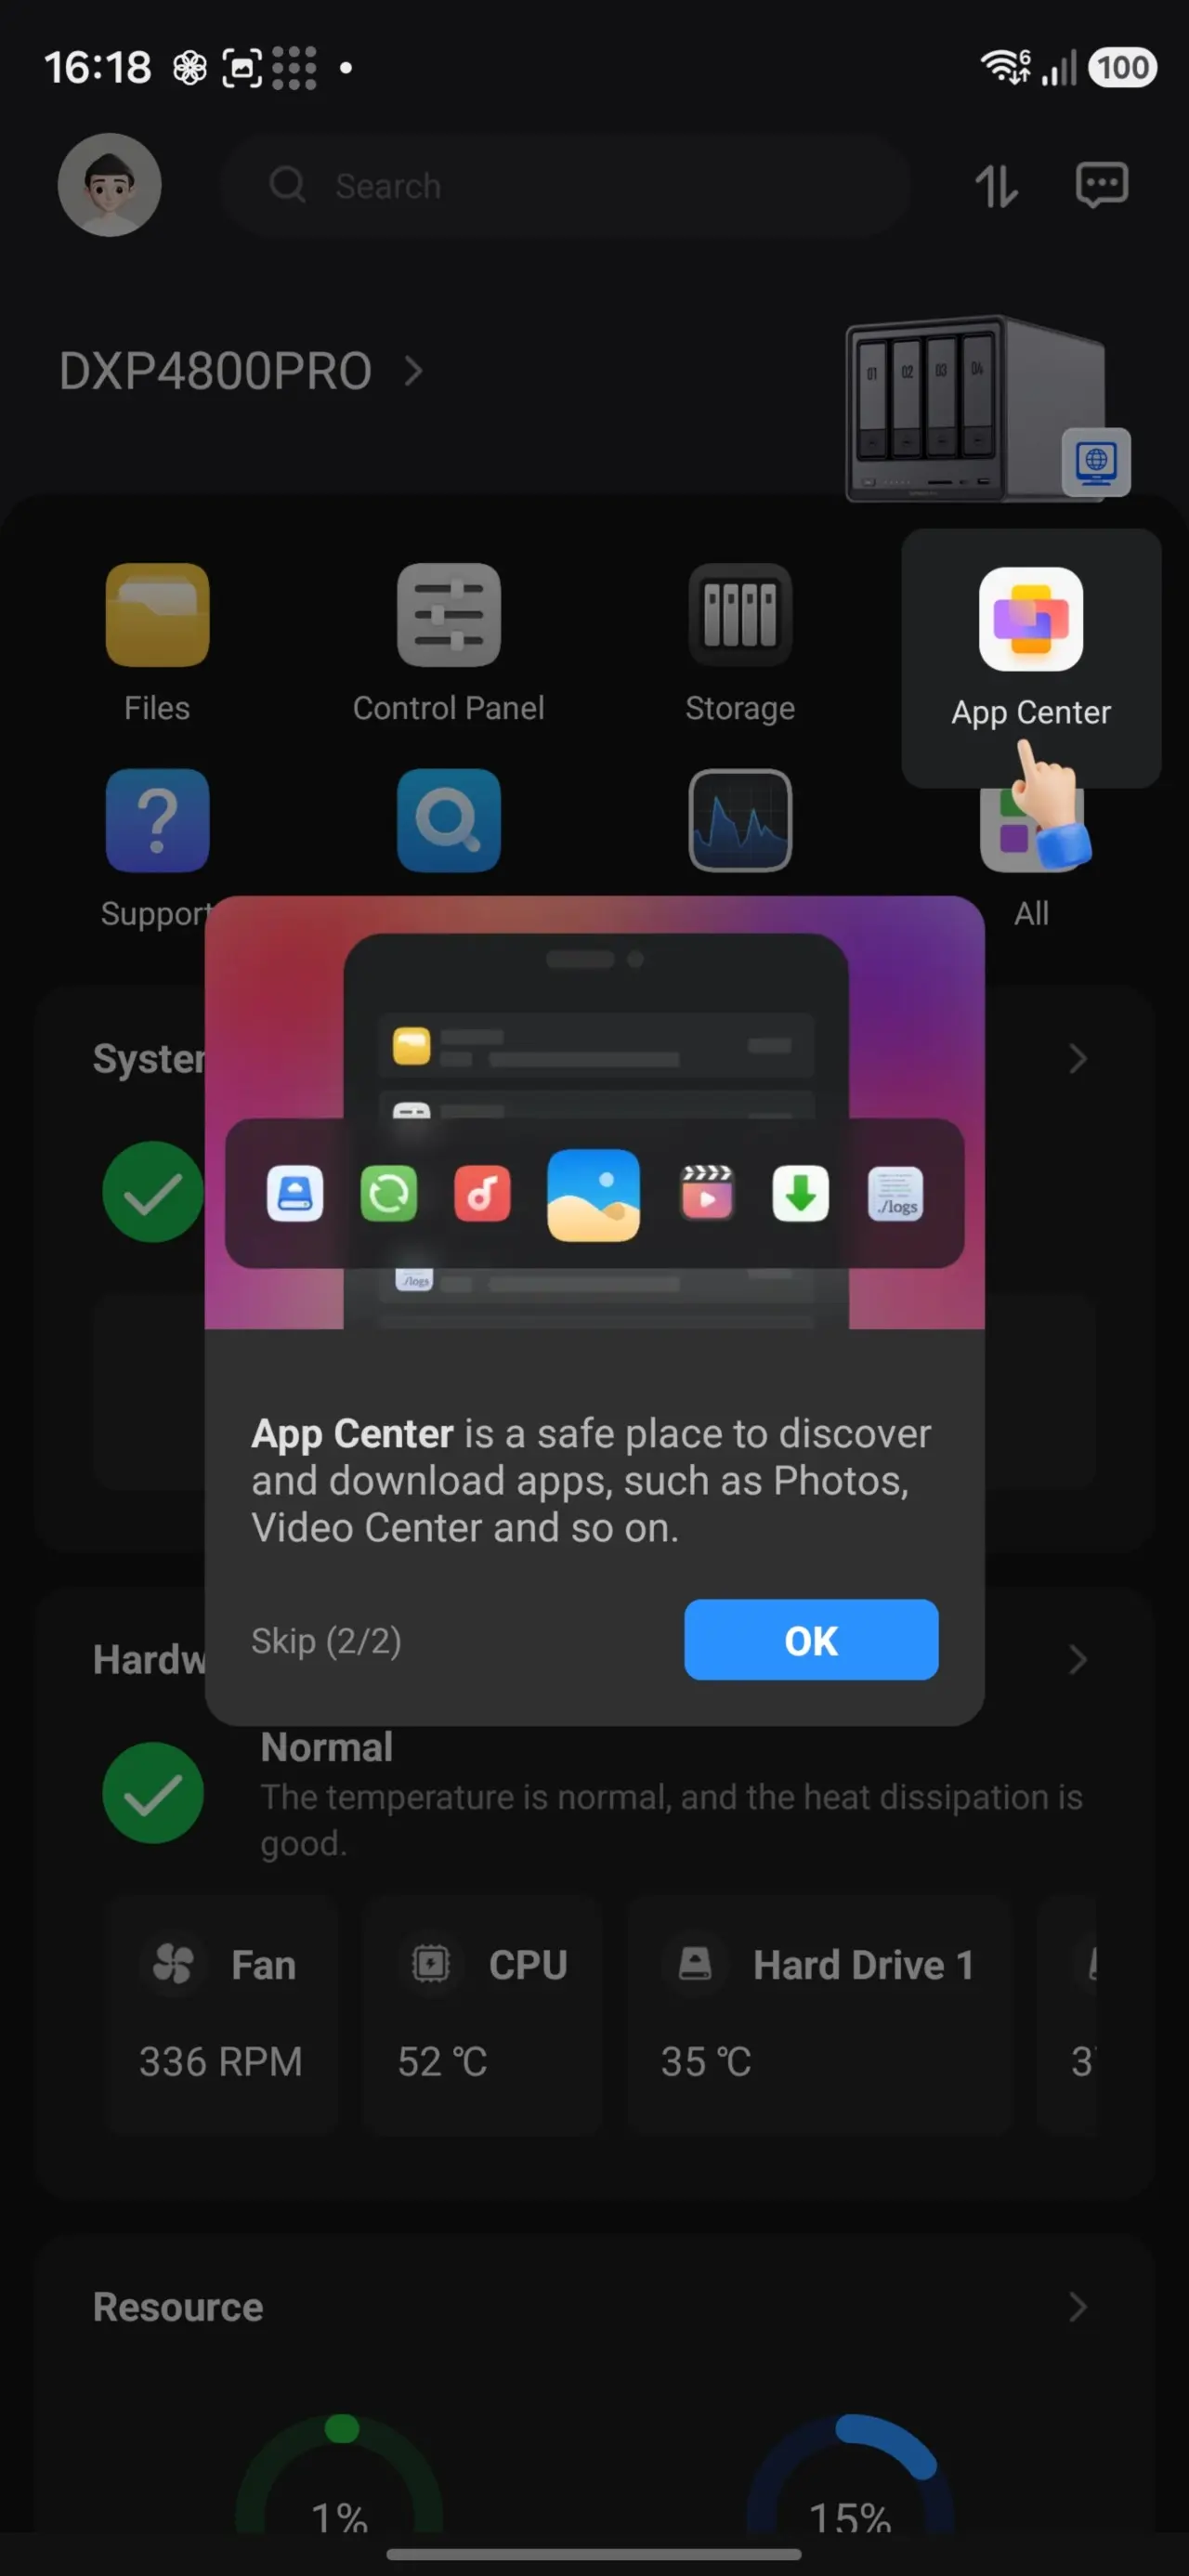
I did the setup process through the dedicated UGREEN NAS app for Windows. It is pretty straightforward and through a wizard, which you can view in full below:
Gallery: DXP4800 Pro Setup
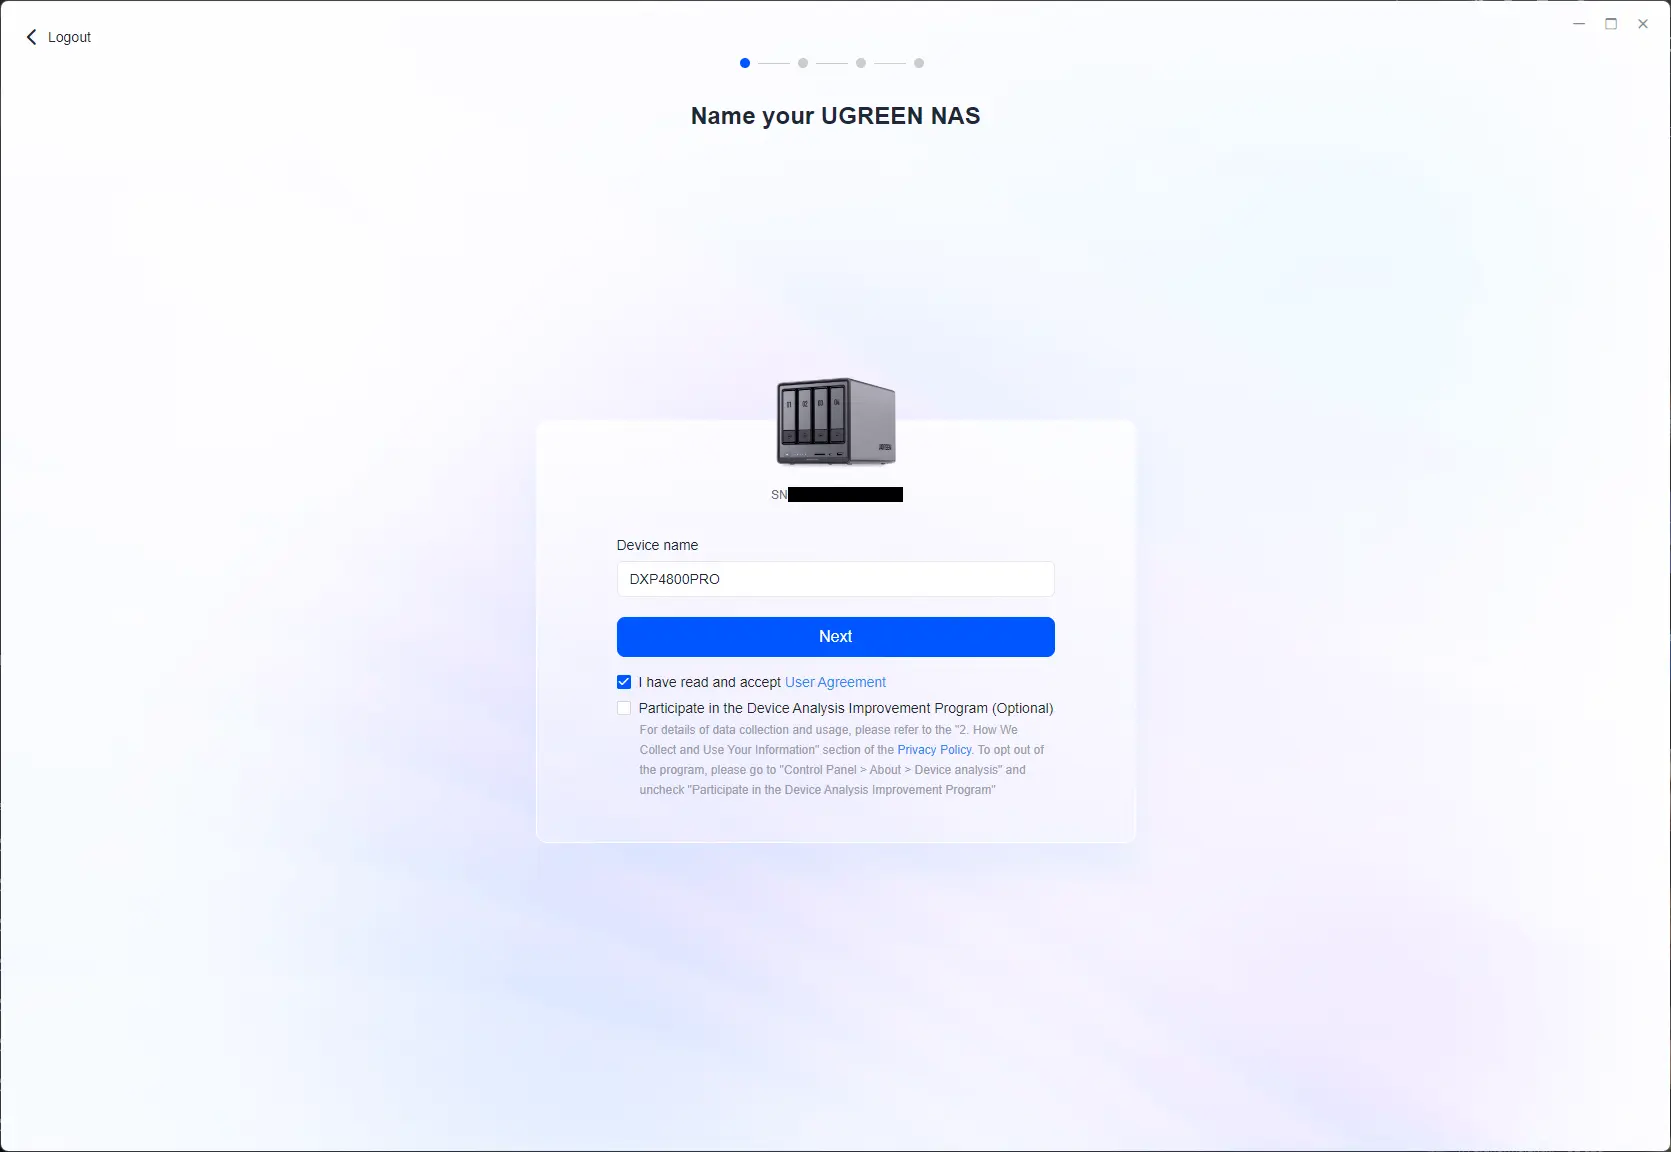
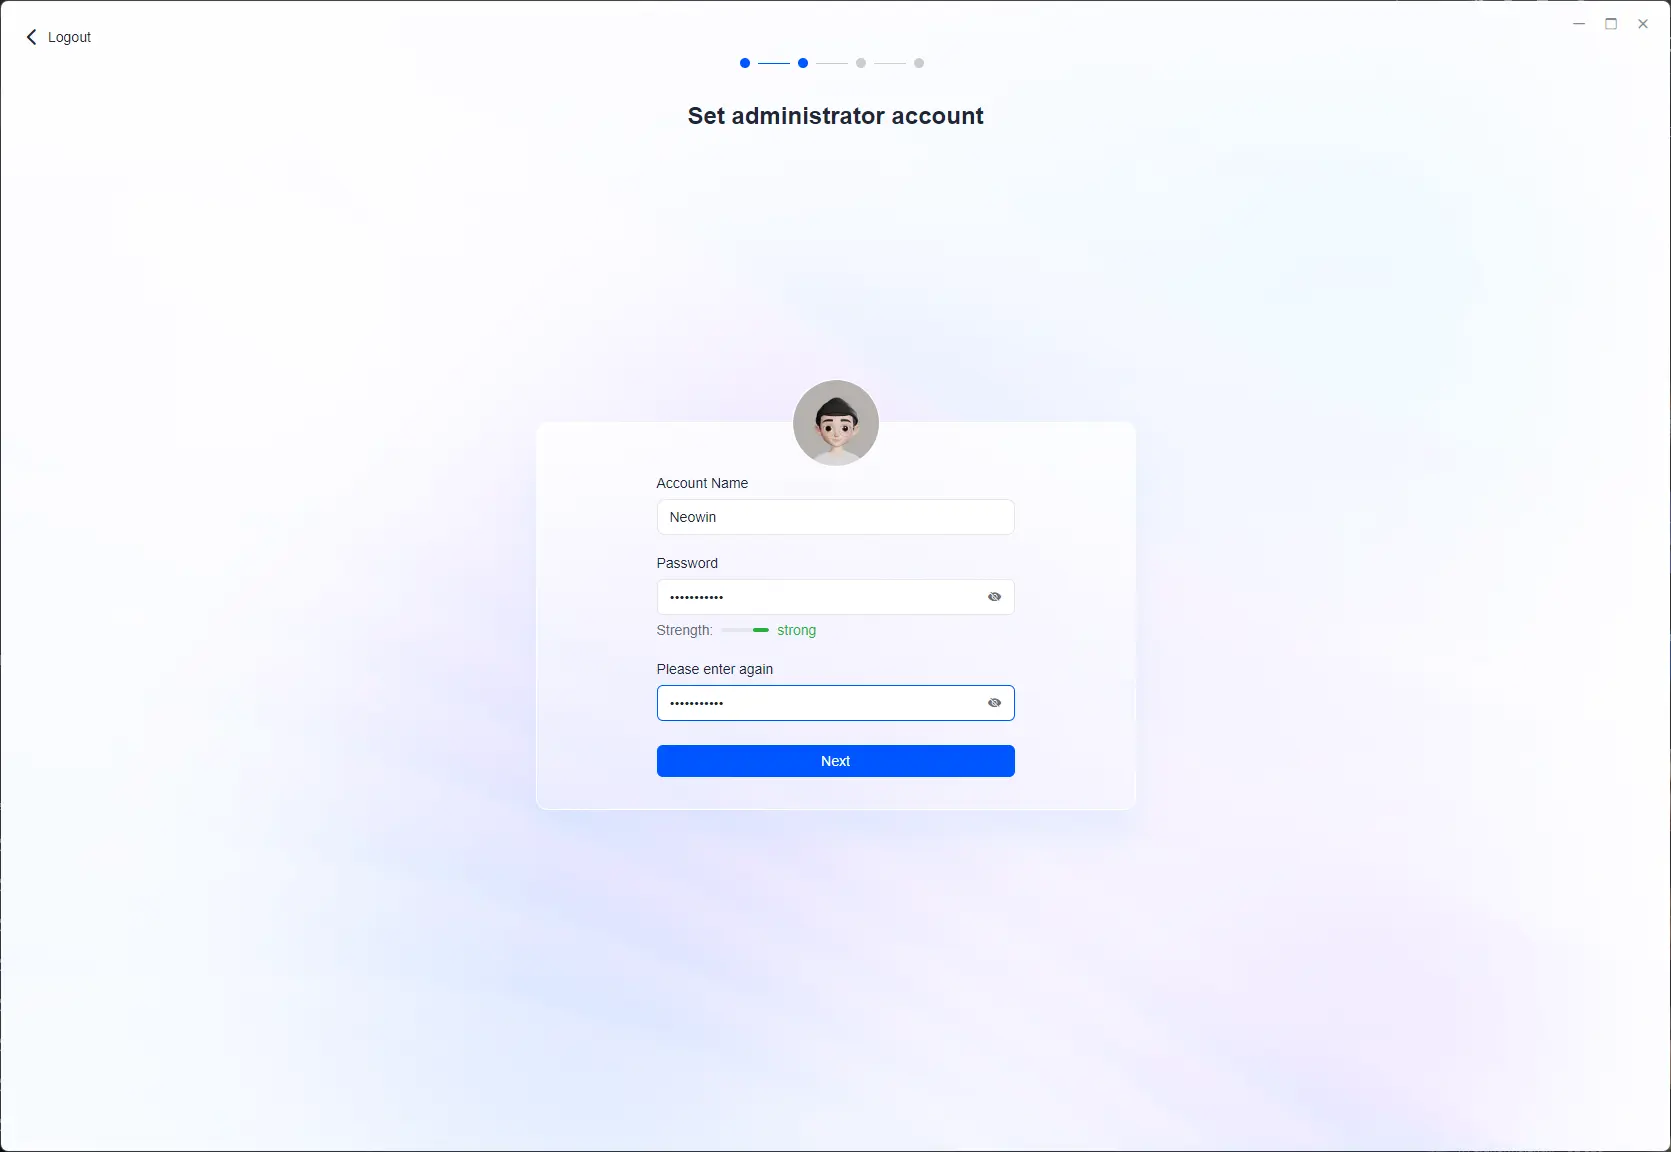

I have no complaints about the setup; everything worked, and UGOS does not decide to throw everything into a Storage Pool during this procedure, which I personally find incredibly important. It is a step you must take once the initial setup has completed (good stuff!) This means you will be able to determine exactly which drives and what drives will make up the Storage Pool(s).
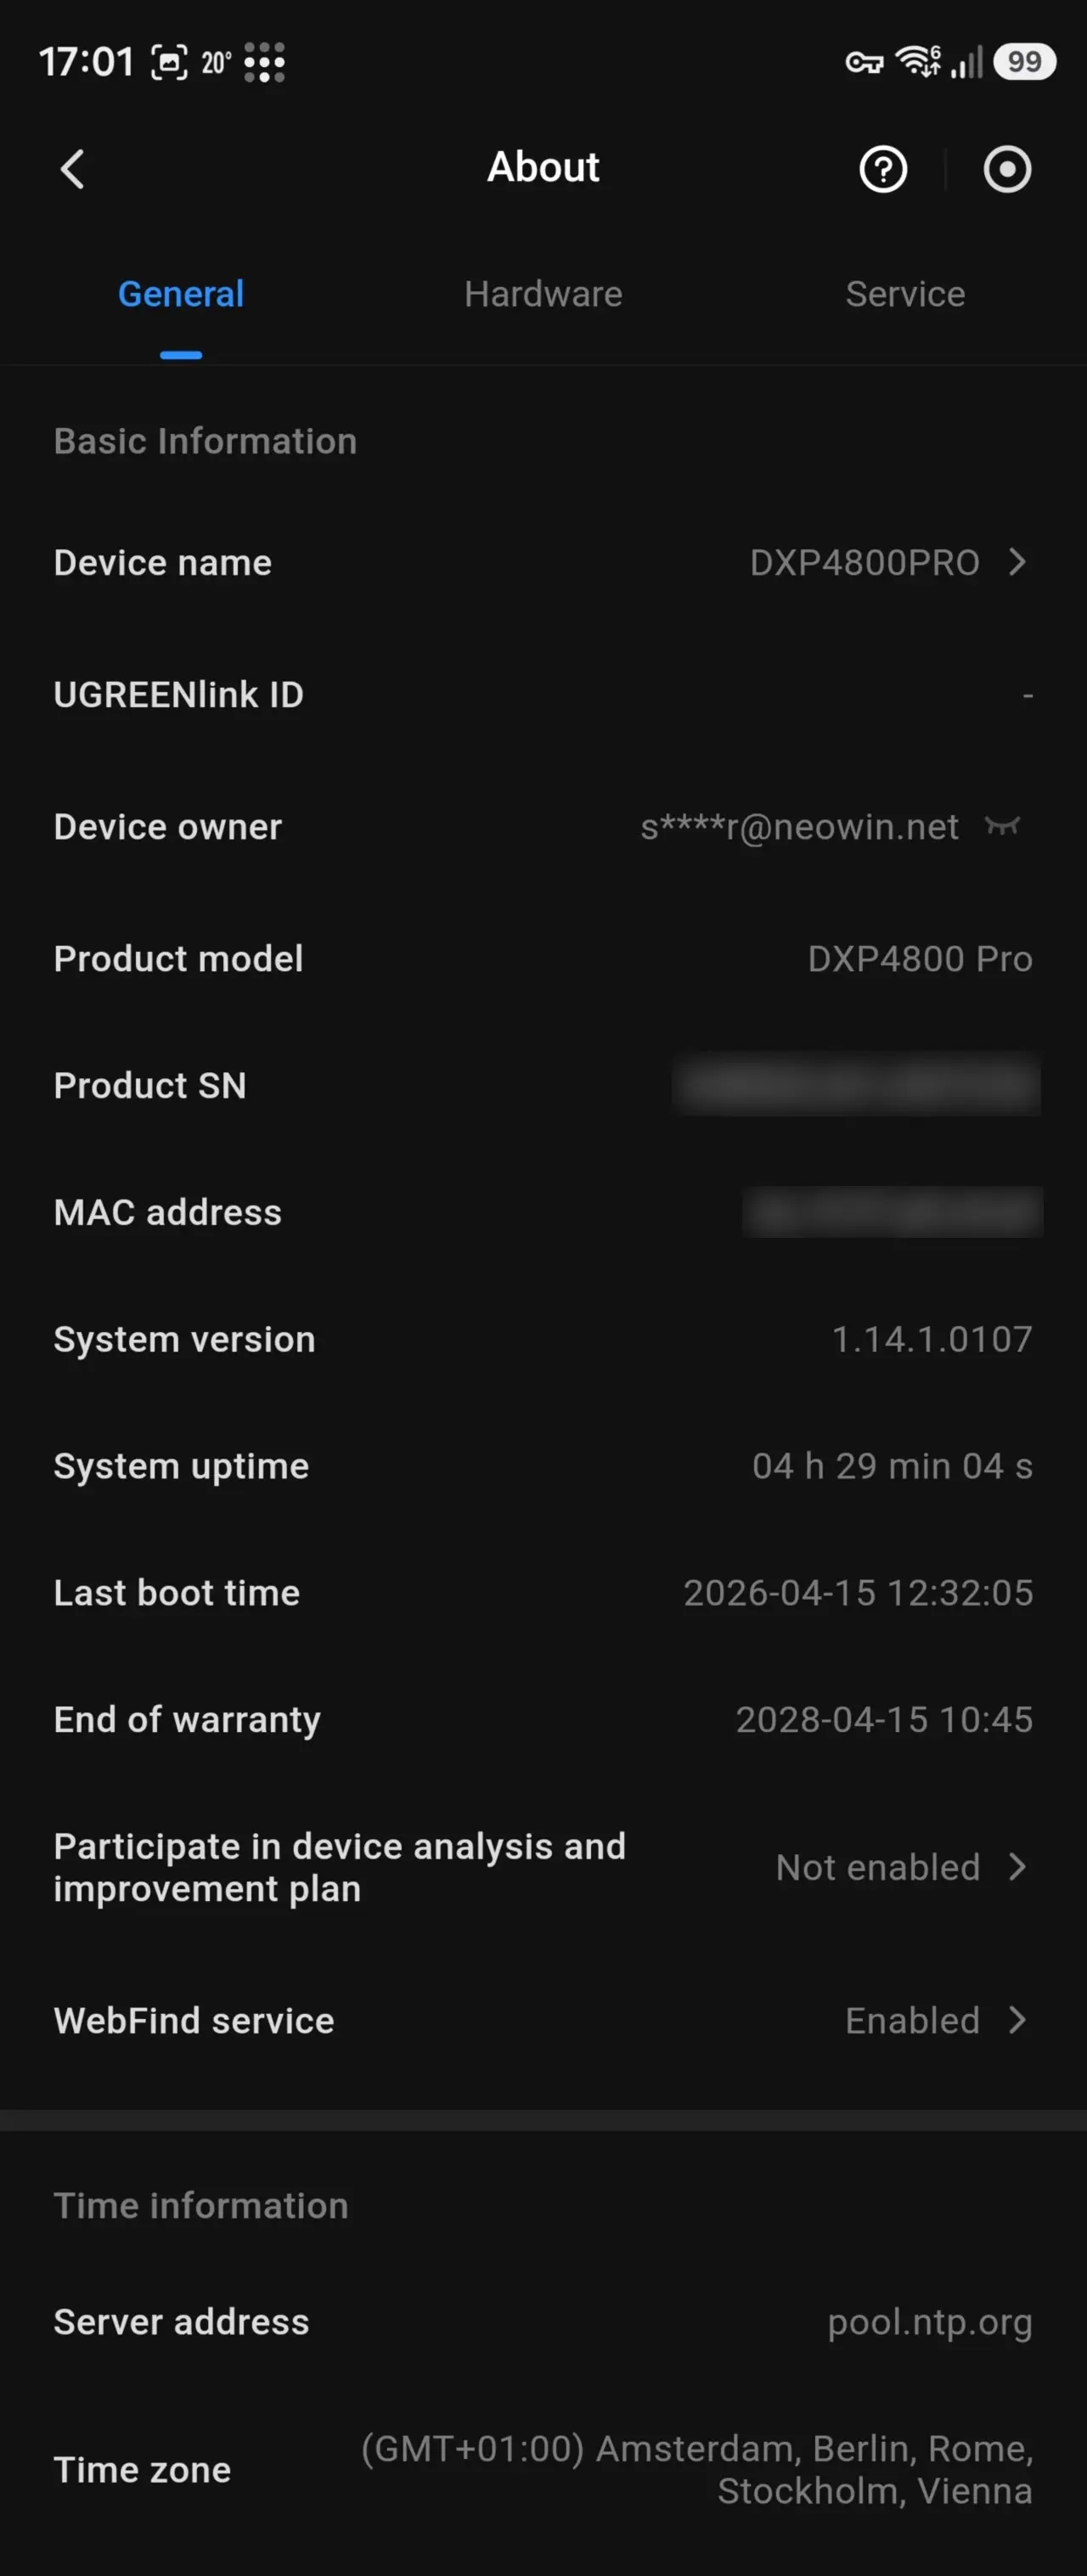
As you may have seen from the teardown, the DXP4800 Pro includes a 128 GB Flash drive, which is where UGOS lives.
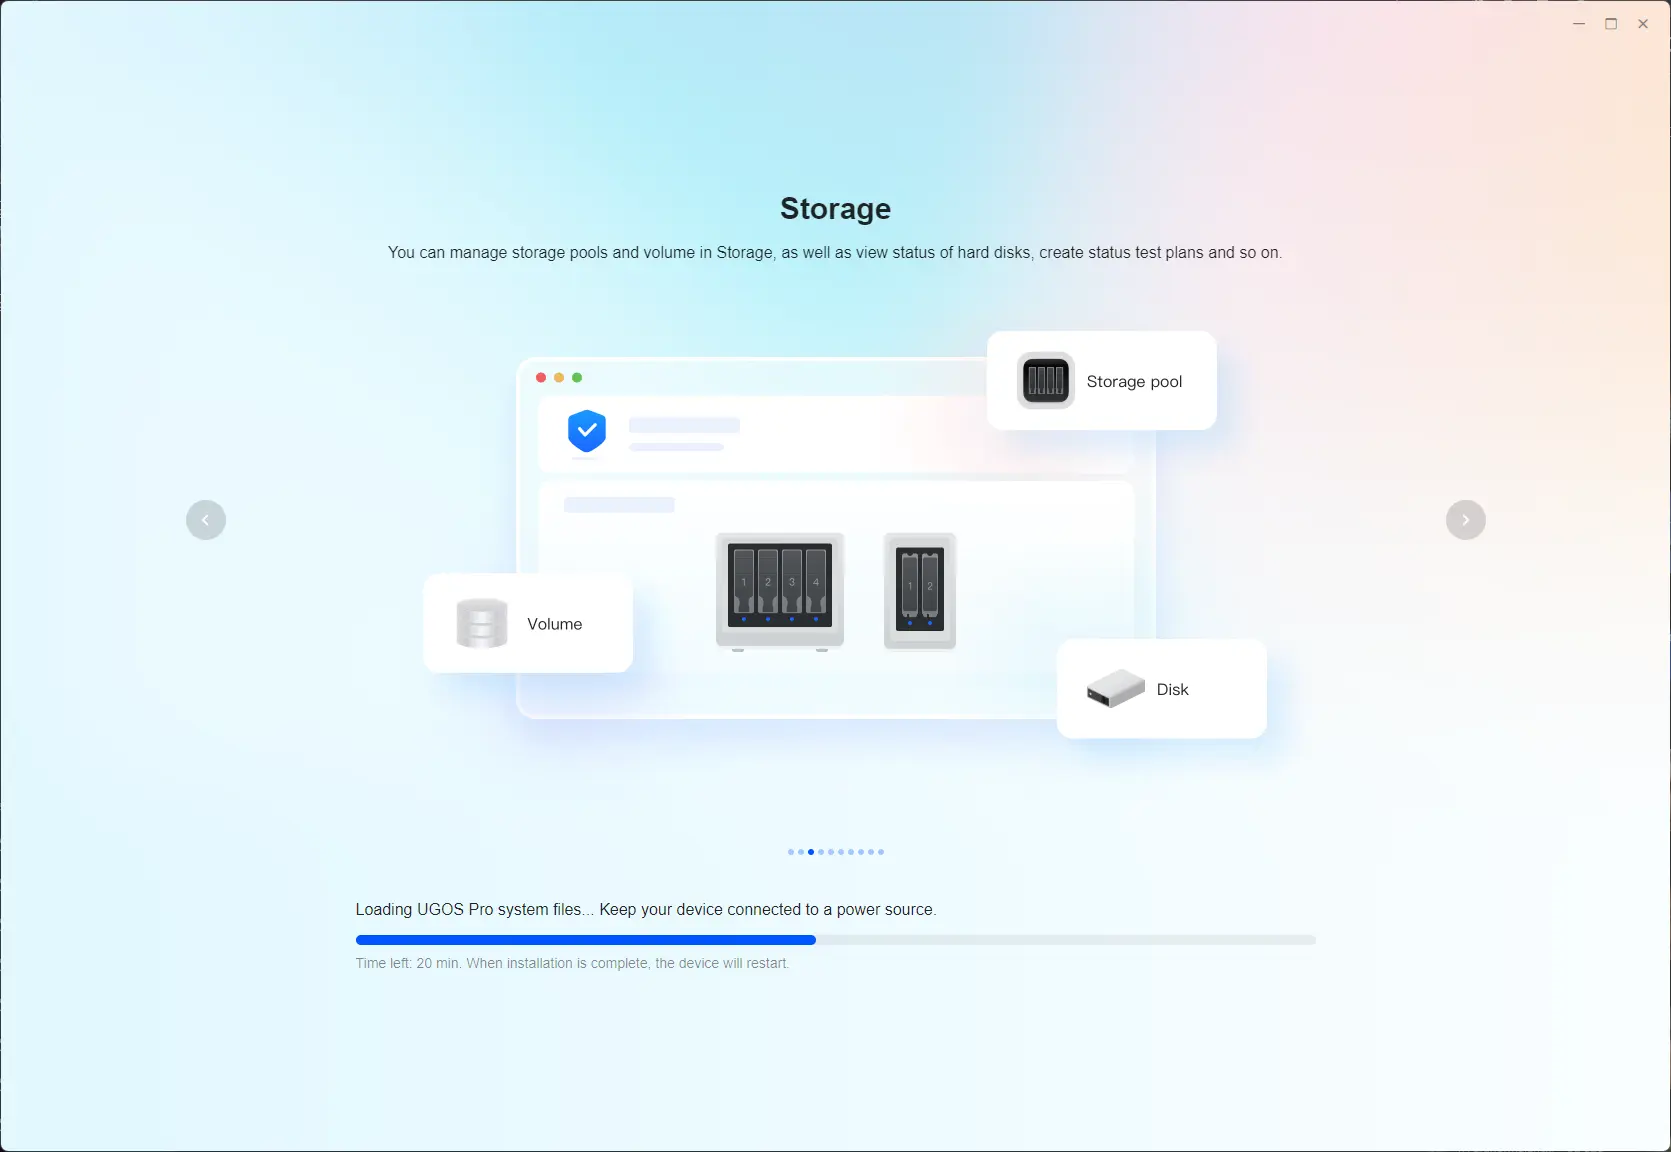
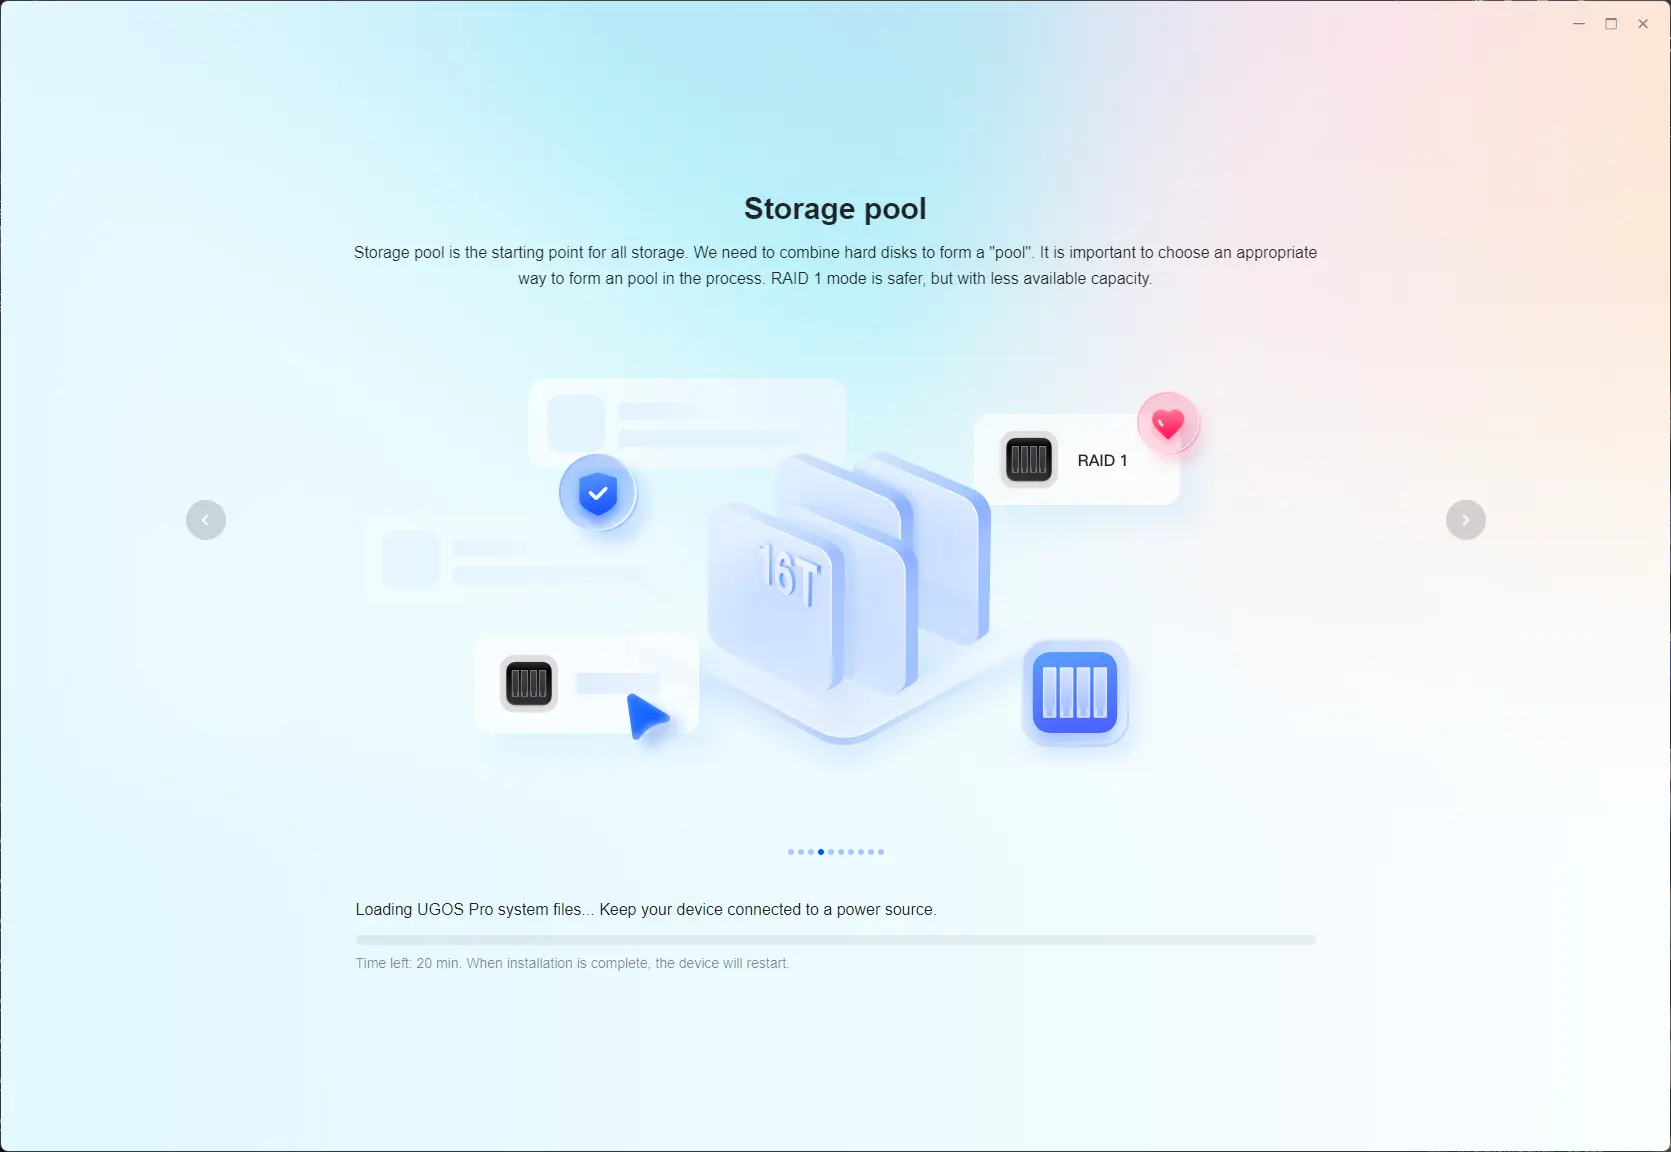
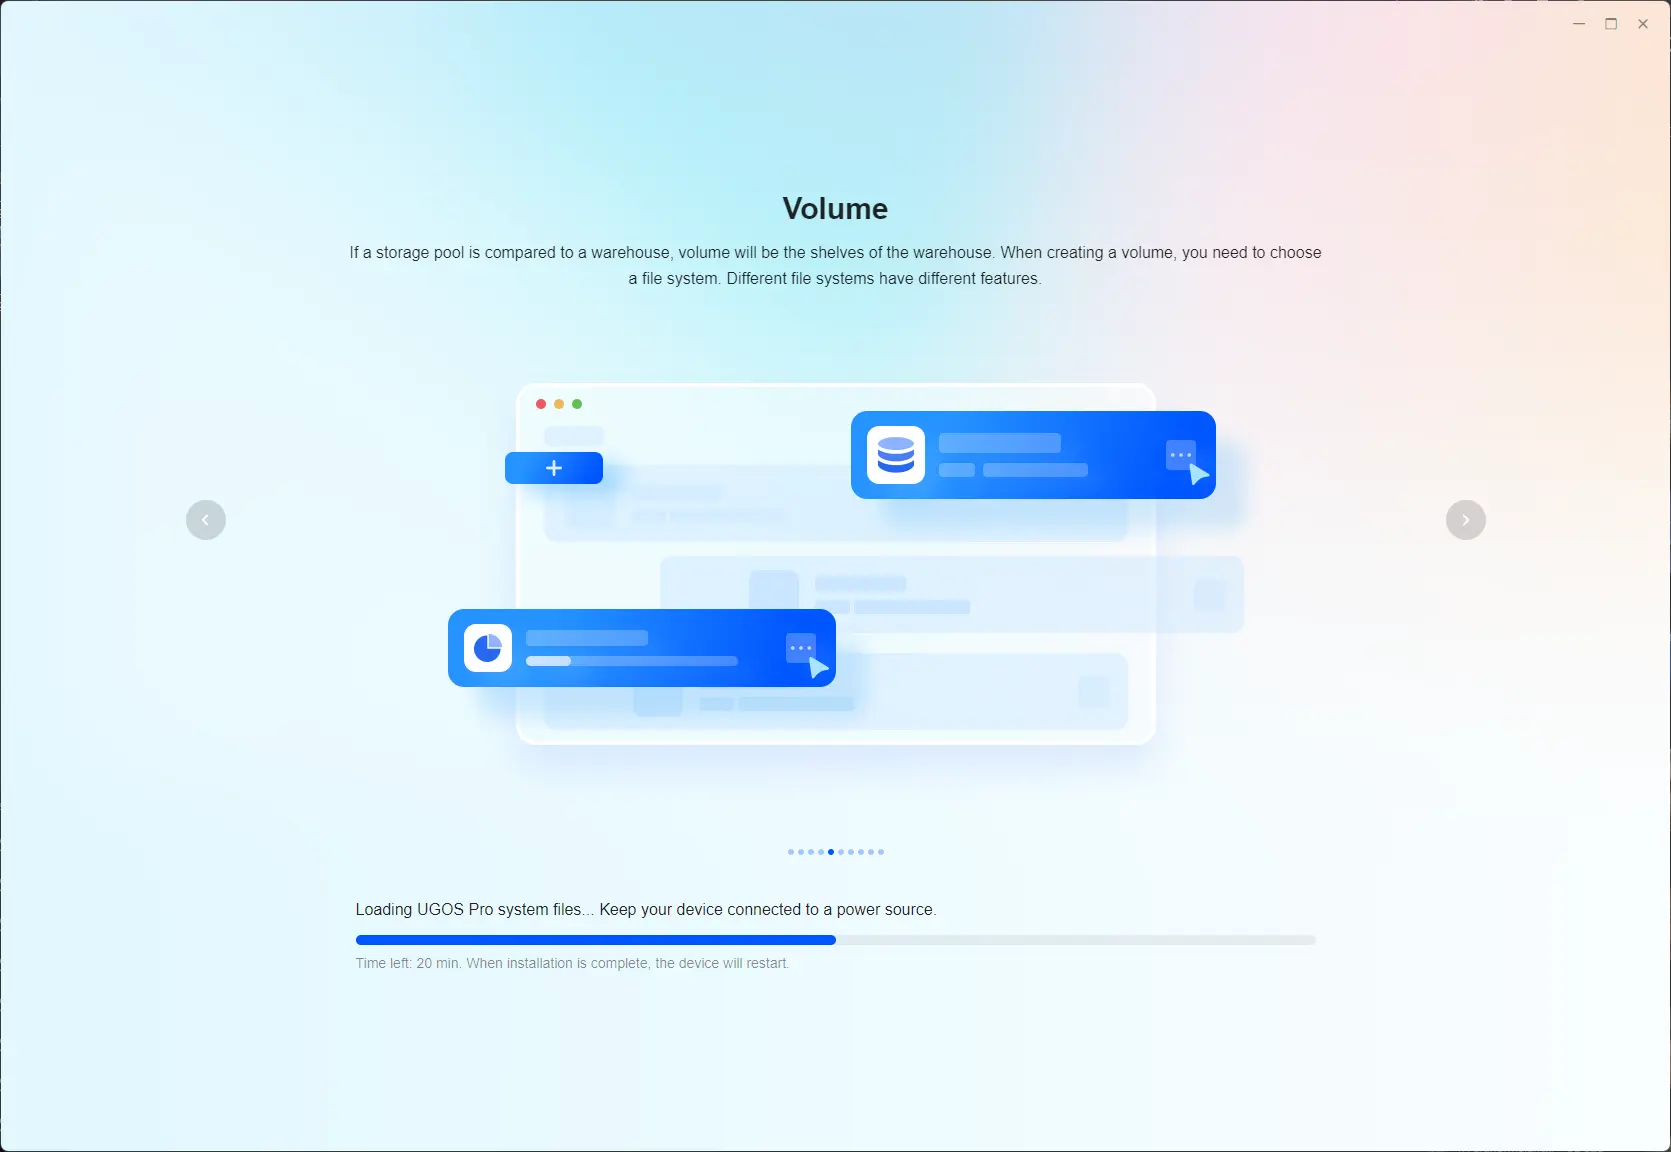
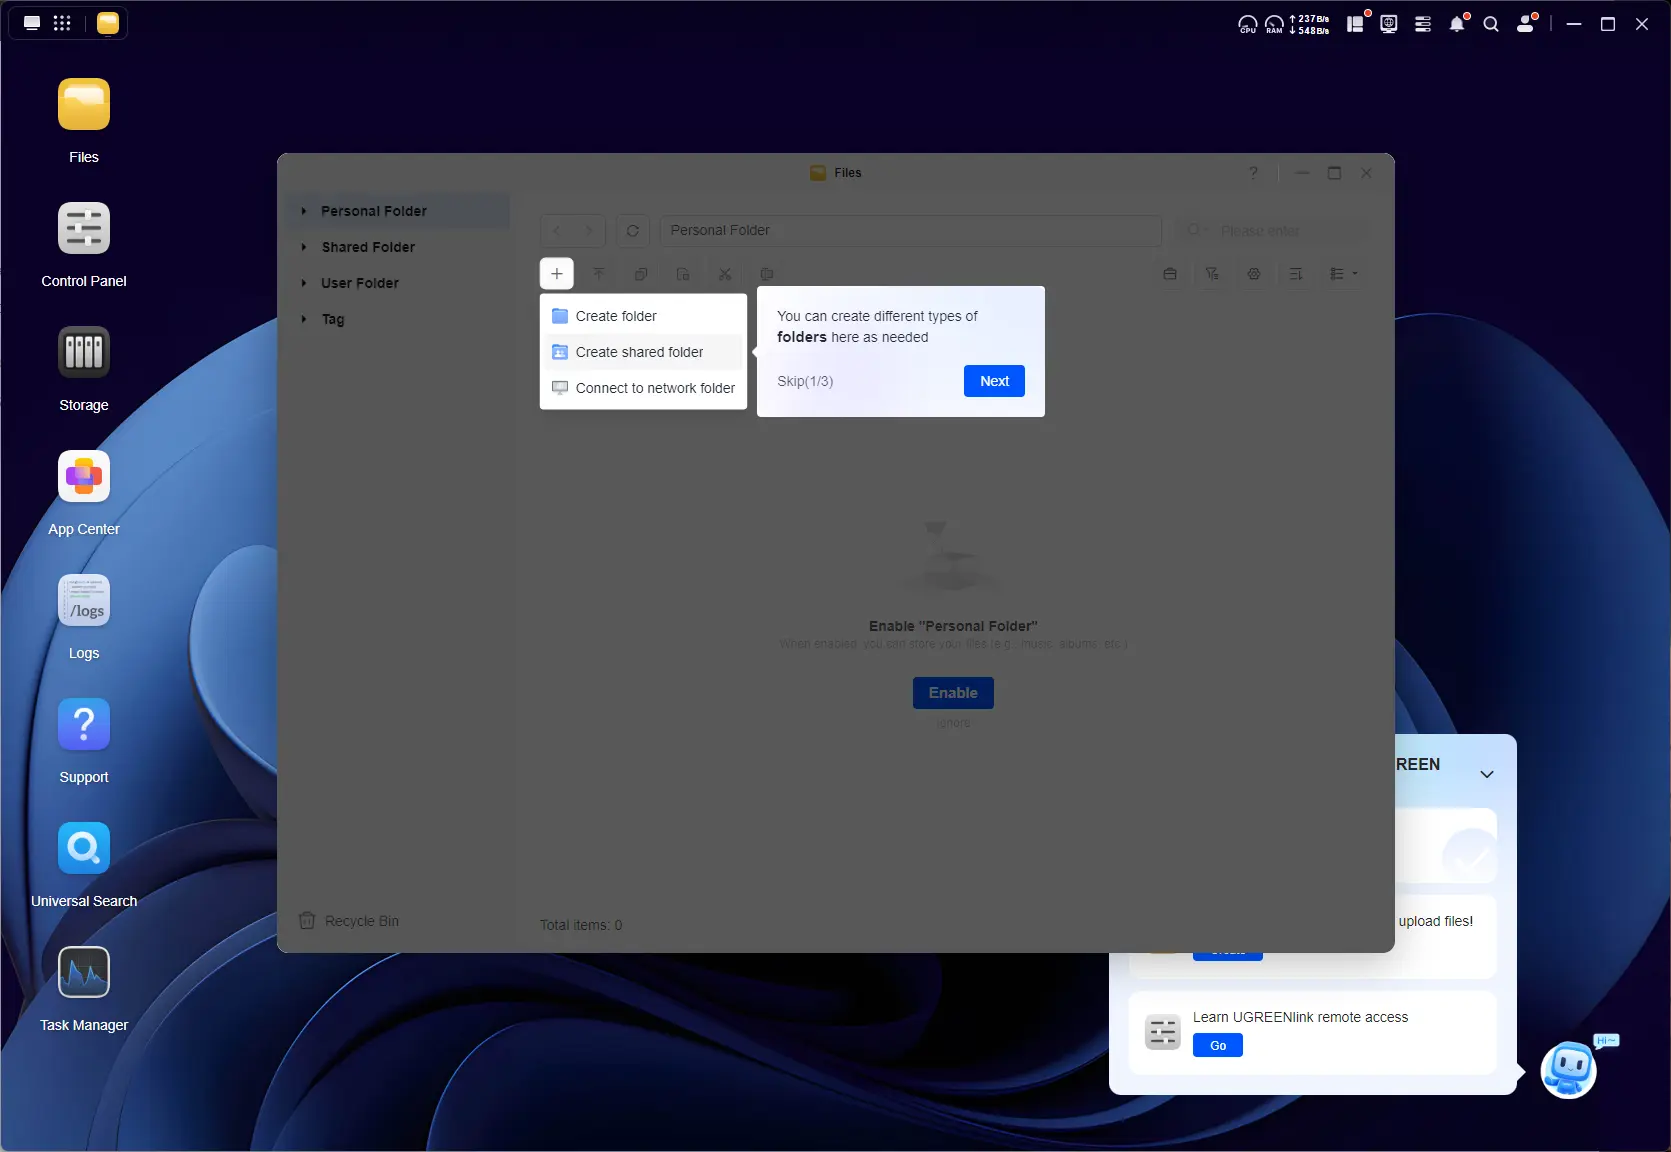
Gallery: DXP4800 Pro Storage setup
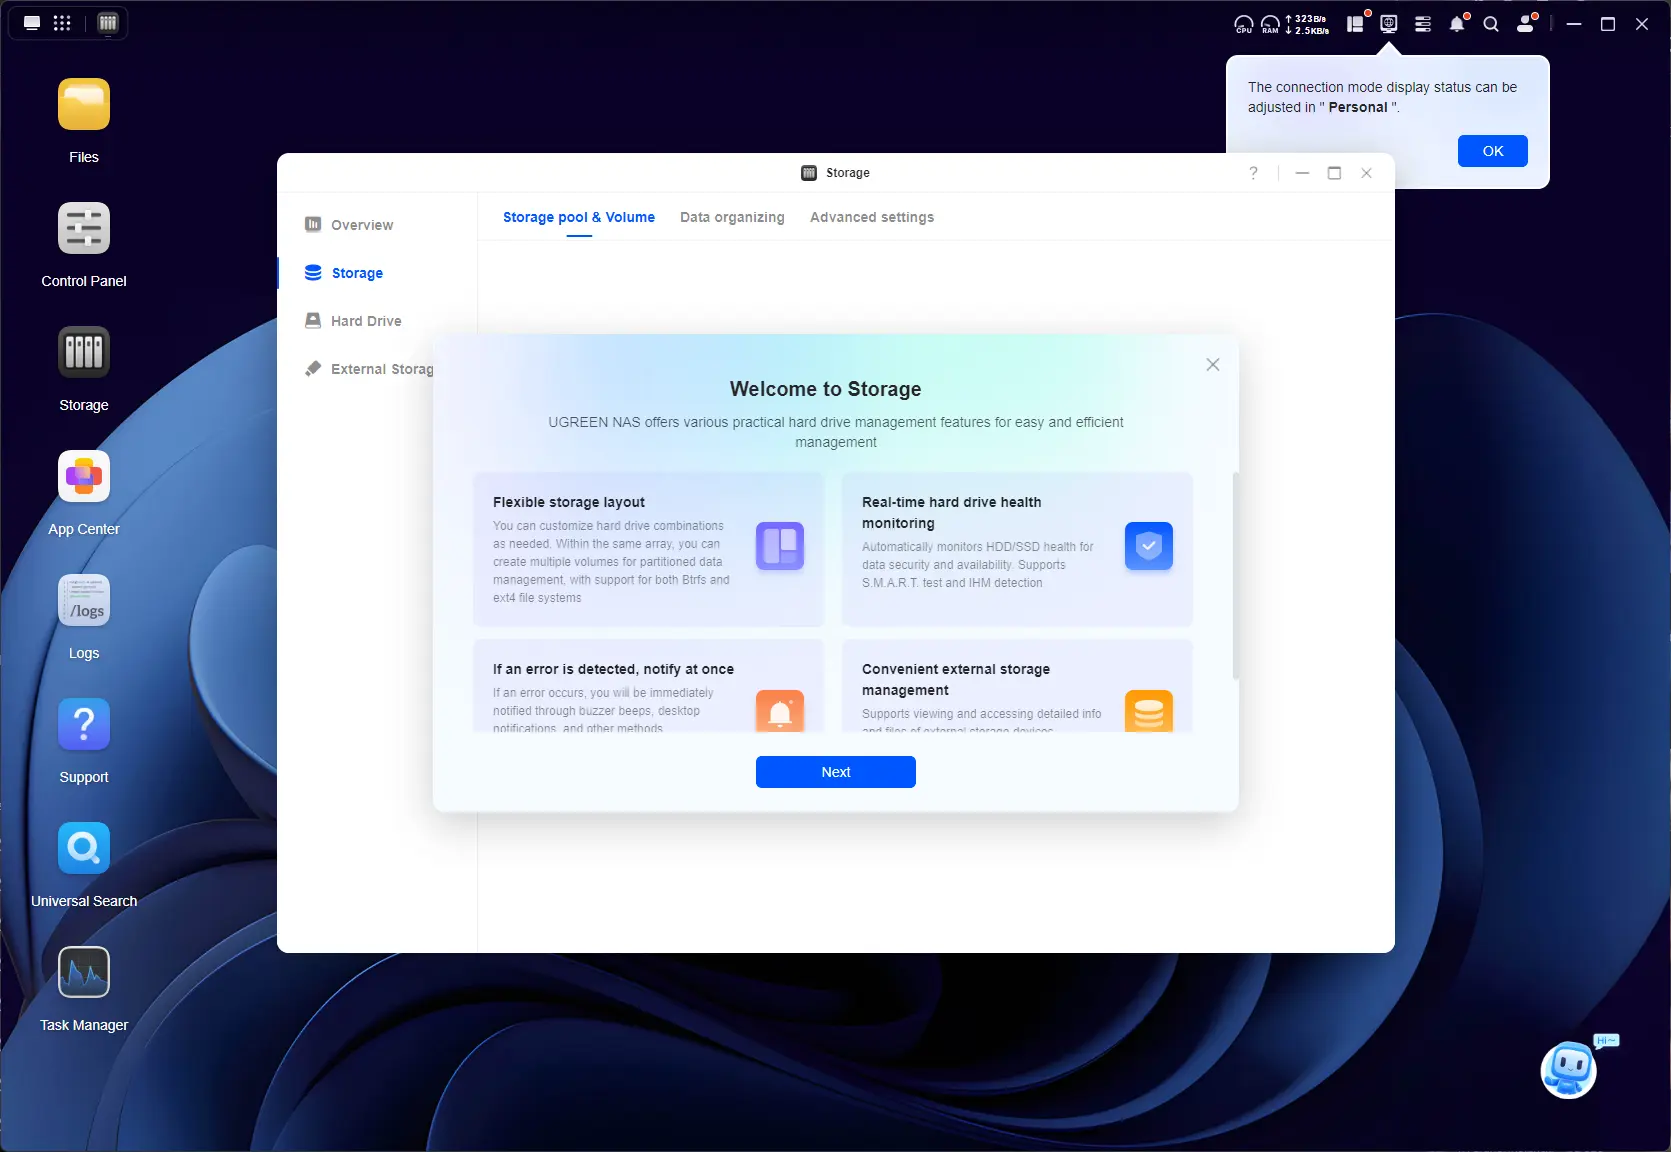
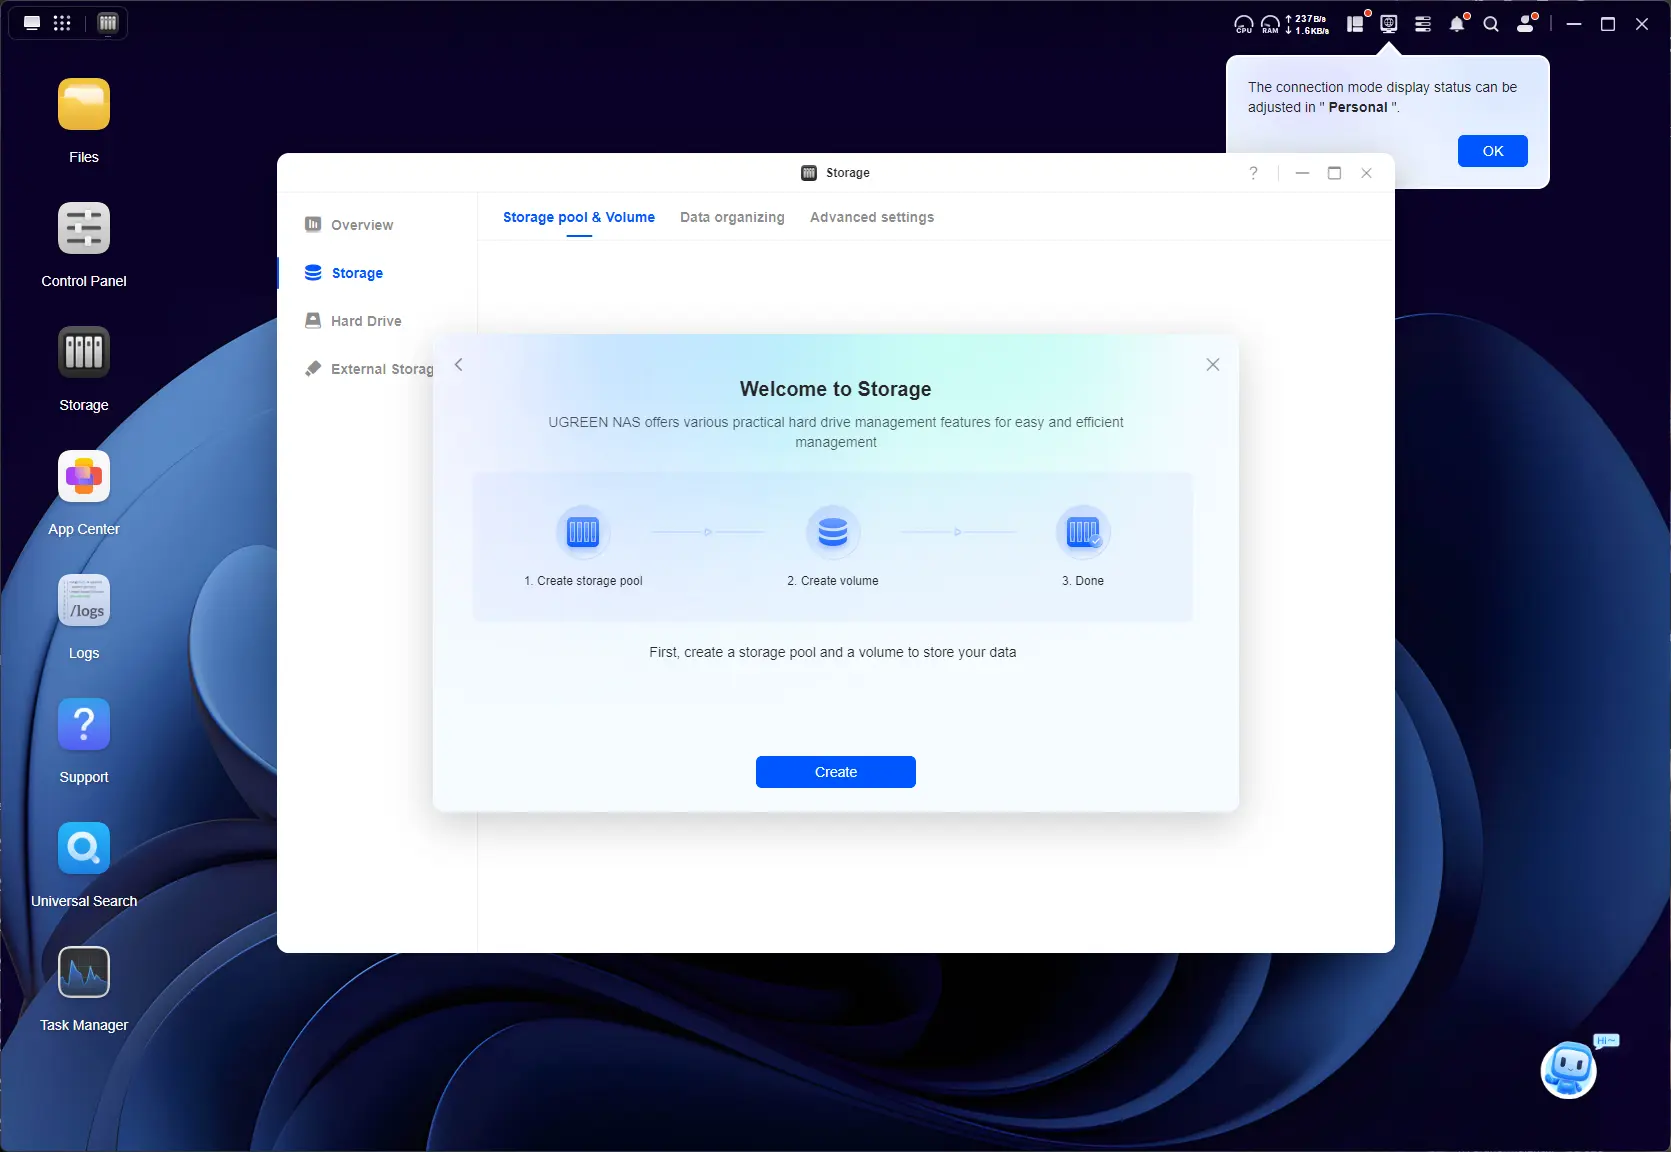
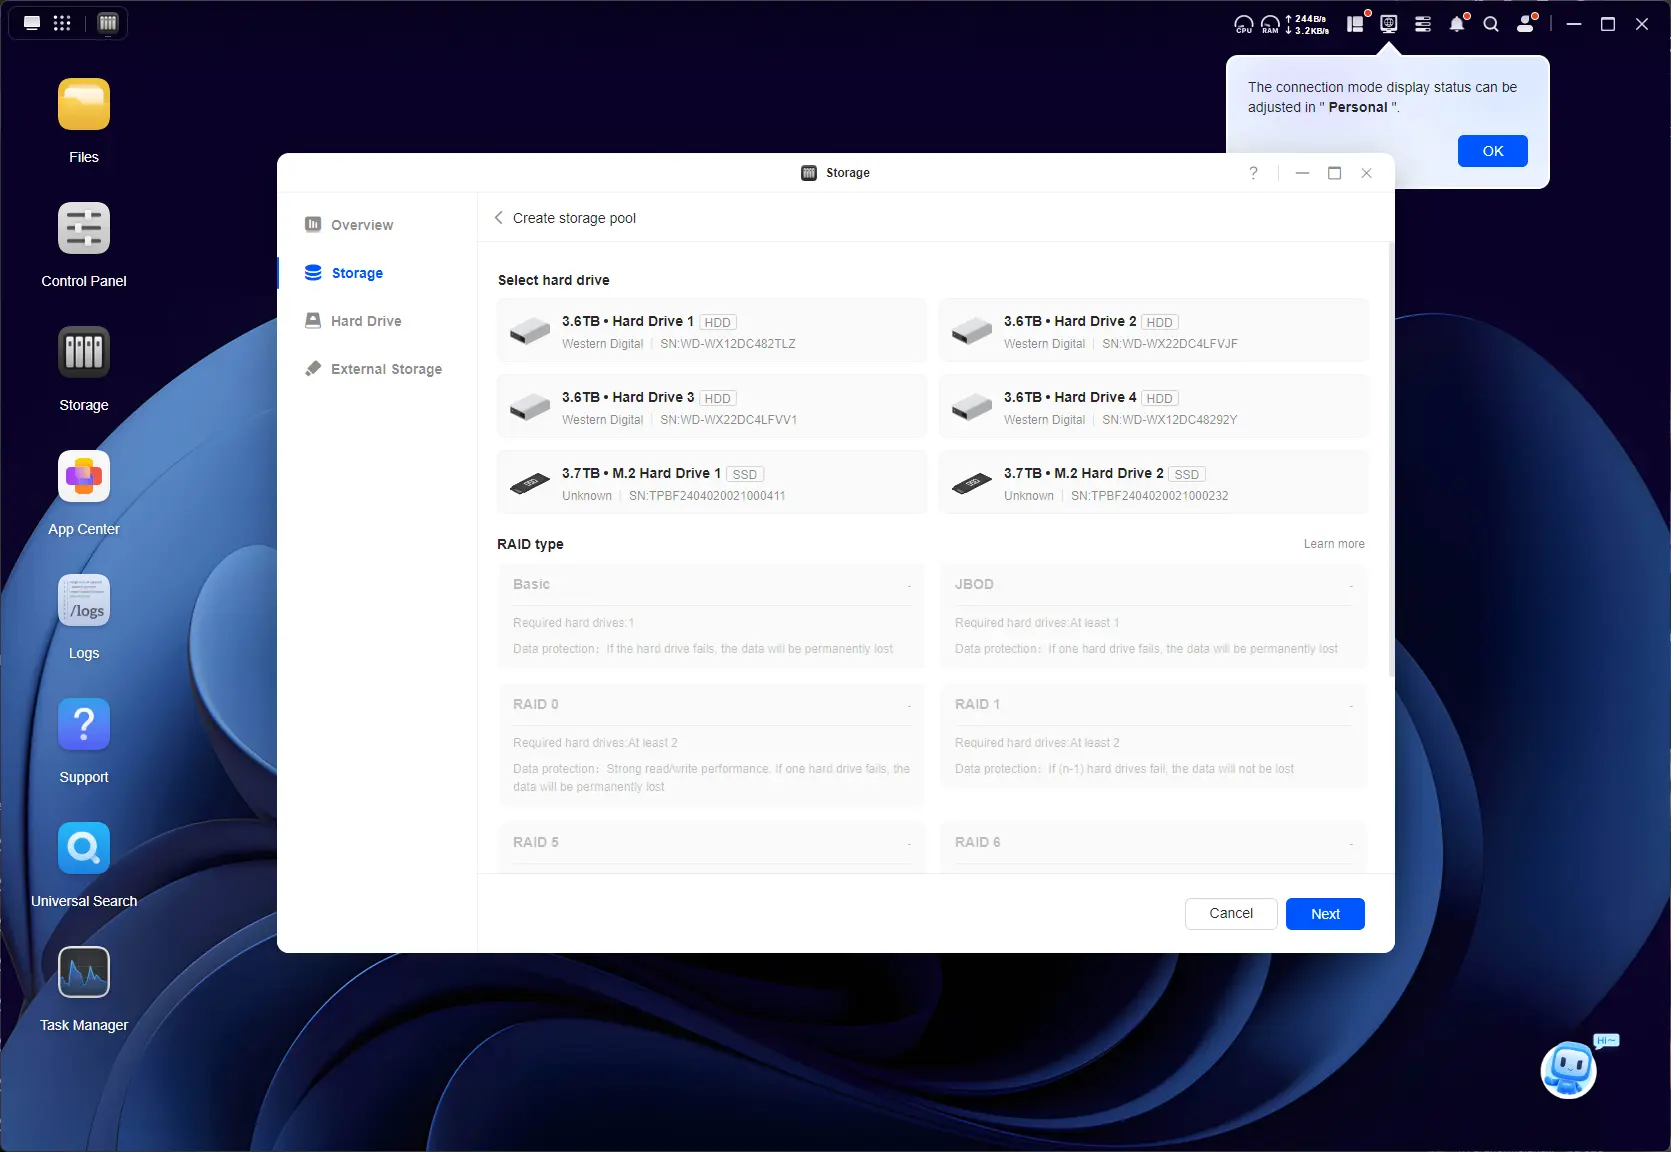
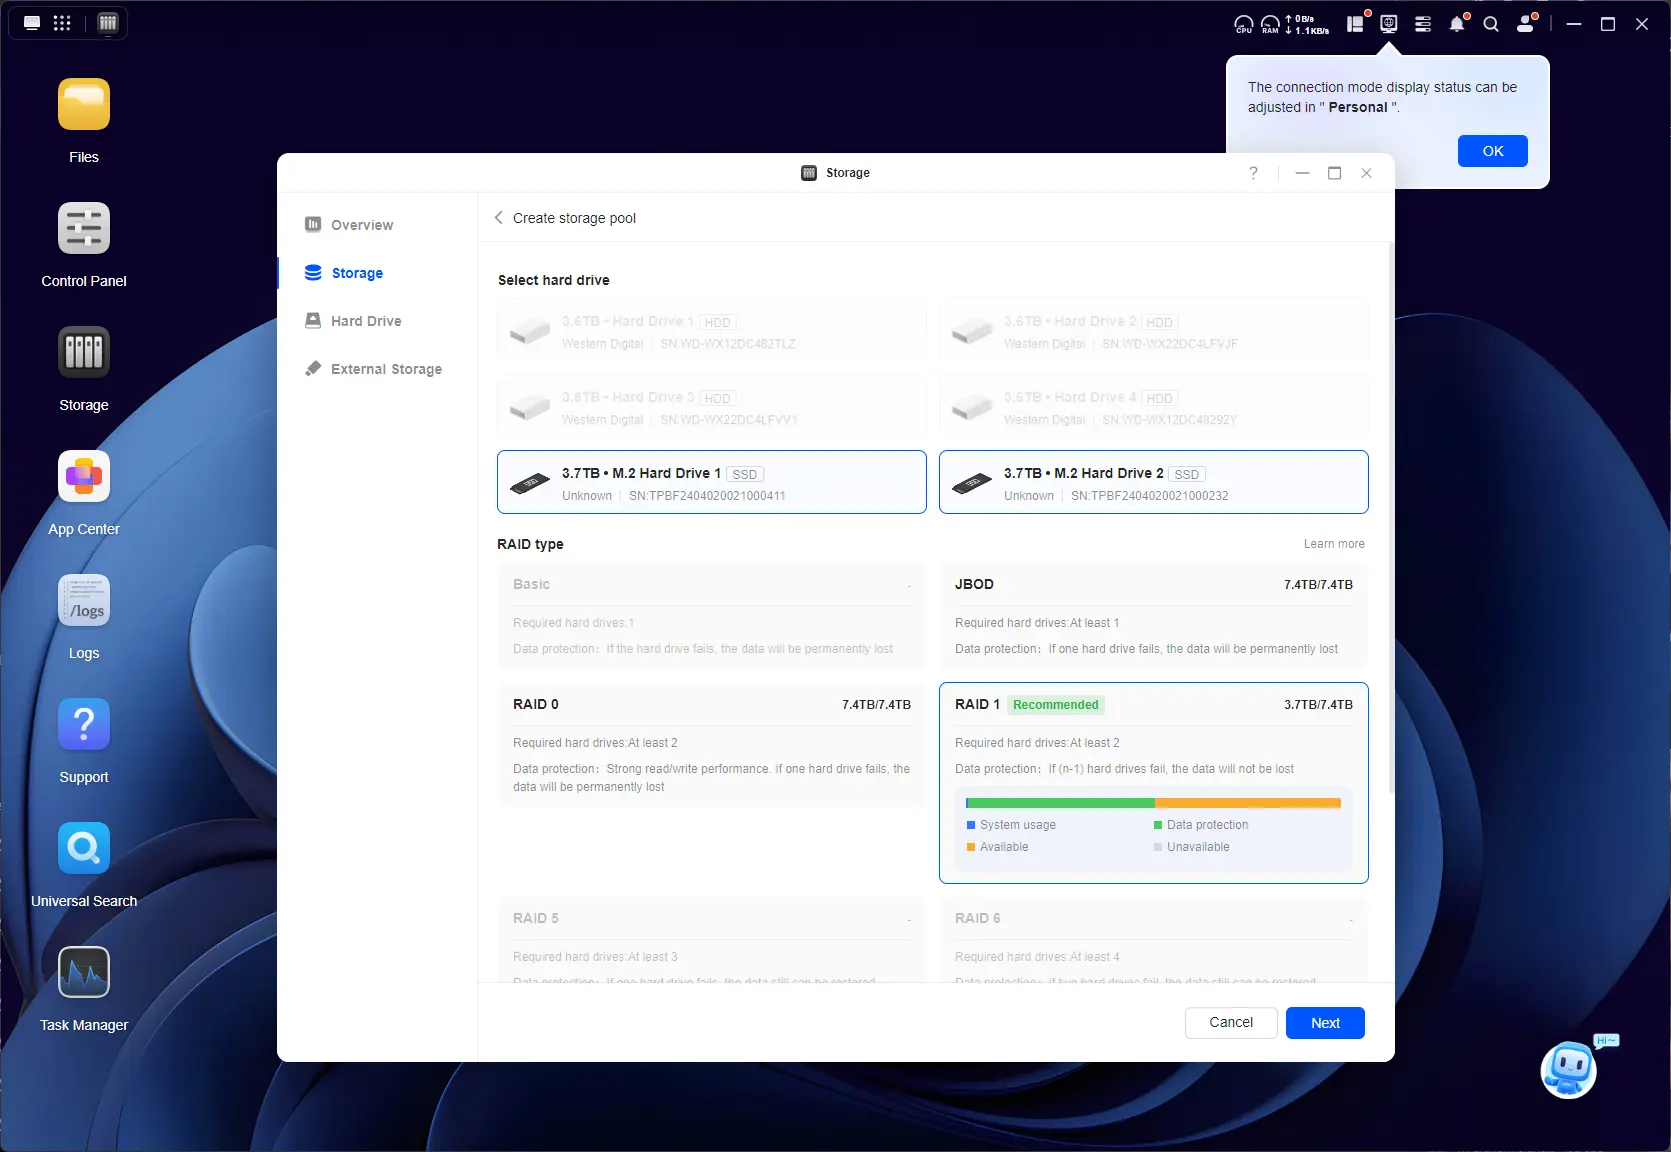
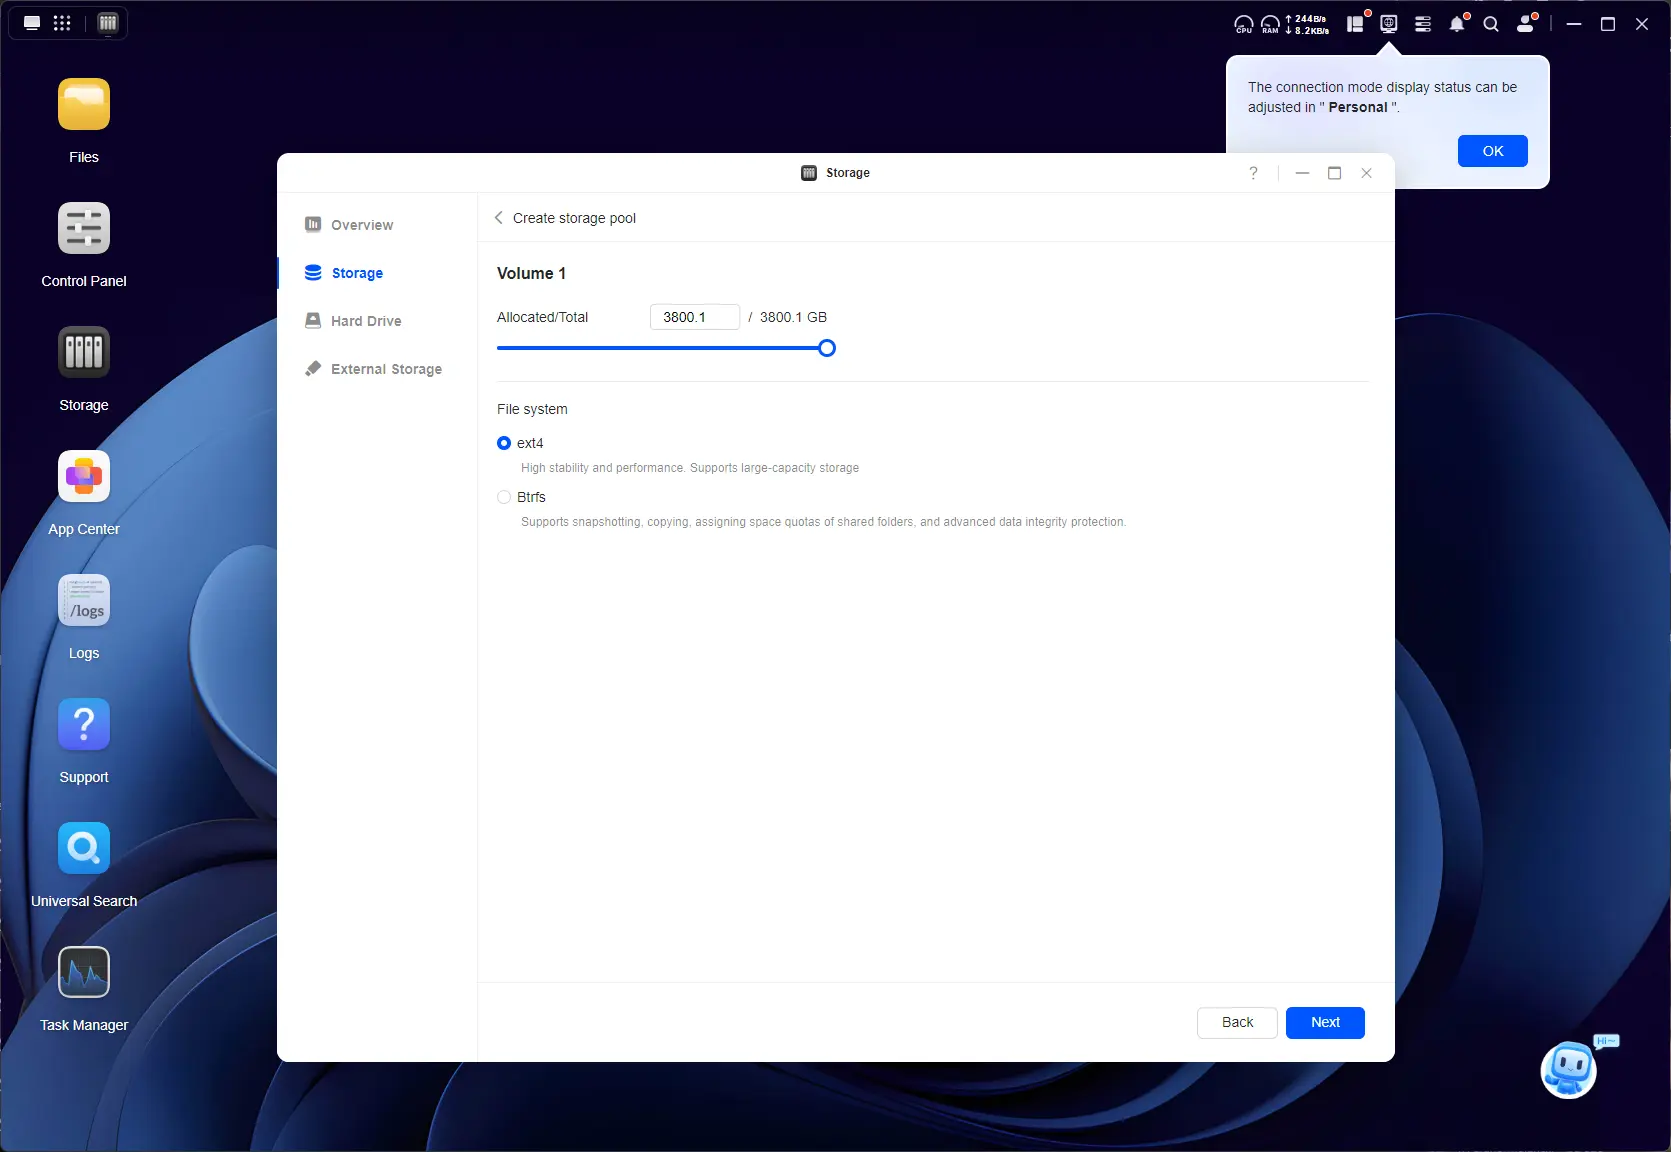
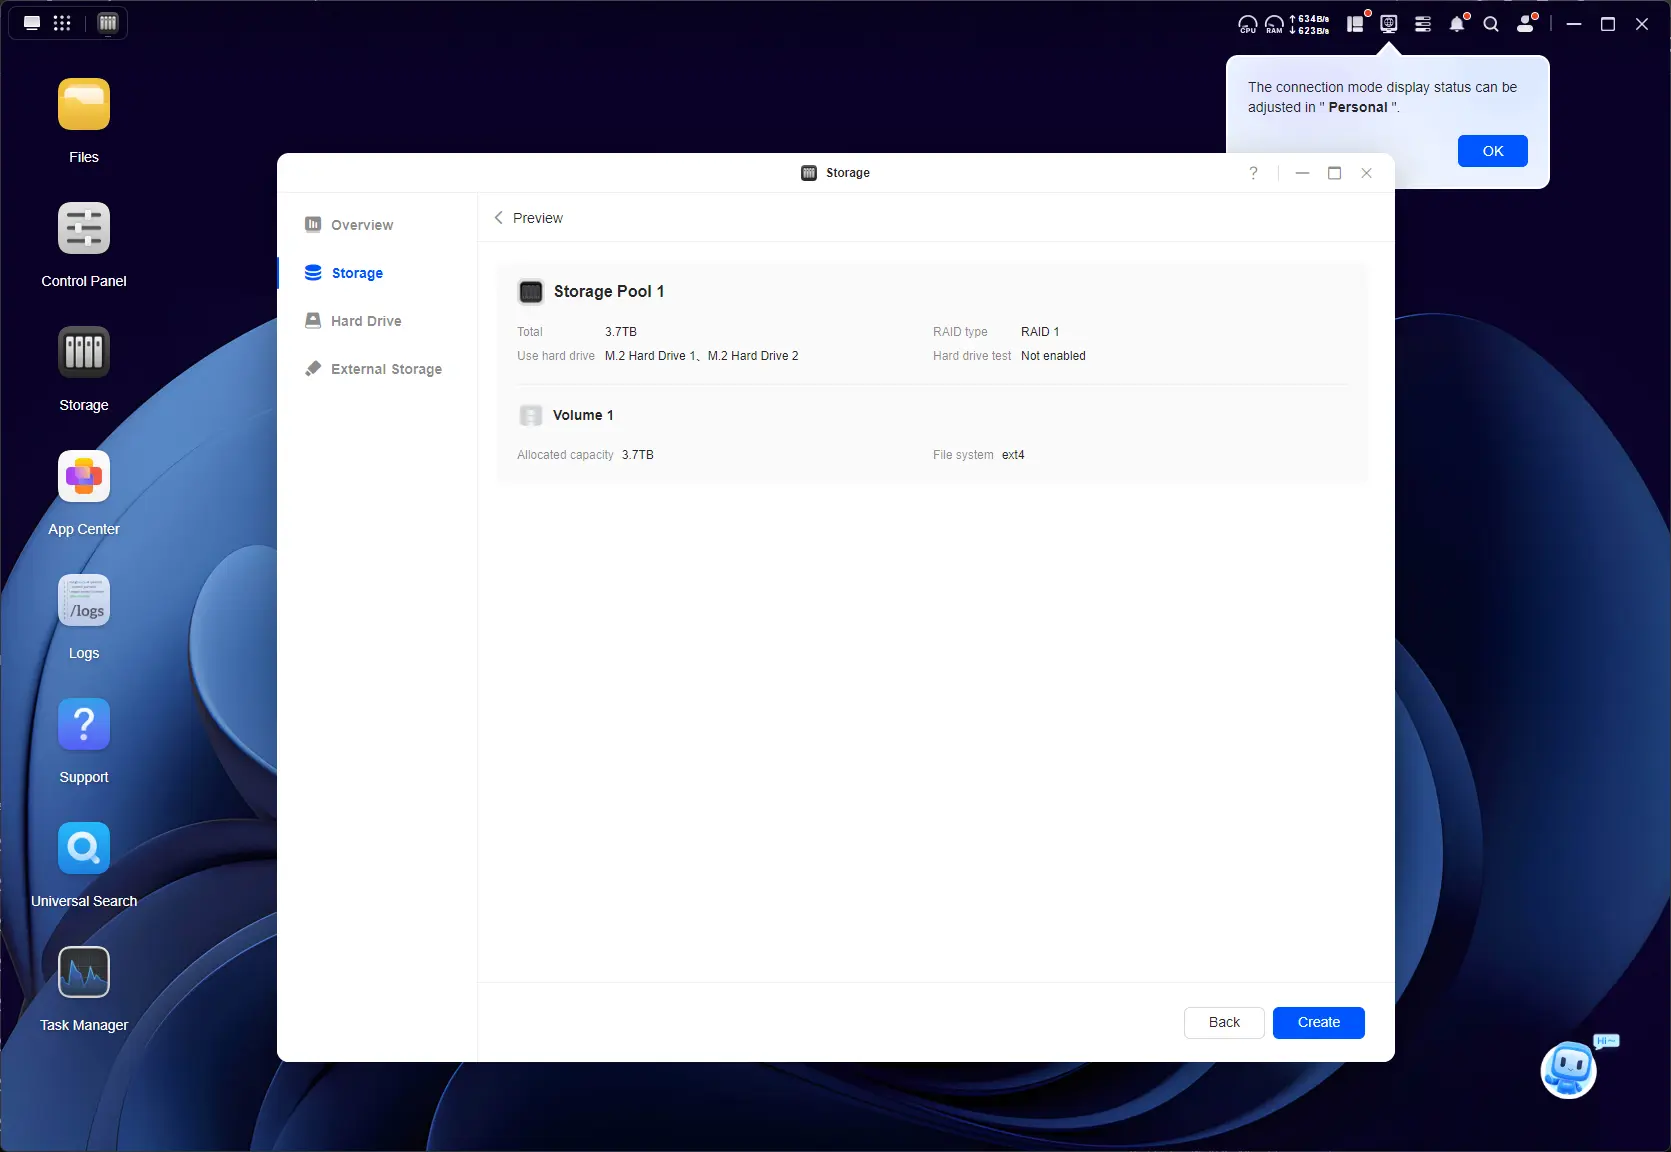
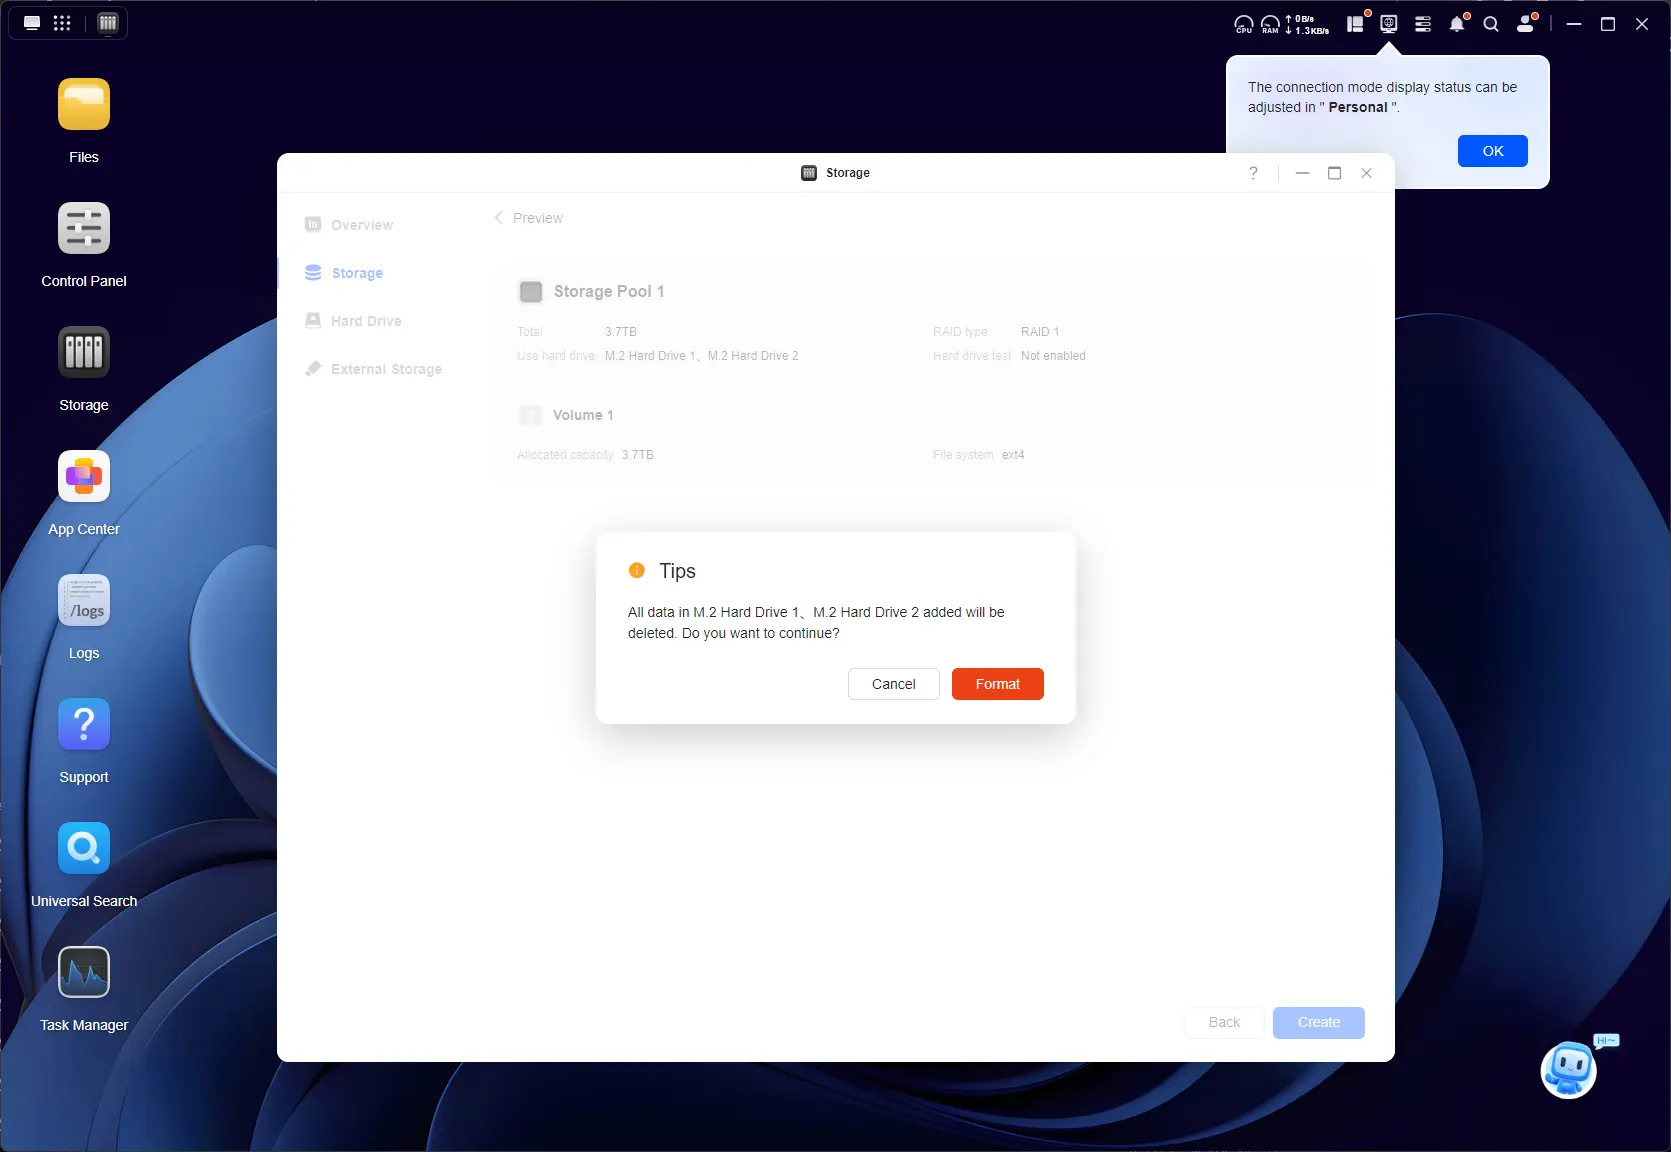

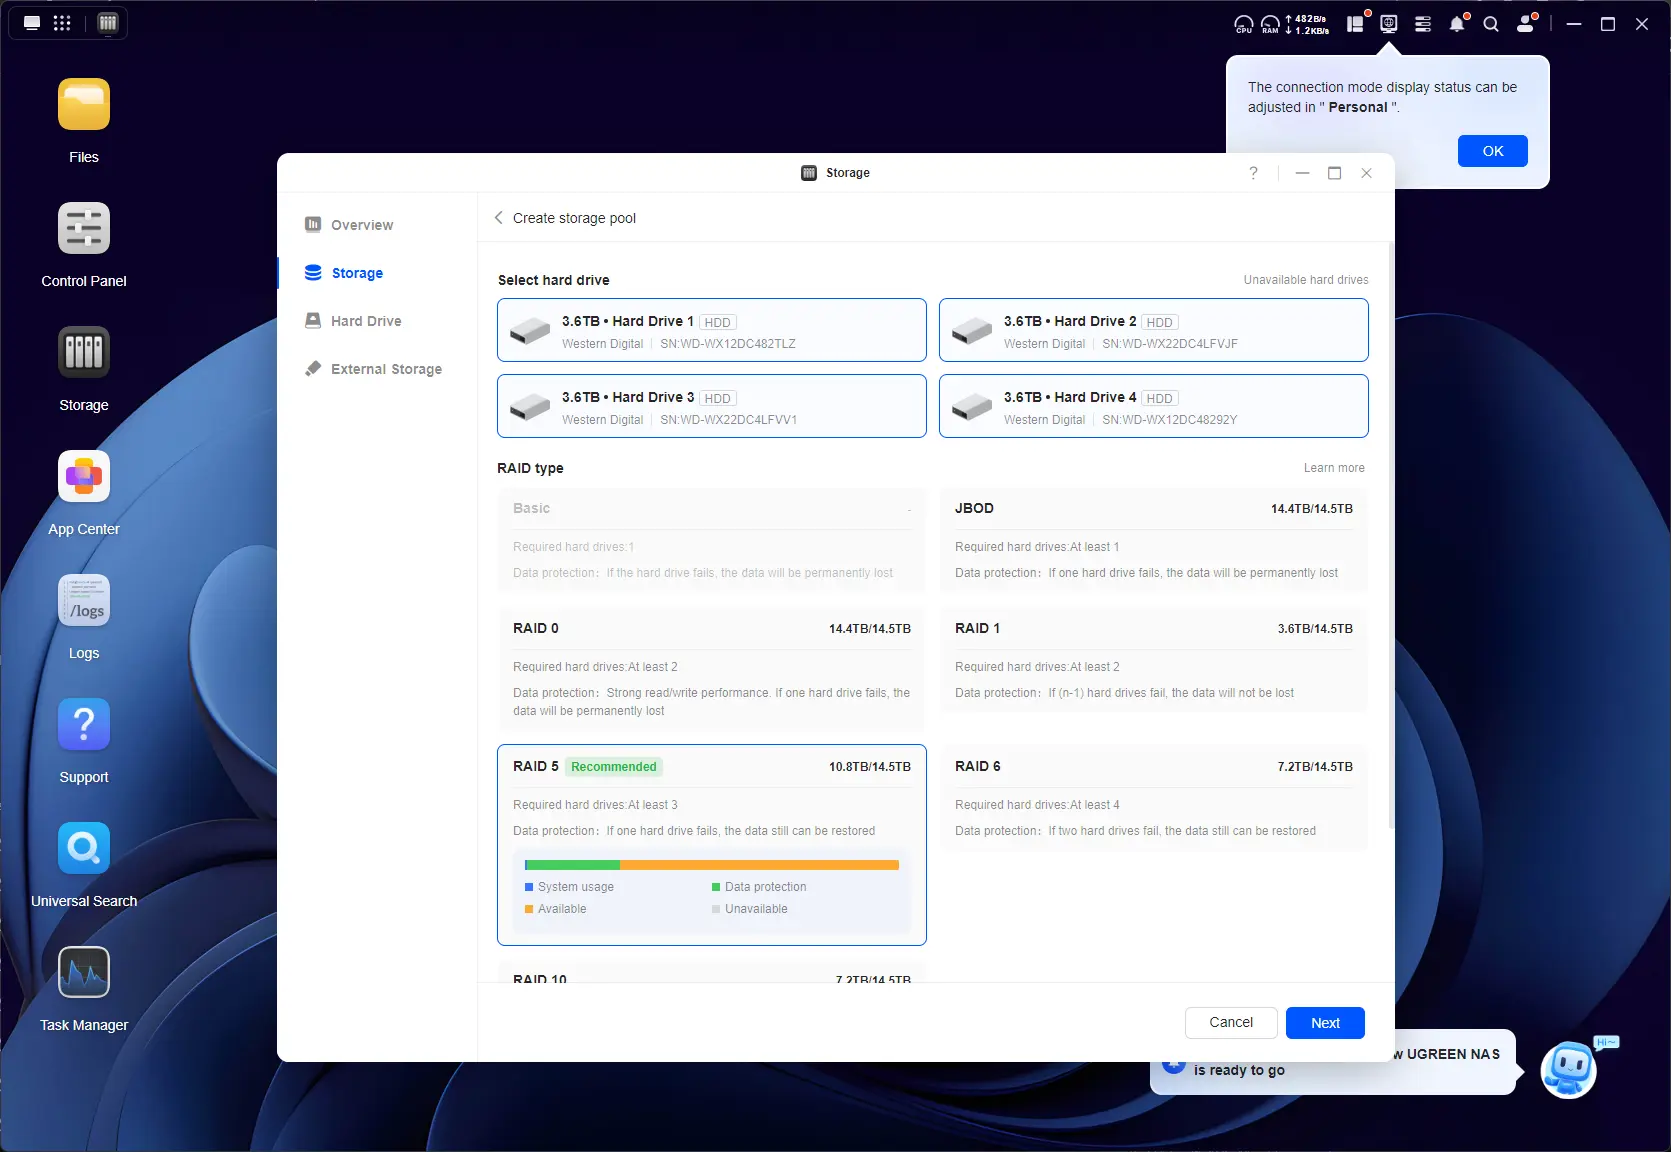

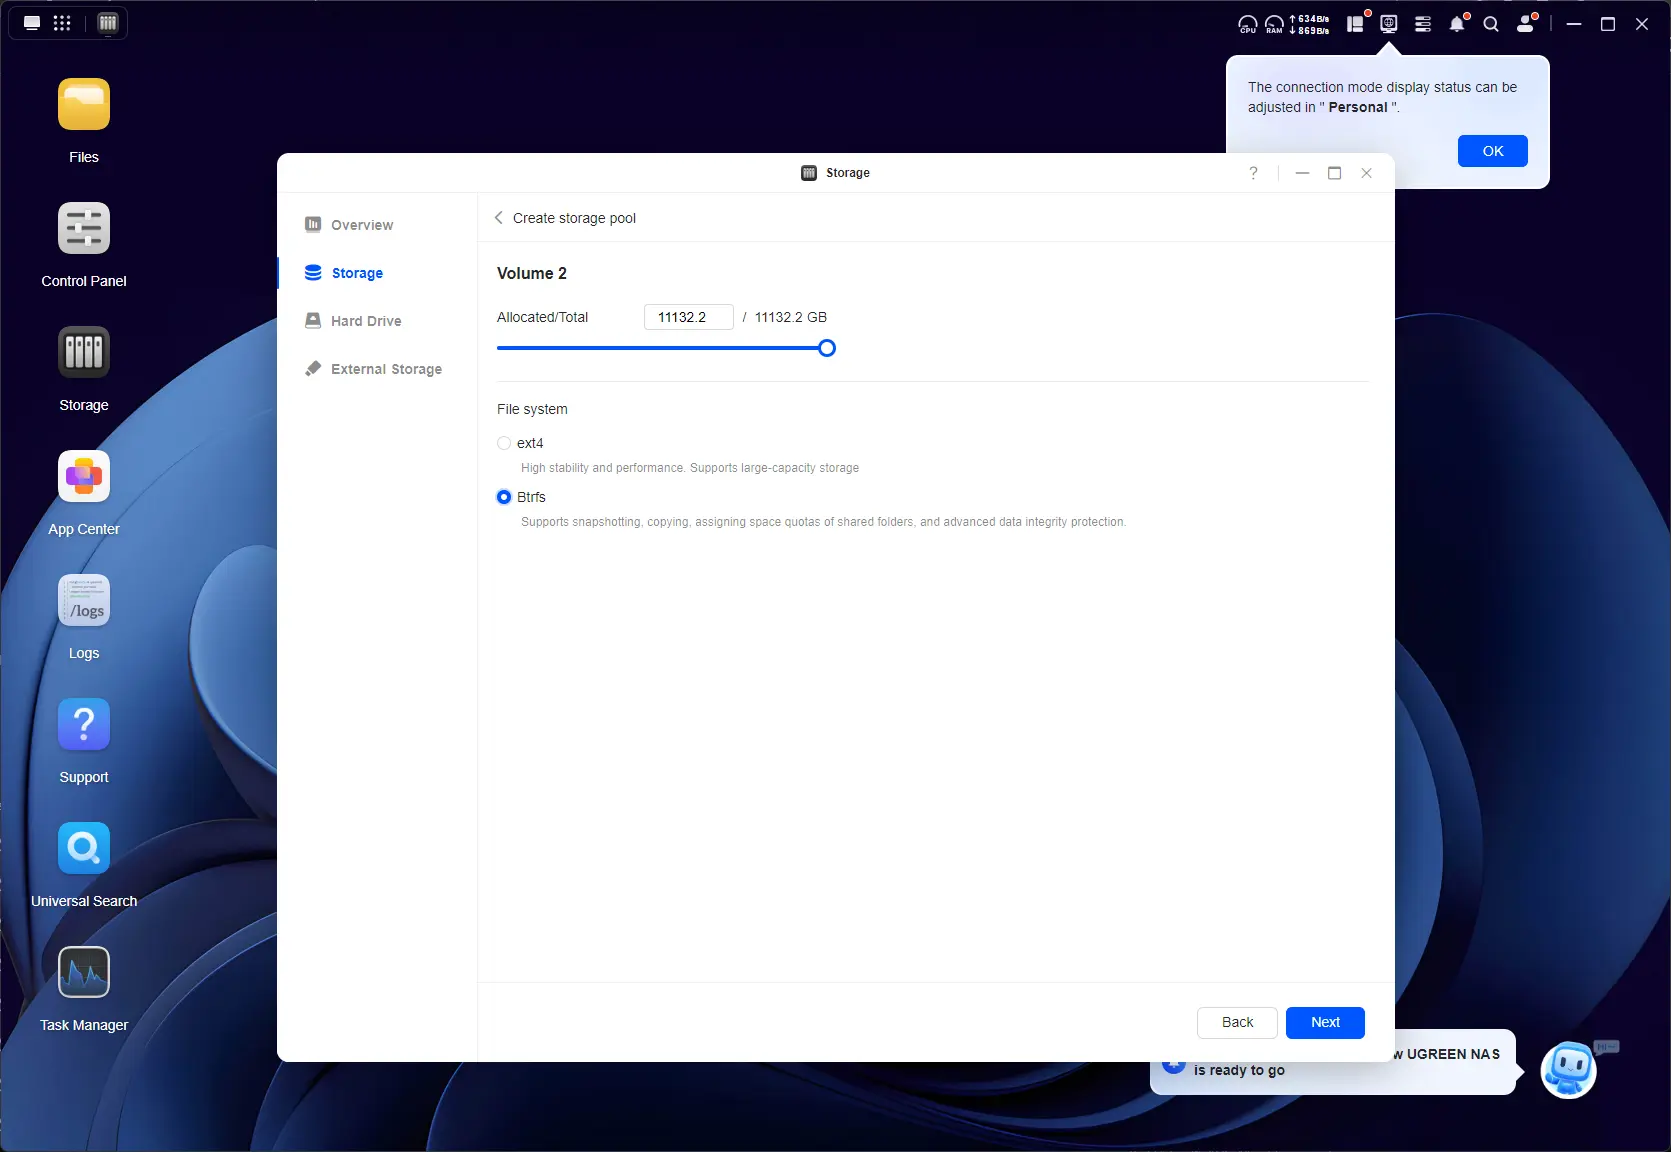
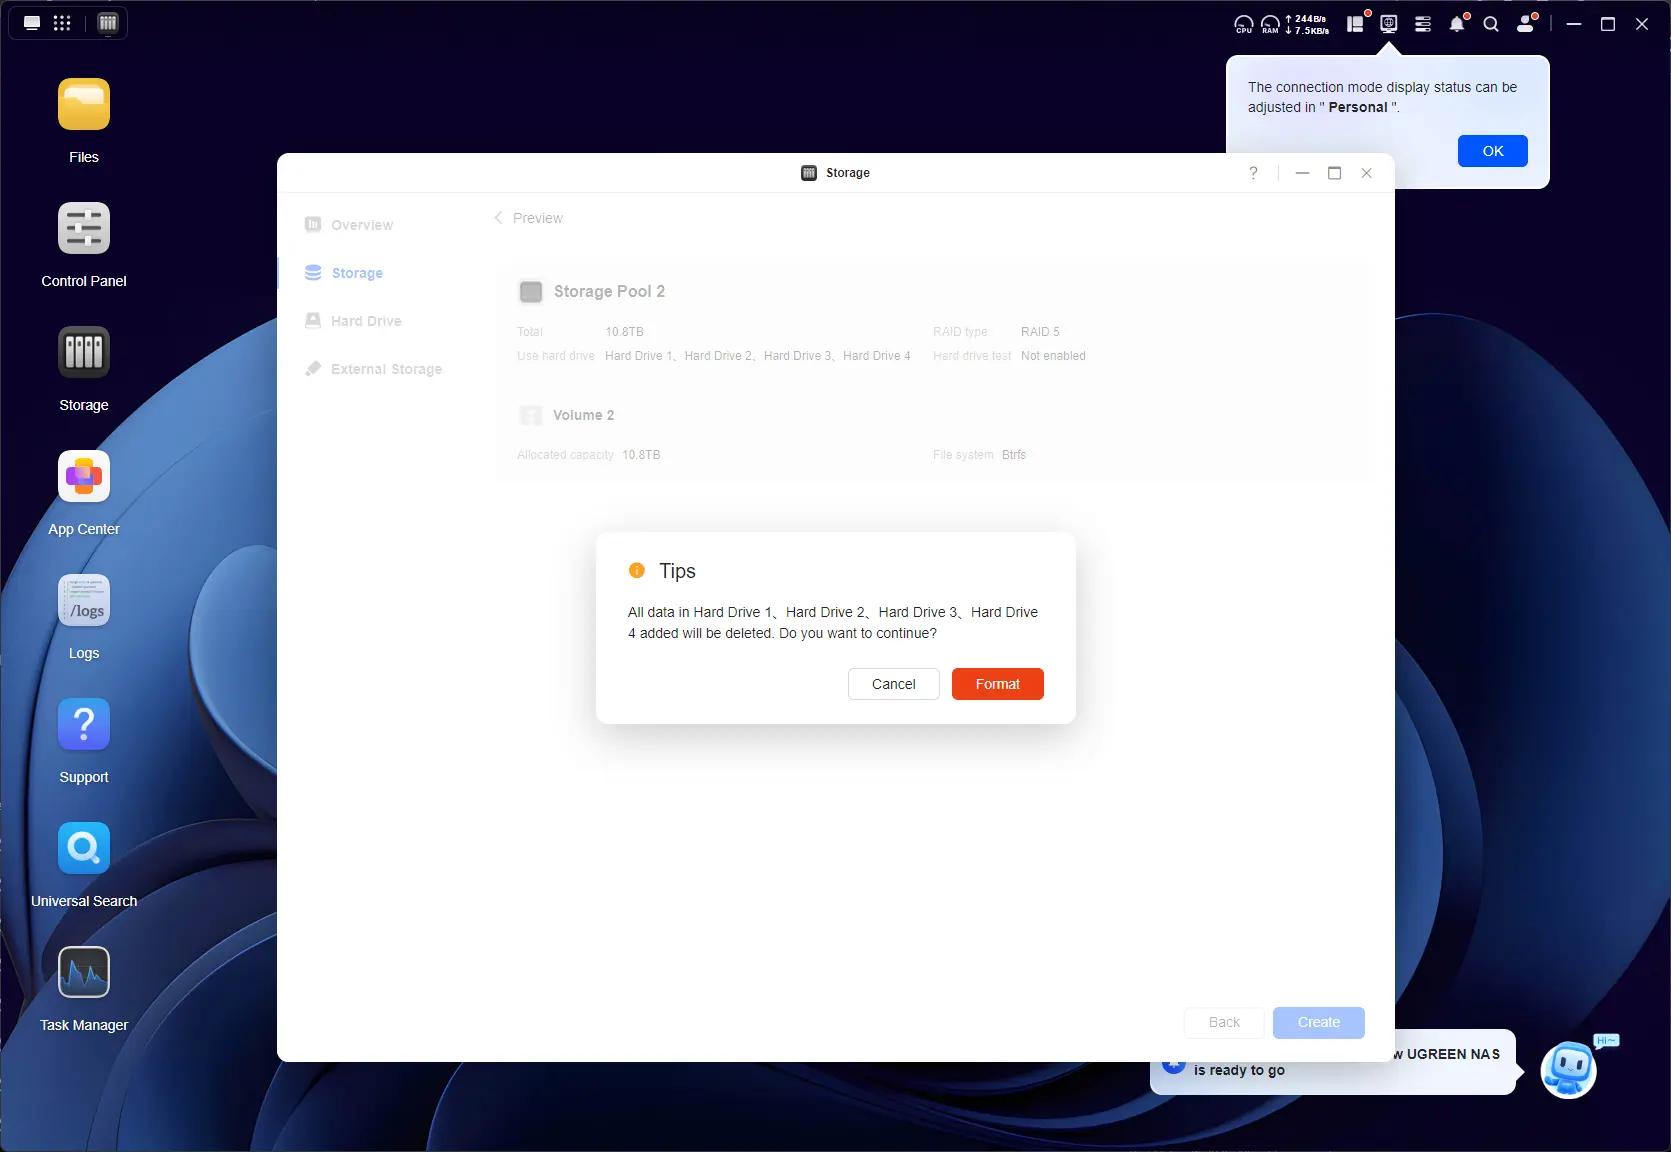


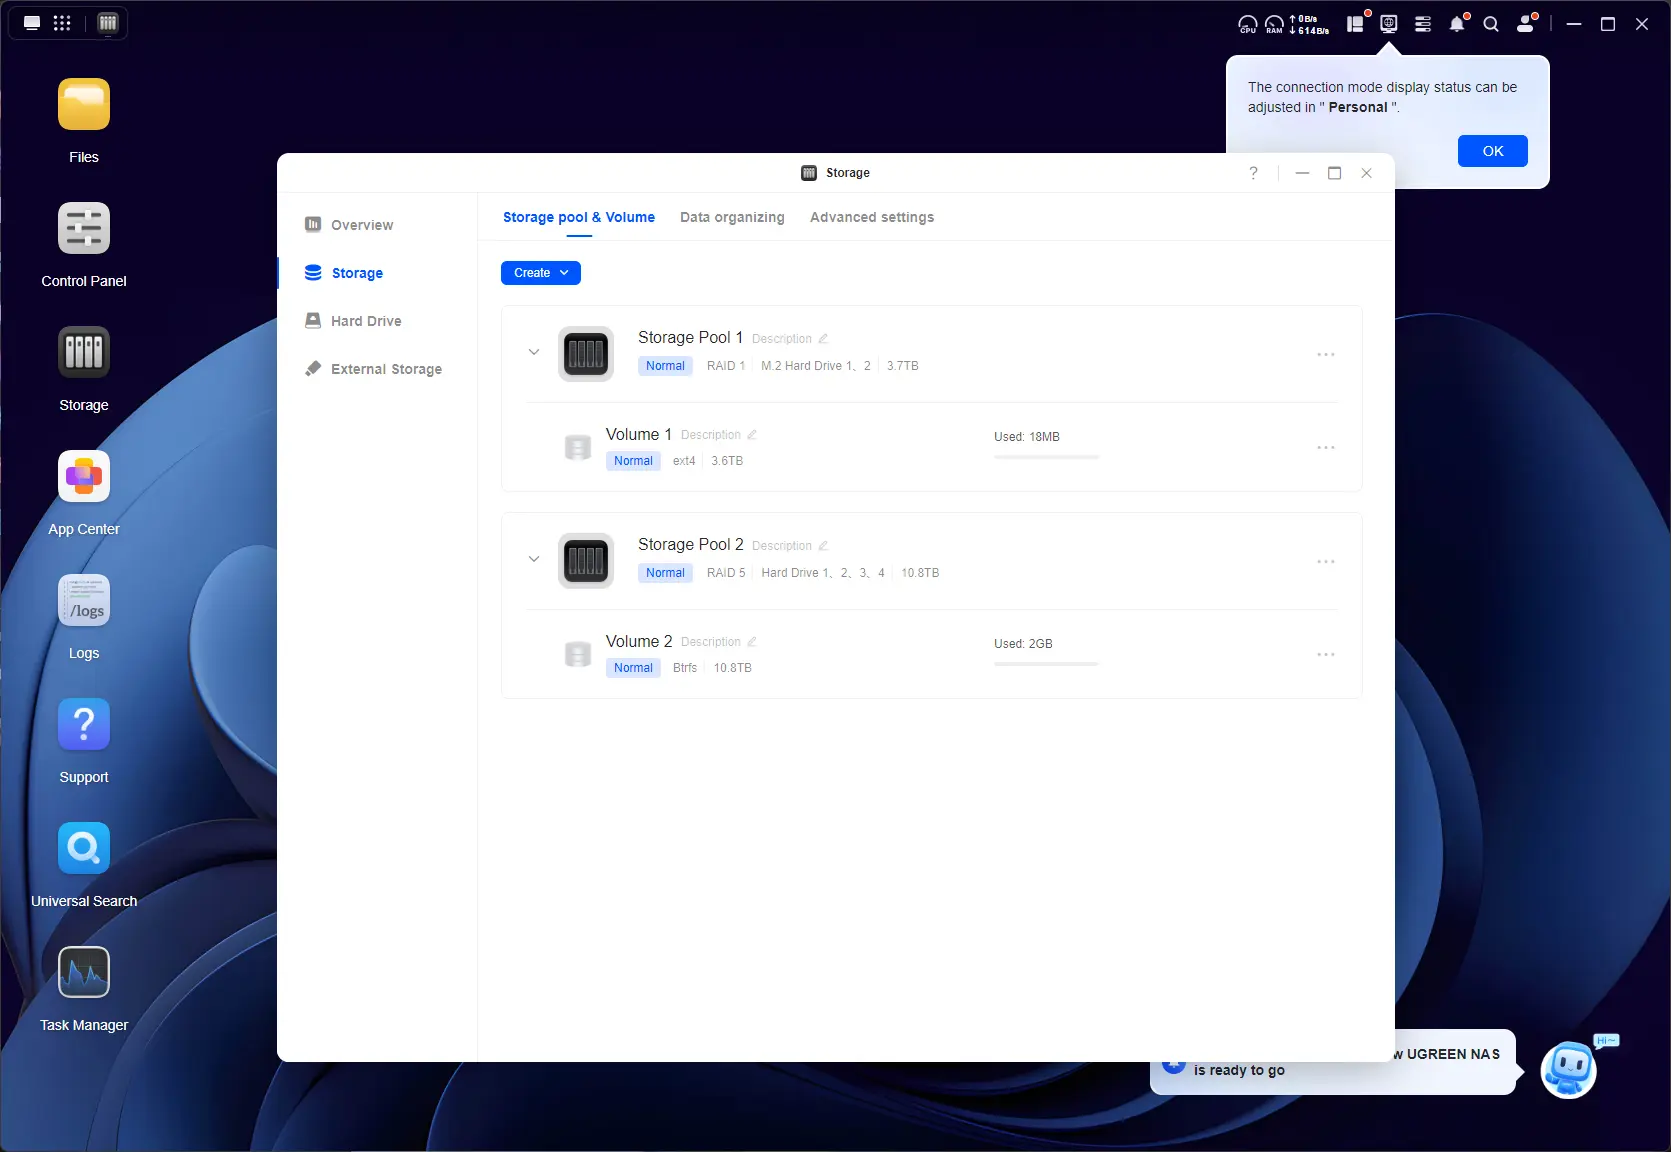
Above are the steps I took to create two Storage Pools, one for the HDDs and another for the two 4TB NVMe, where I planned to install apps.
No Hybrid RAID
Nope, UGOS still does not have any sort of SHR (Synology Hybrid RAID) or TRAID (TerraMaster RAID), which allows mix and match of different disk types without losing the capacity of the largest disks.
Although it is possible to expand the Storage Pool (using RAID1 or 5), this can only be achieved once all of the smallest disks are replaced with larger ones. You can check out UGREEN's RAID calculator here and have a play around experimenting with your own use case scenario.
Gallery: DXP4800 Pro Post setup
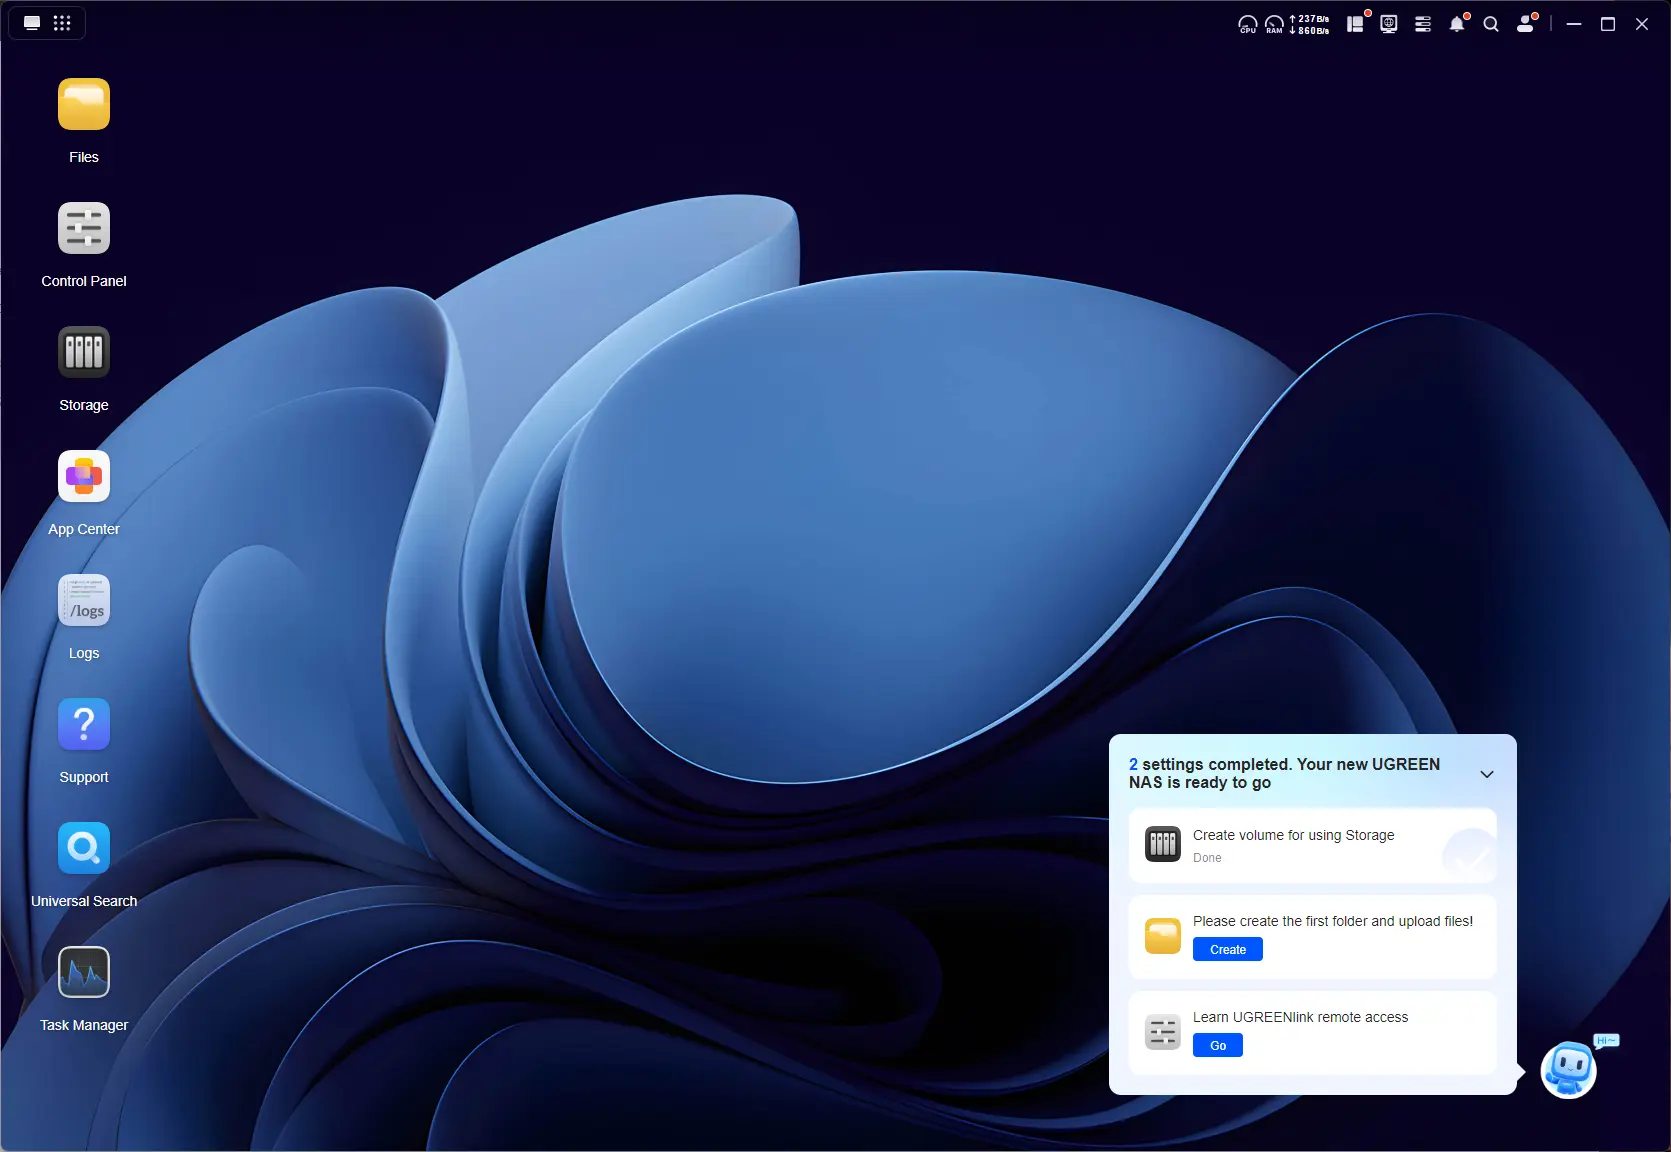
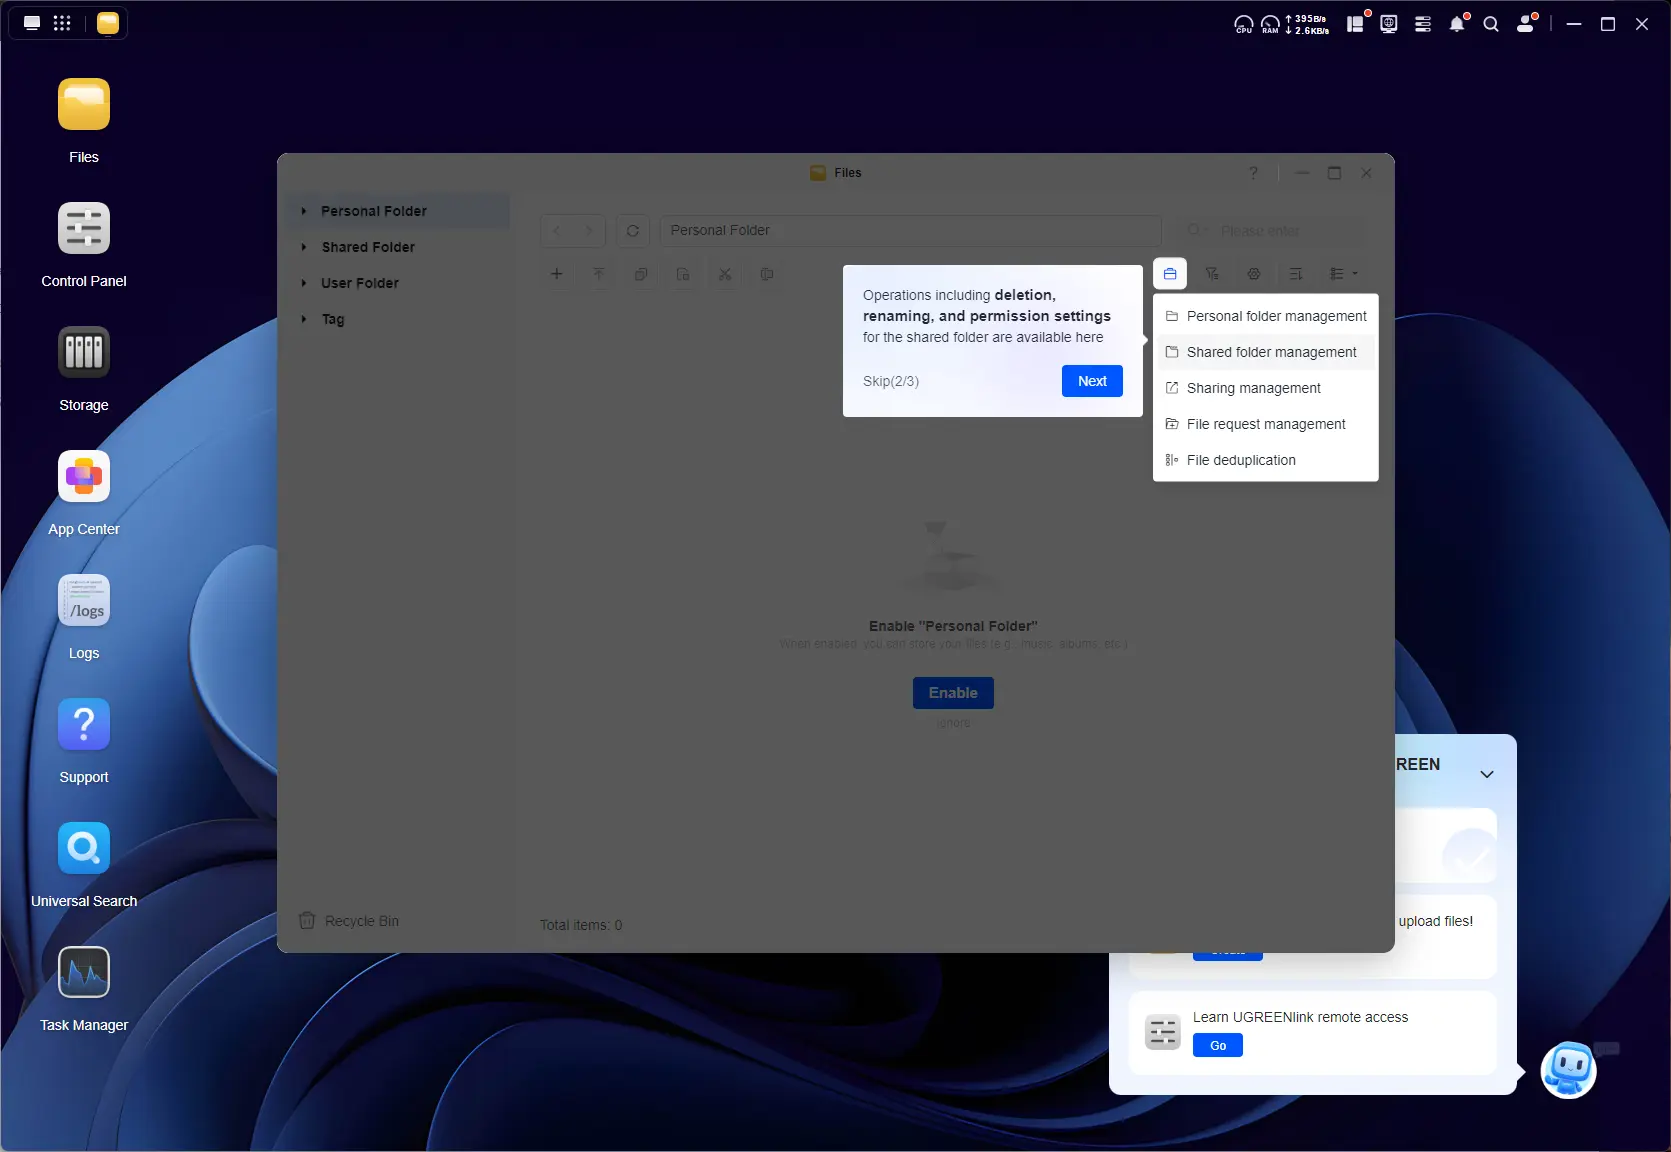
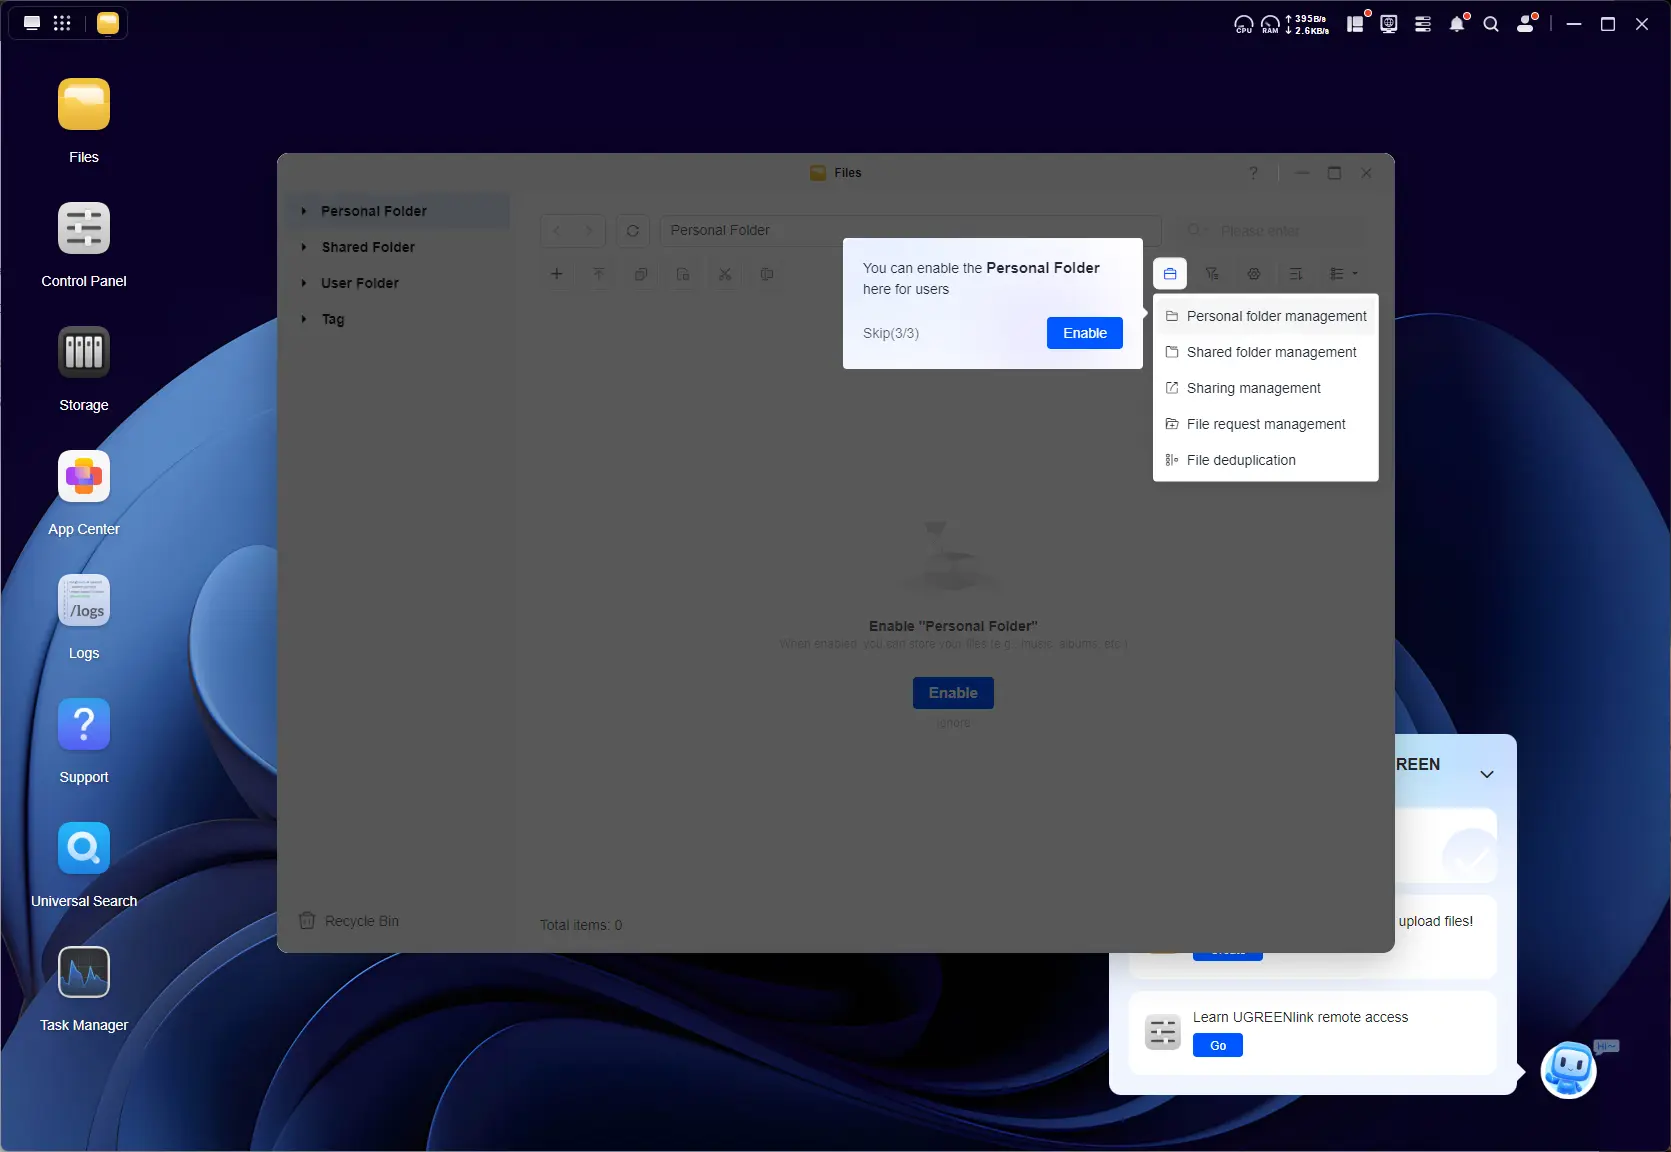
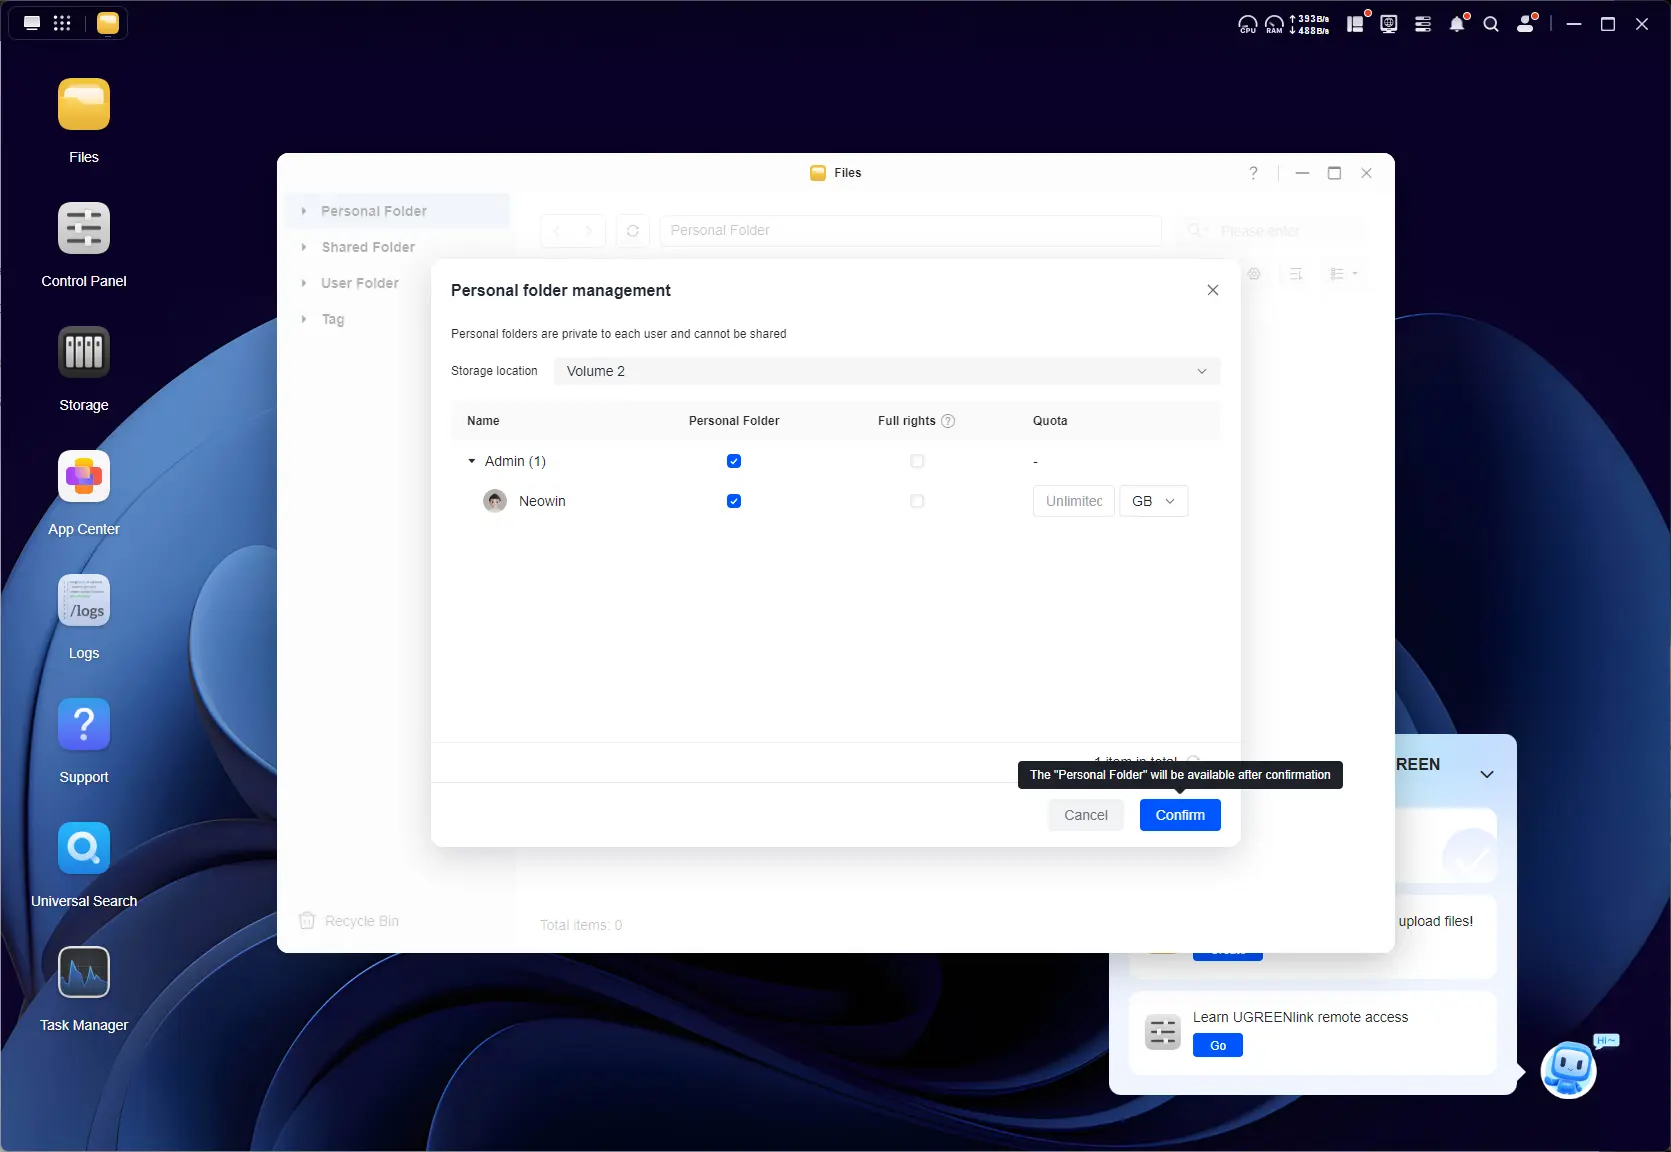

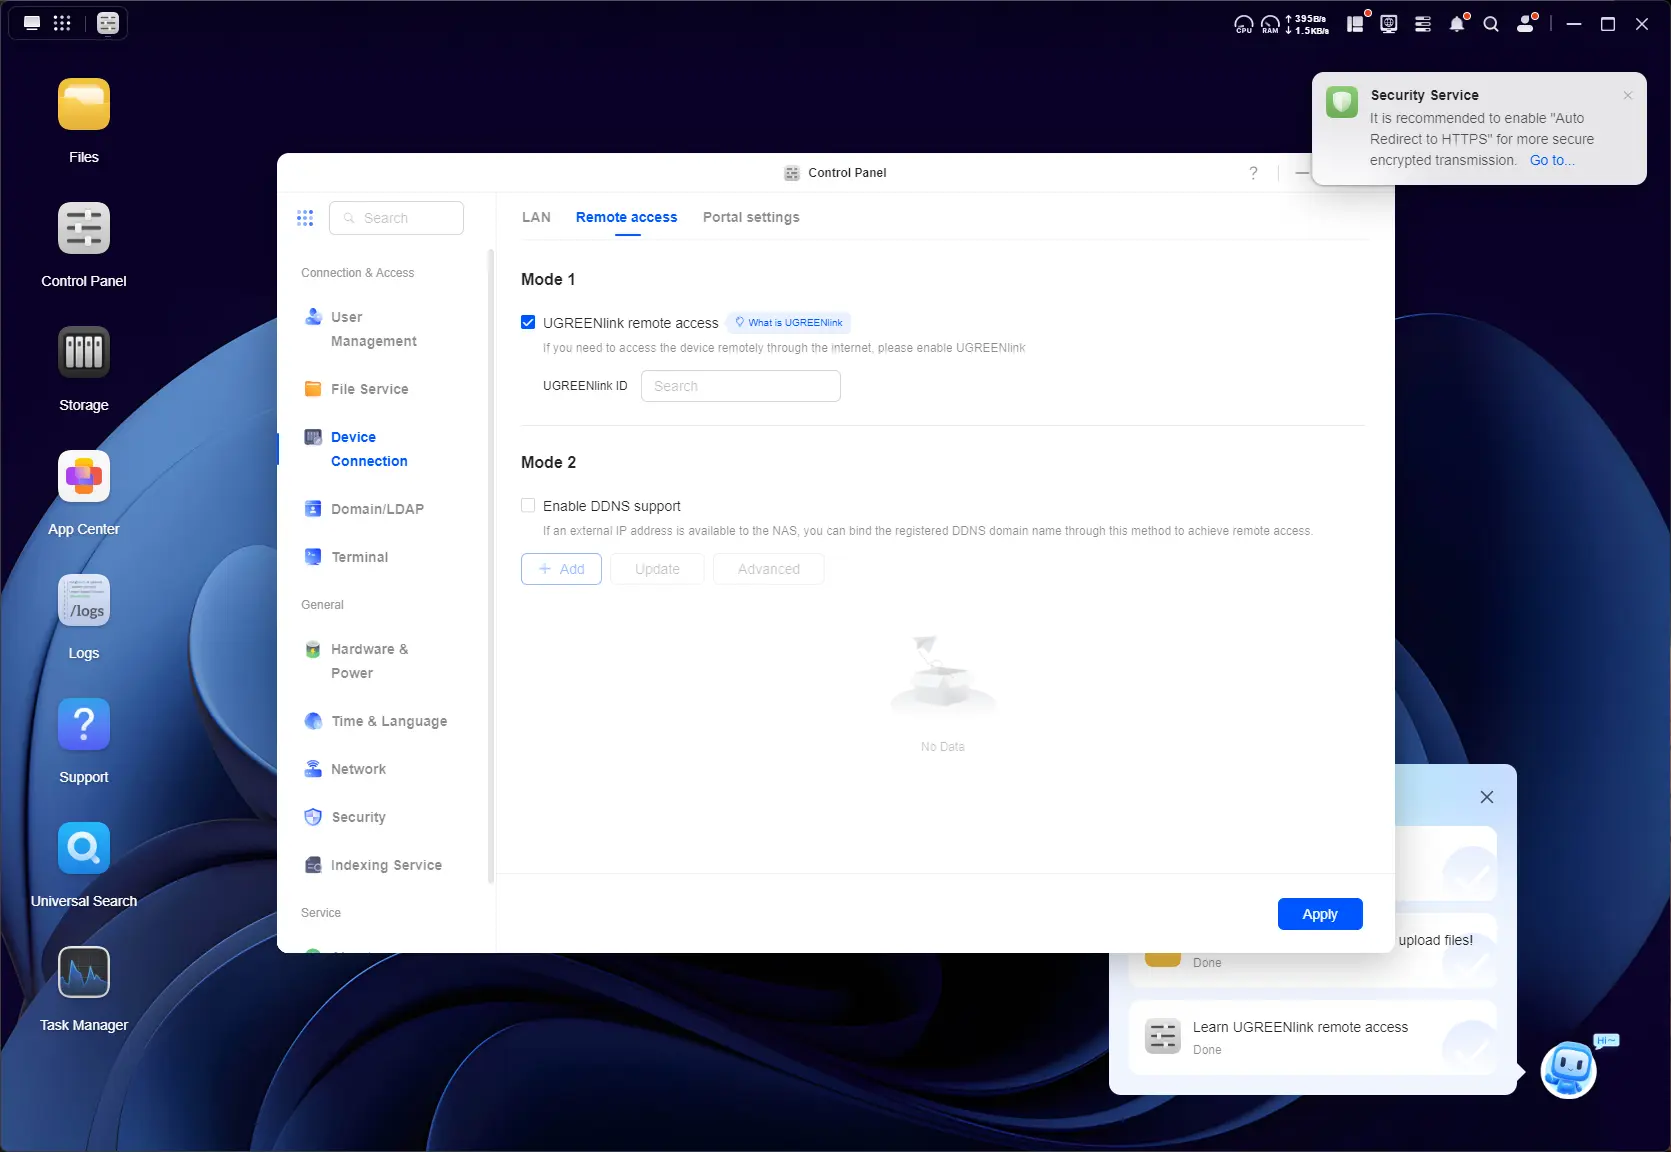
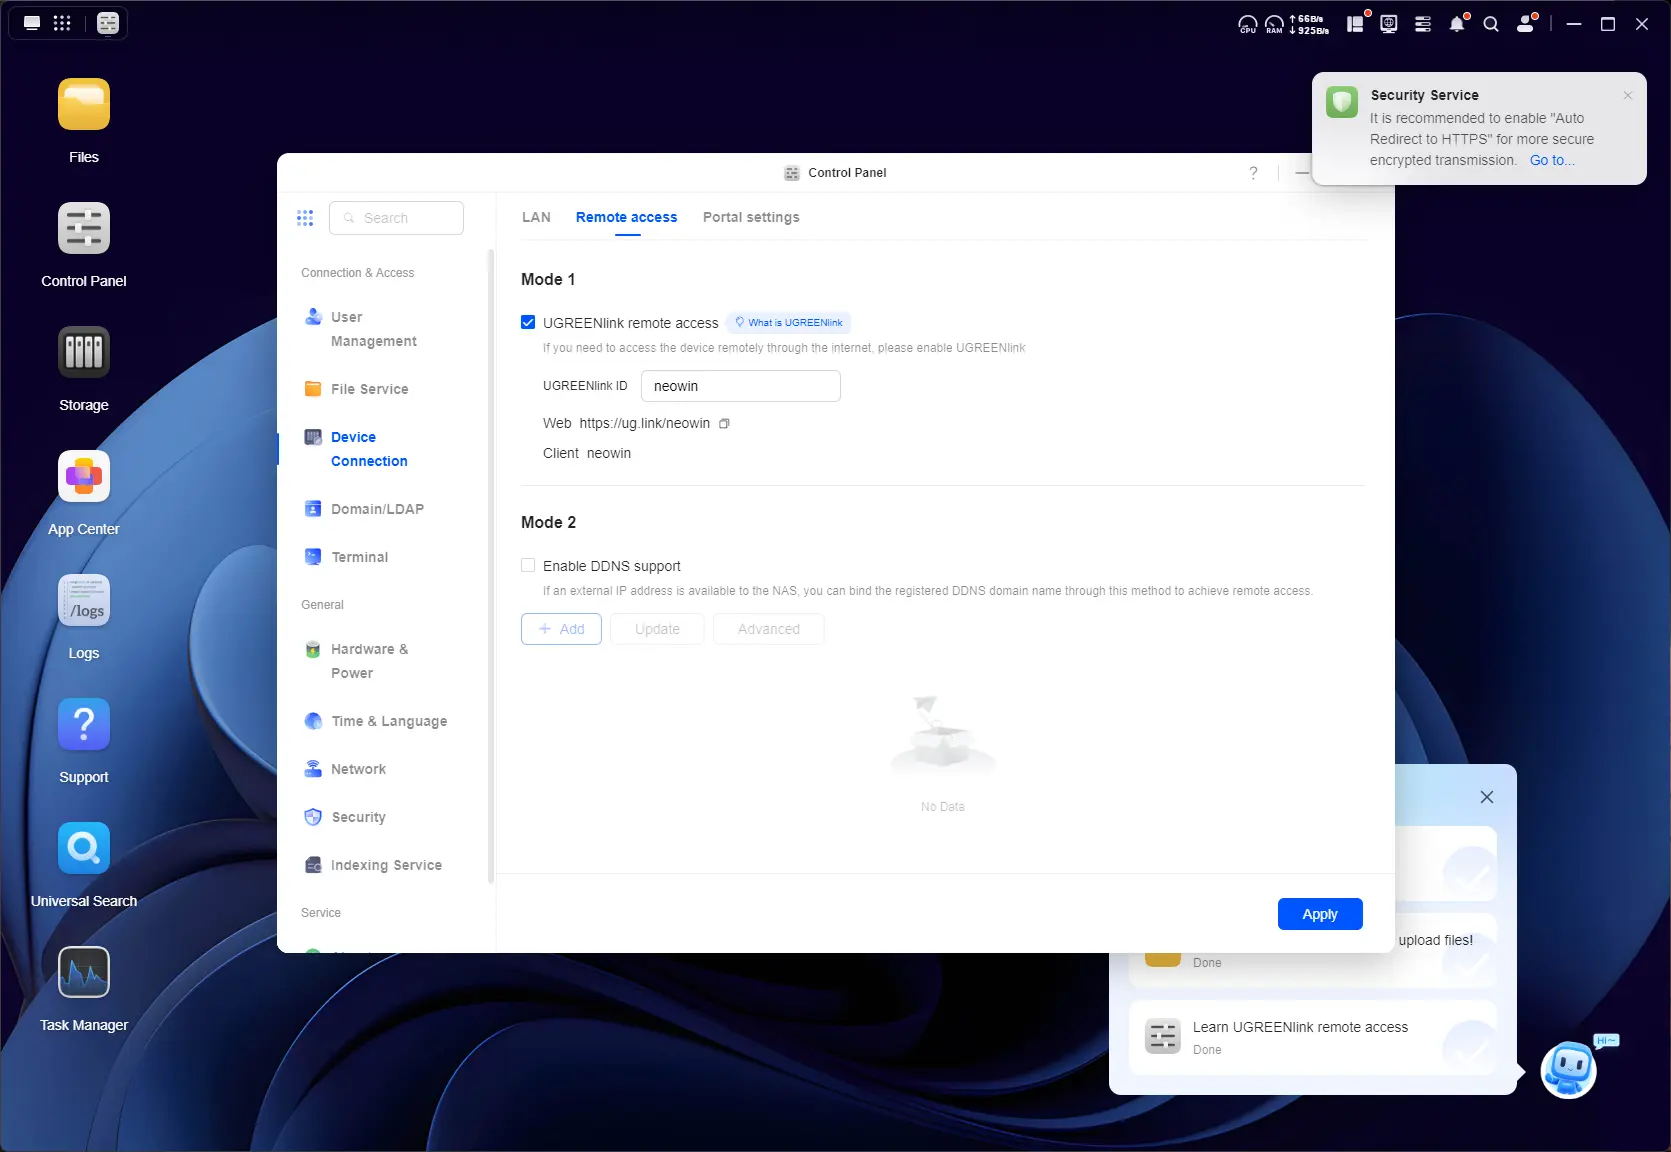
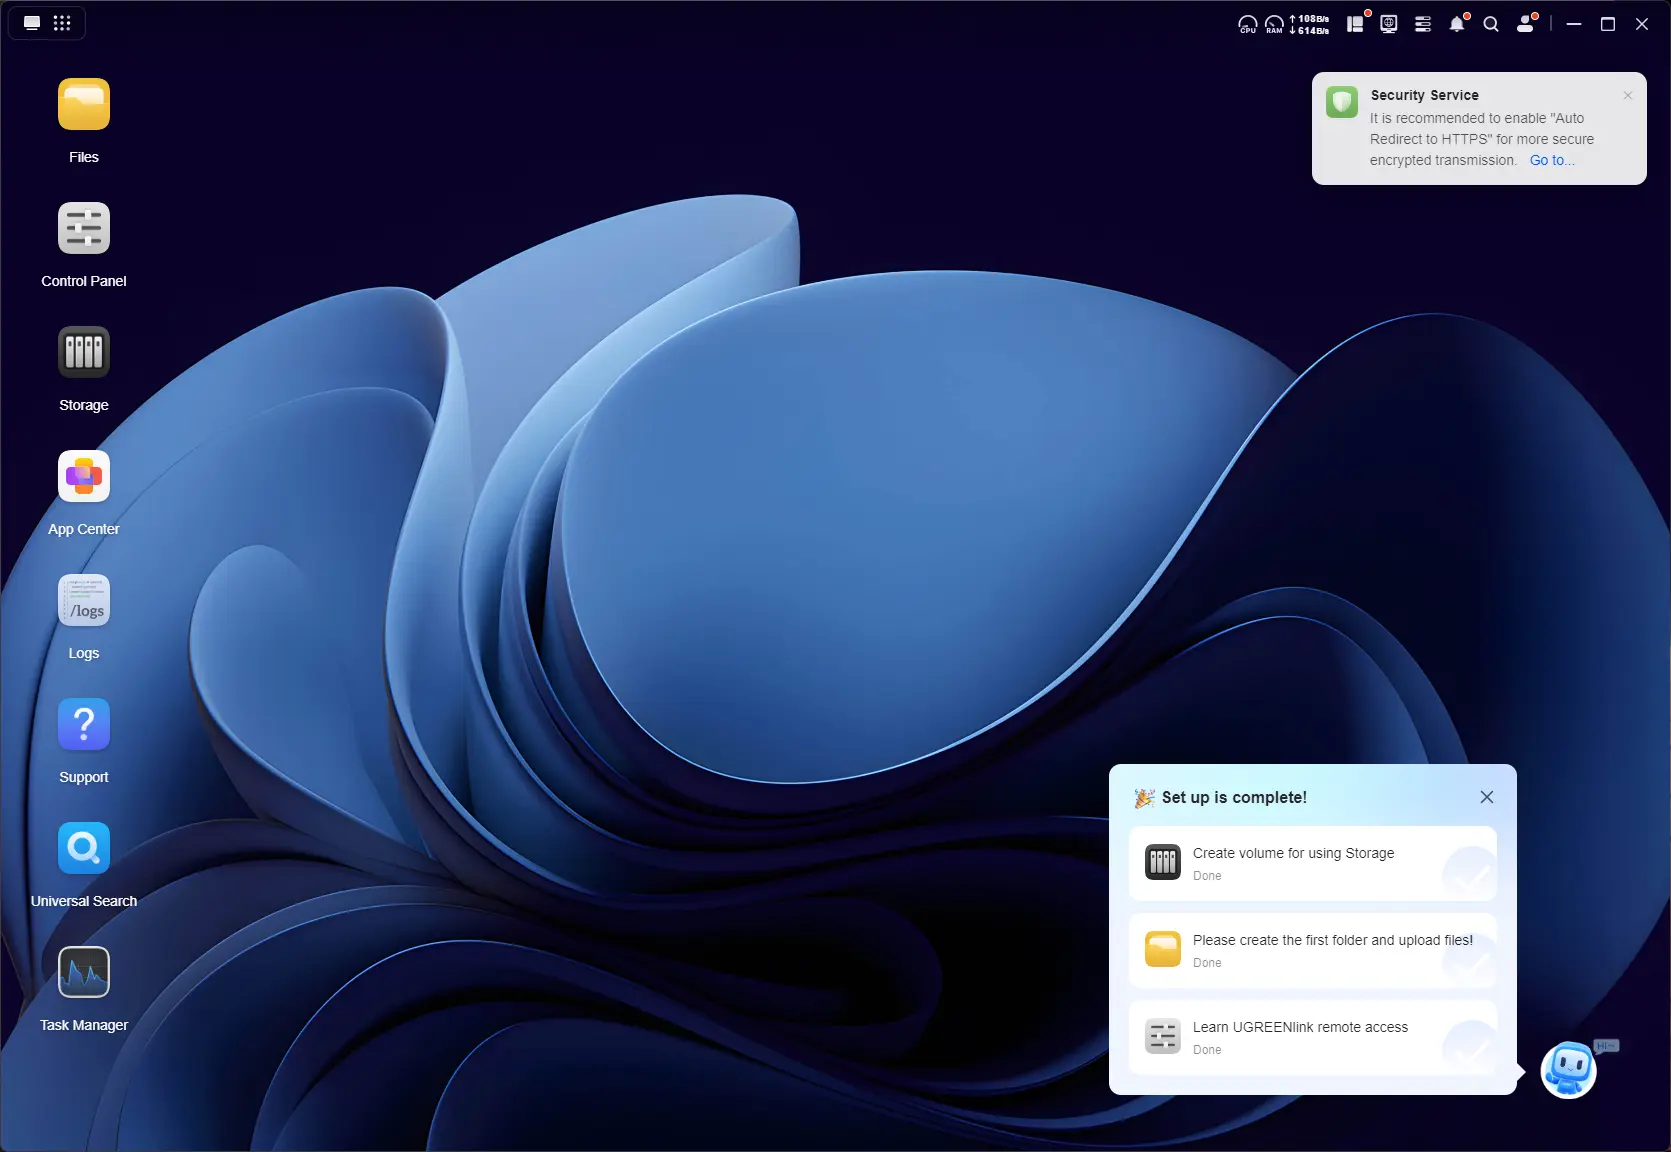

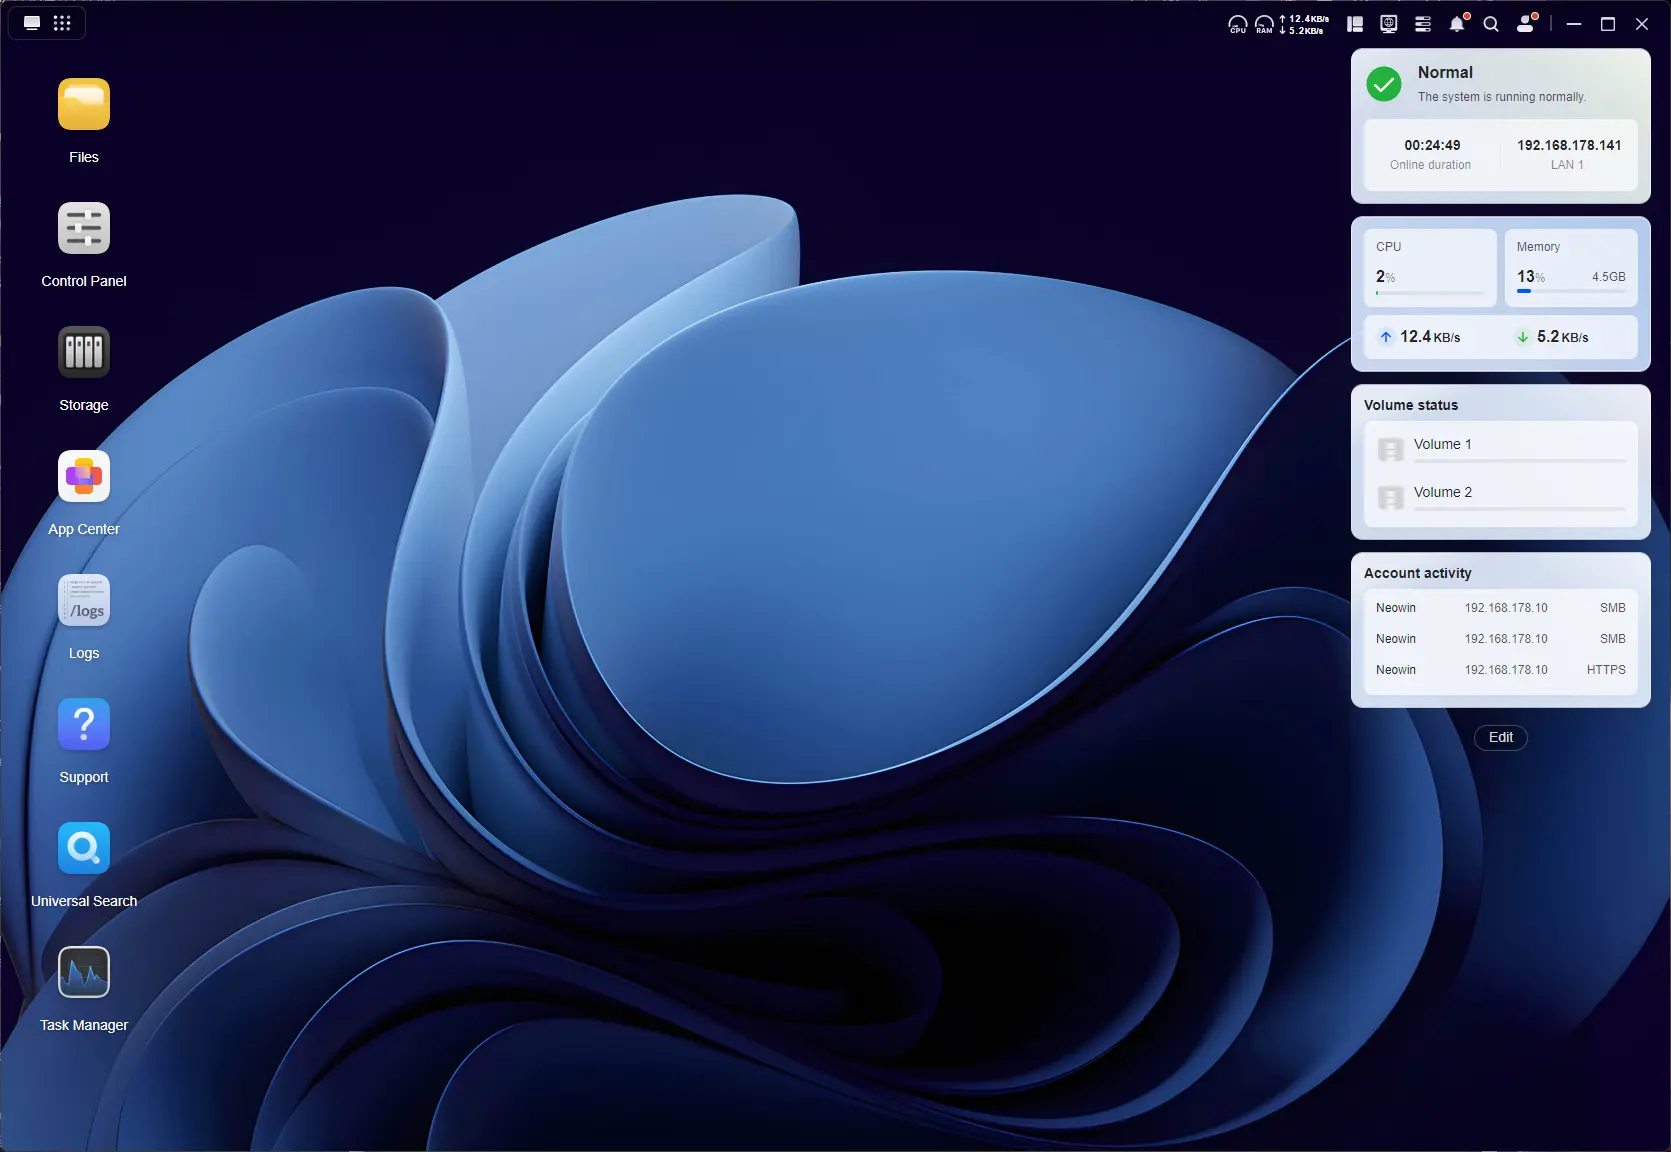
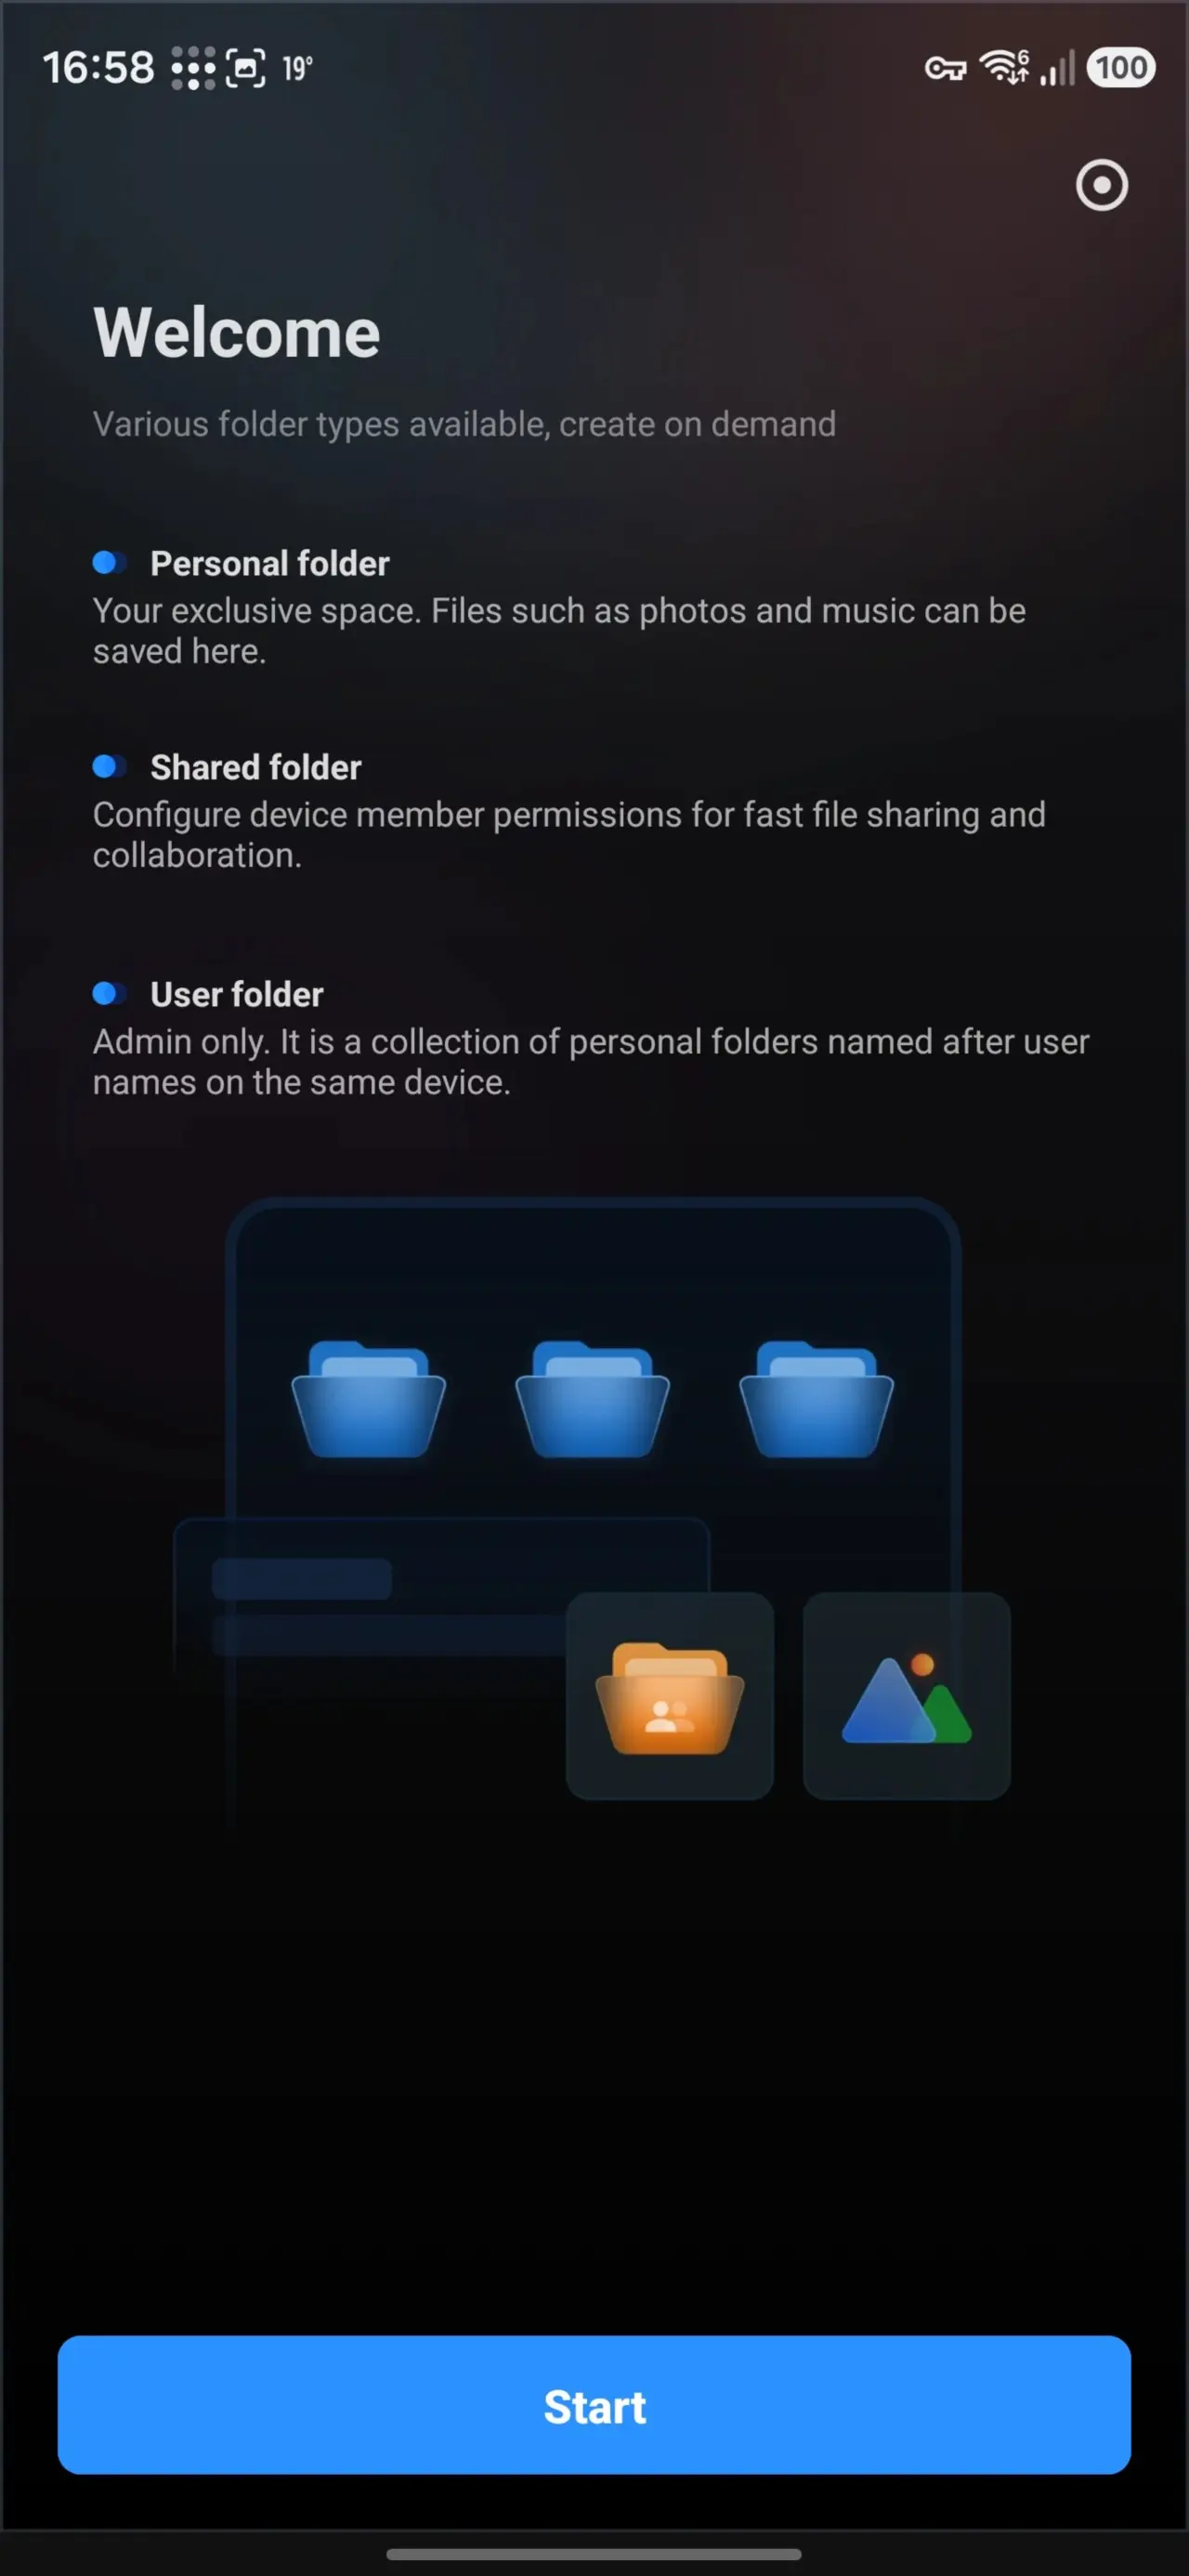
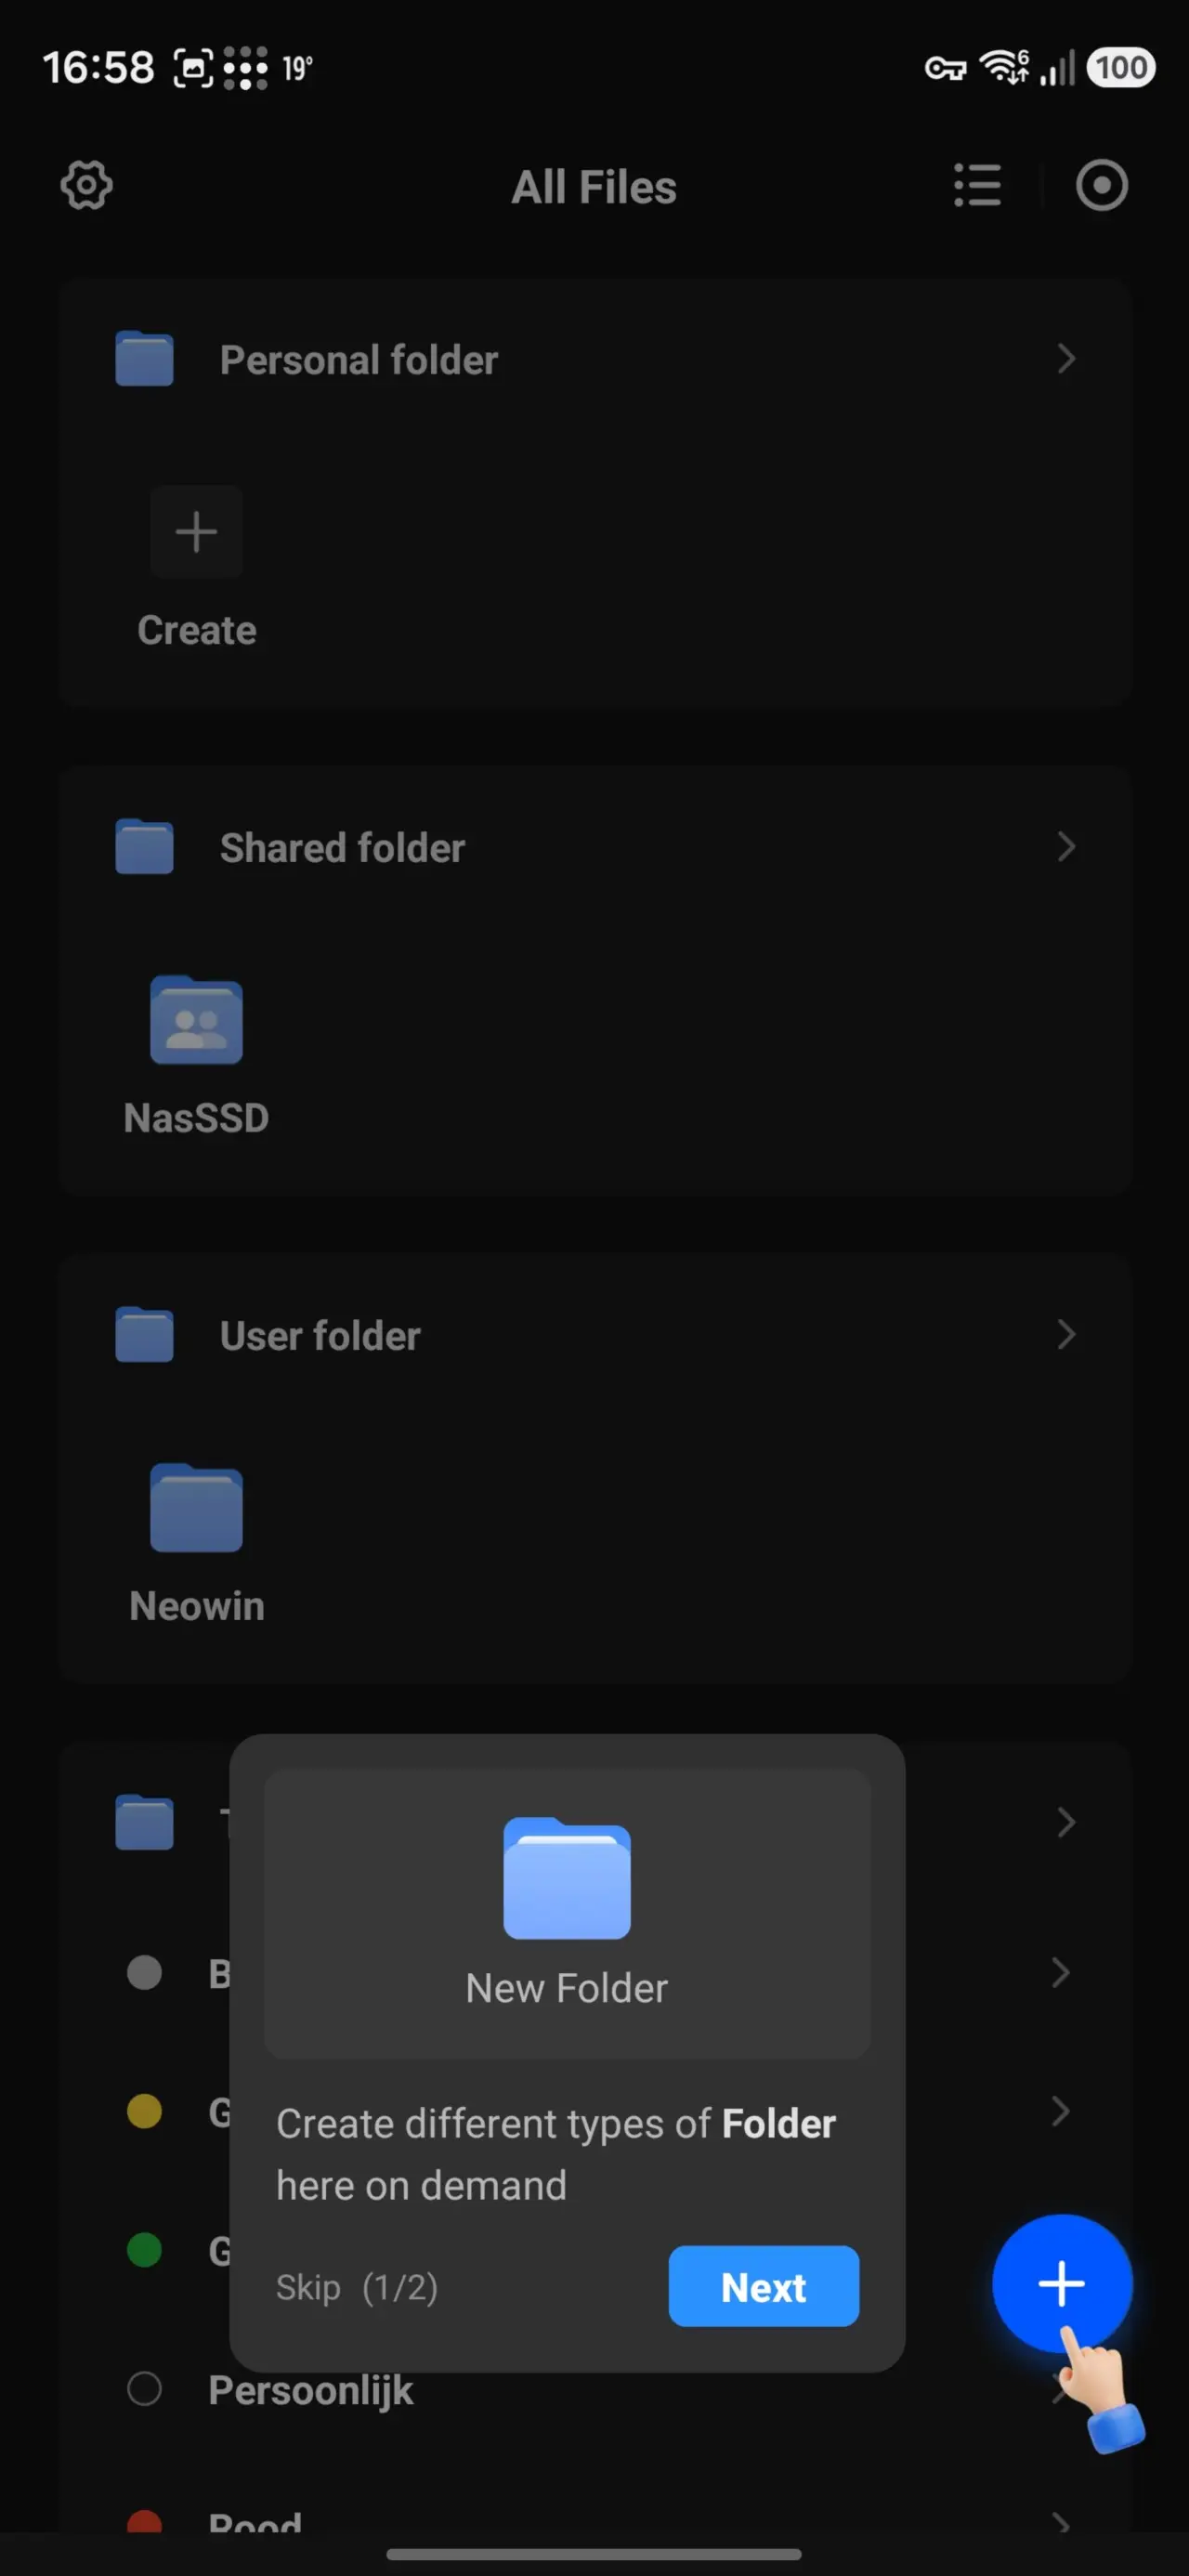
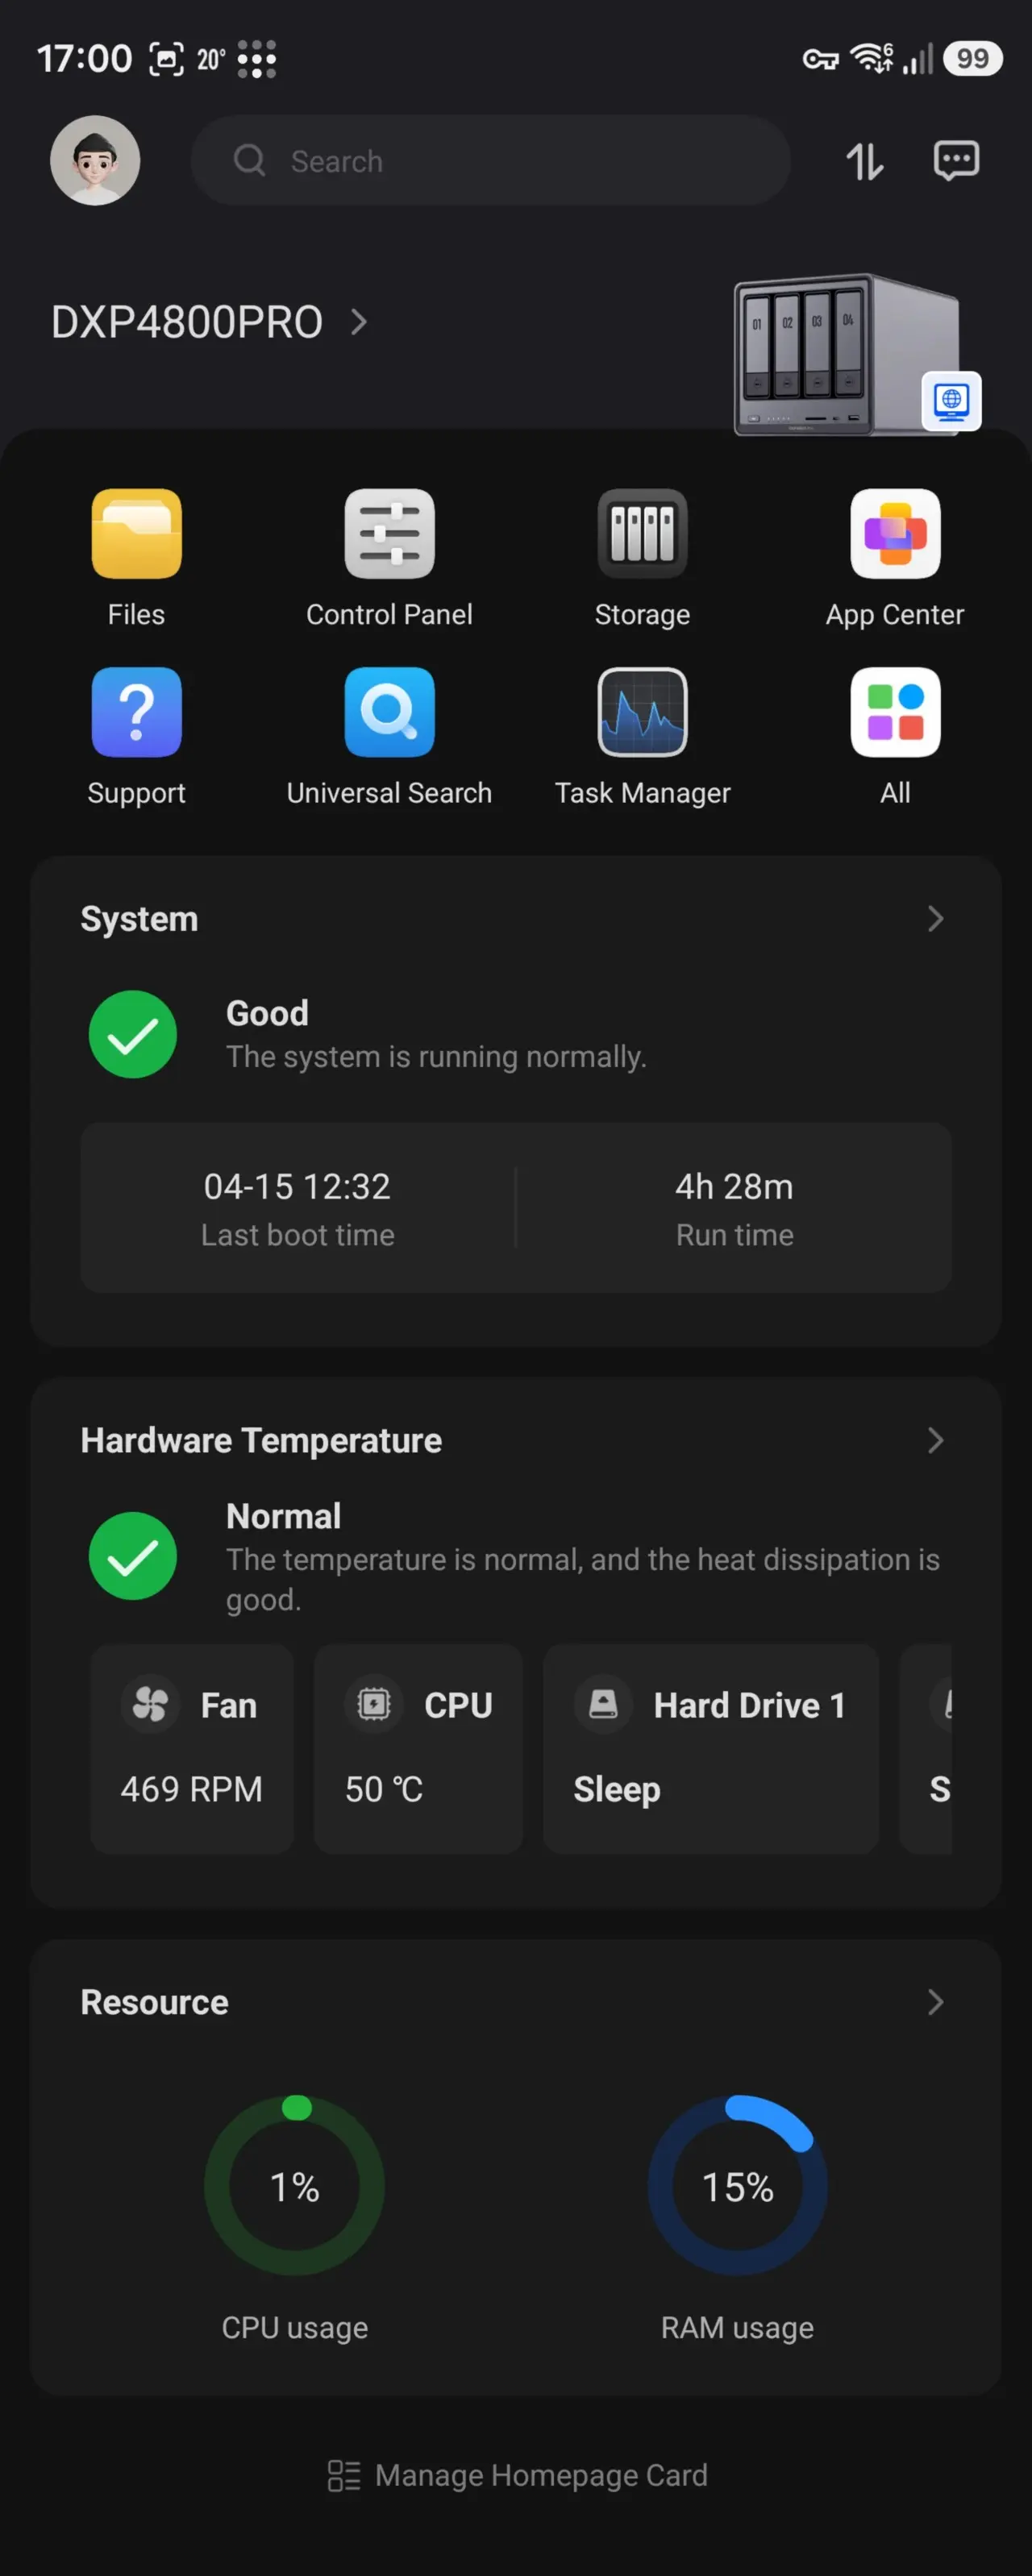
The UGOS dashboard is actually quite nice and innovative. Aside from the OOBE desktop tips, there is also a little helper on the bottom right that reminds you to complete the first basic setup steps of the now initialized NAS. Those are:
- Create a volume for using Storage;
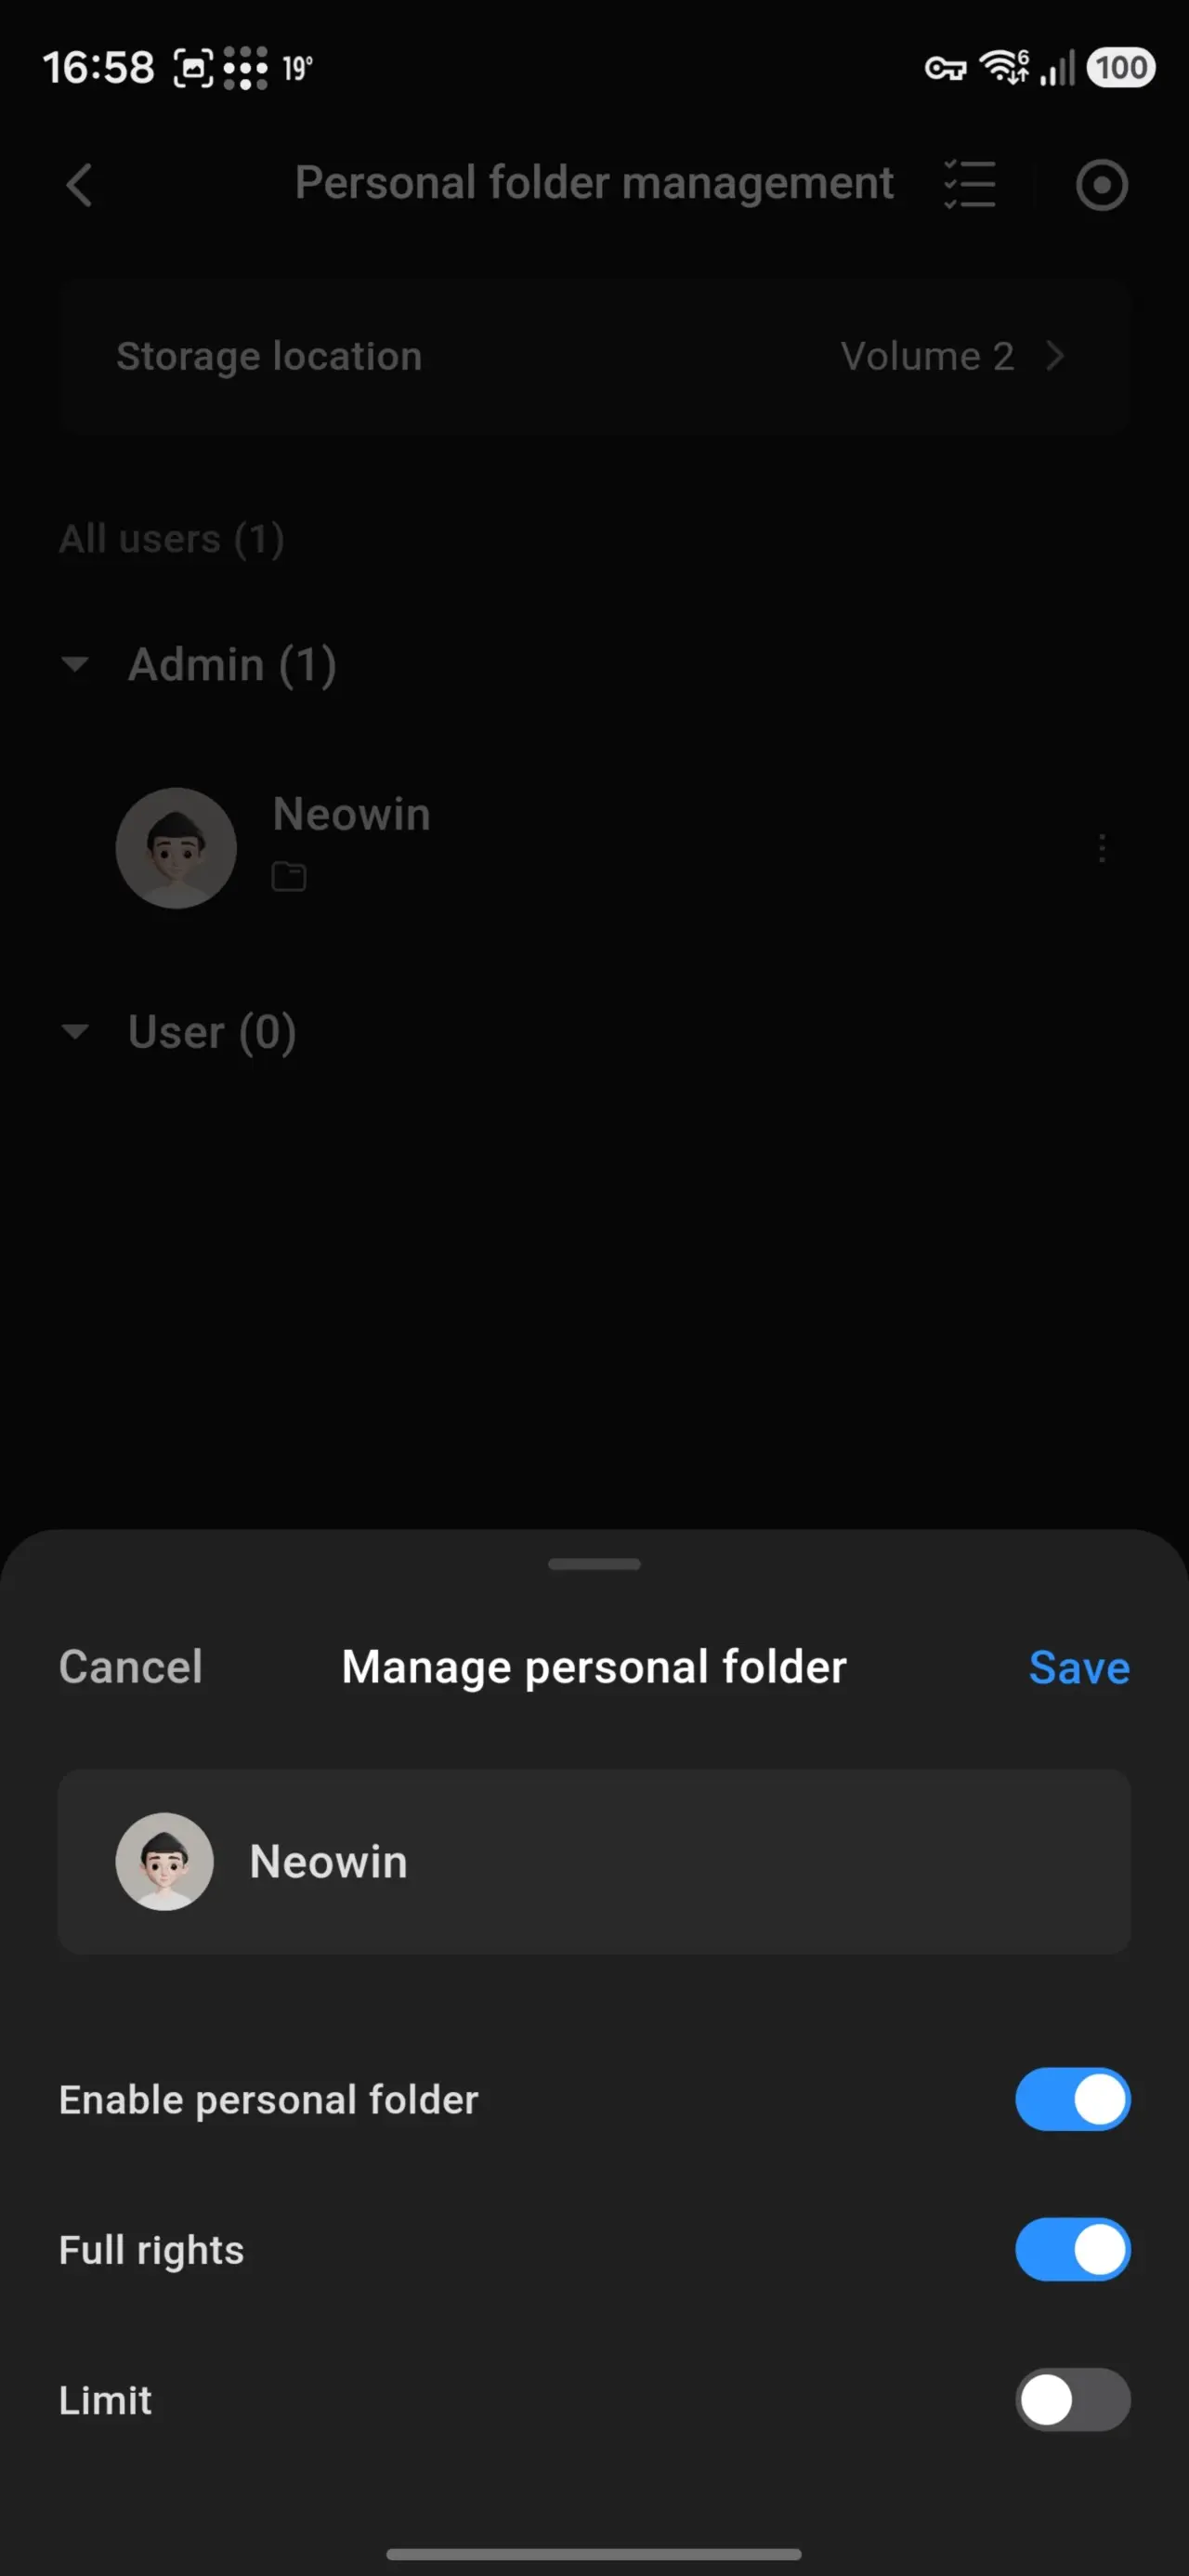
- Create a folder;
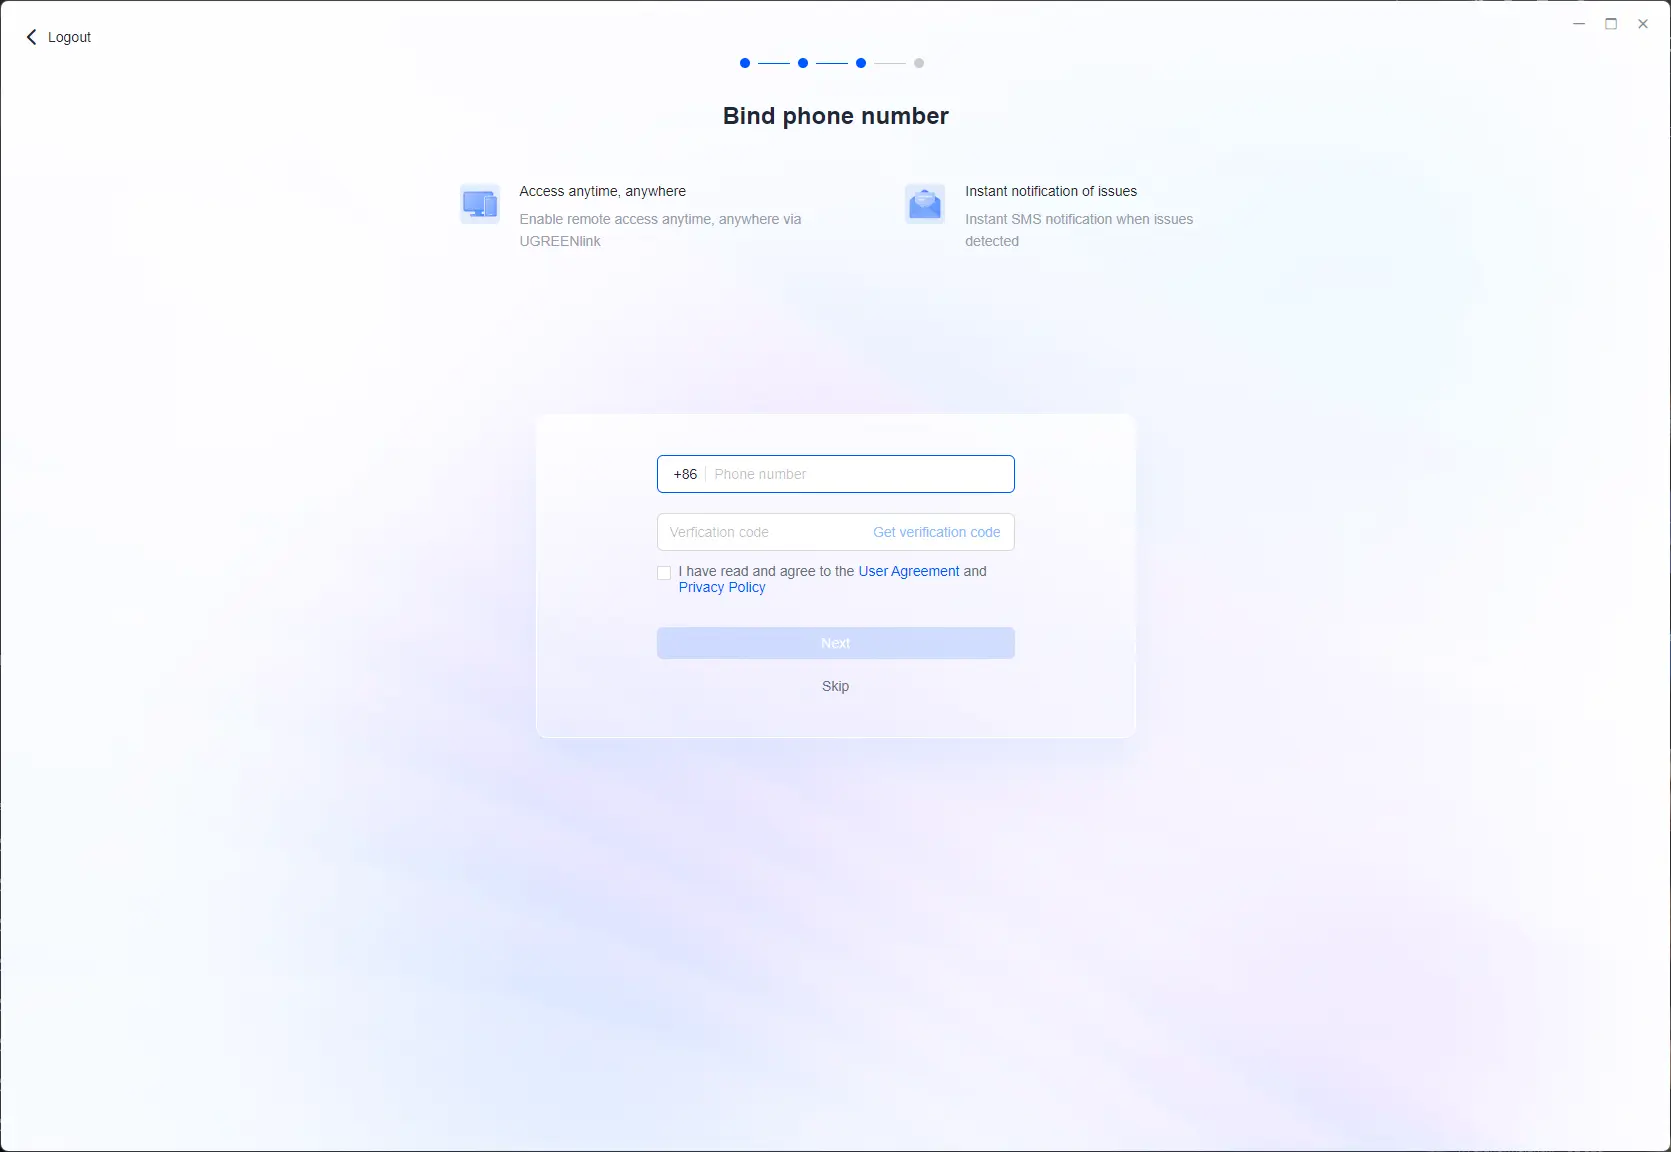
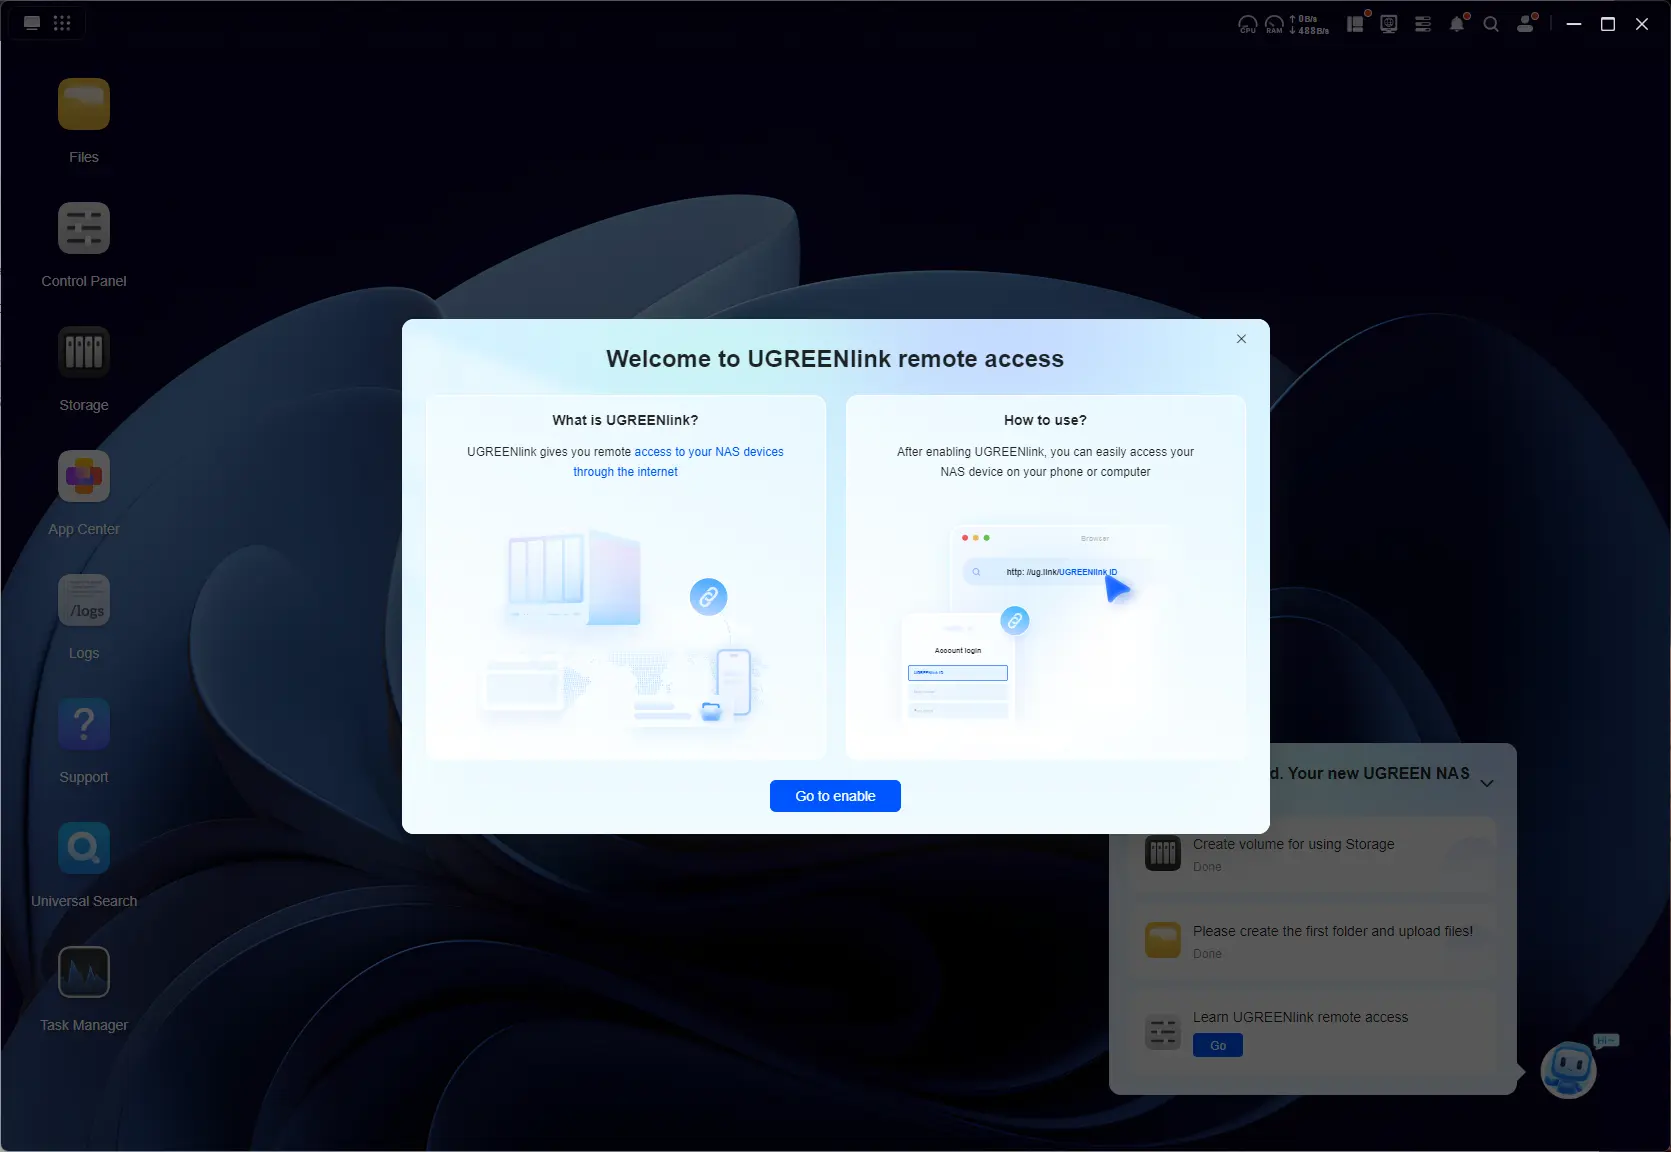
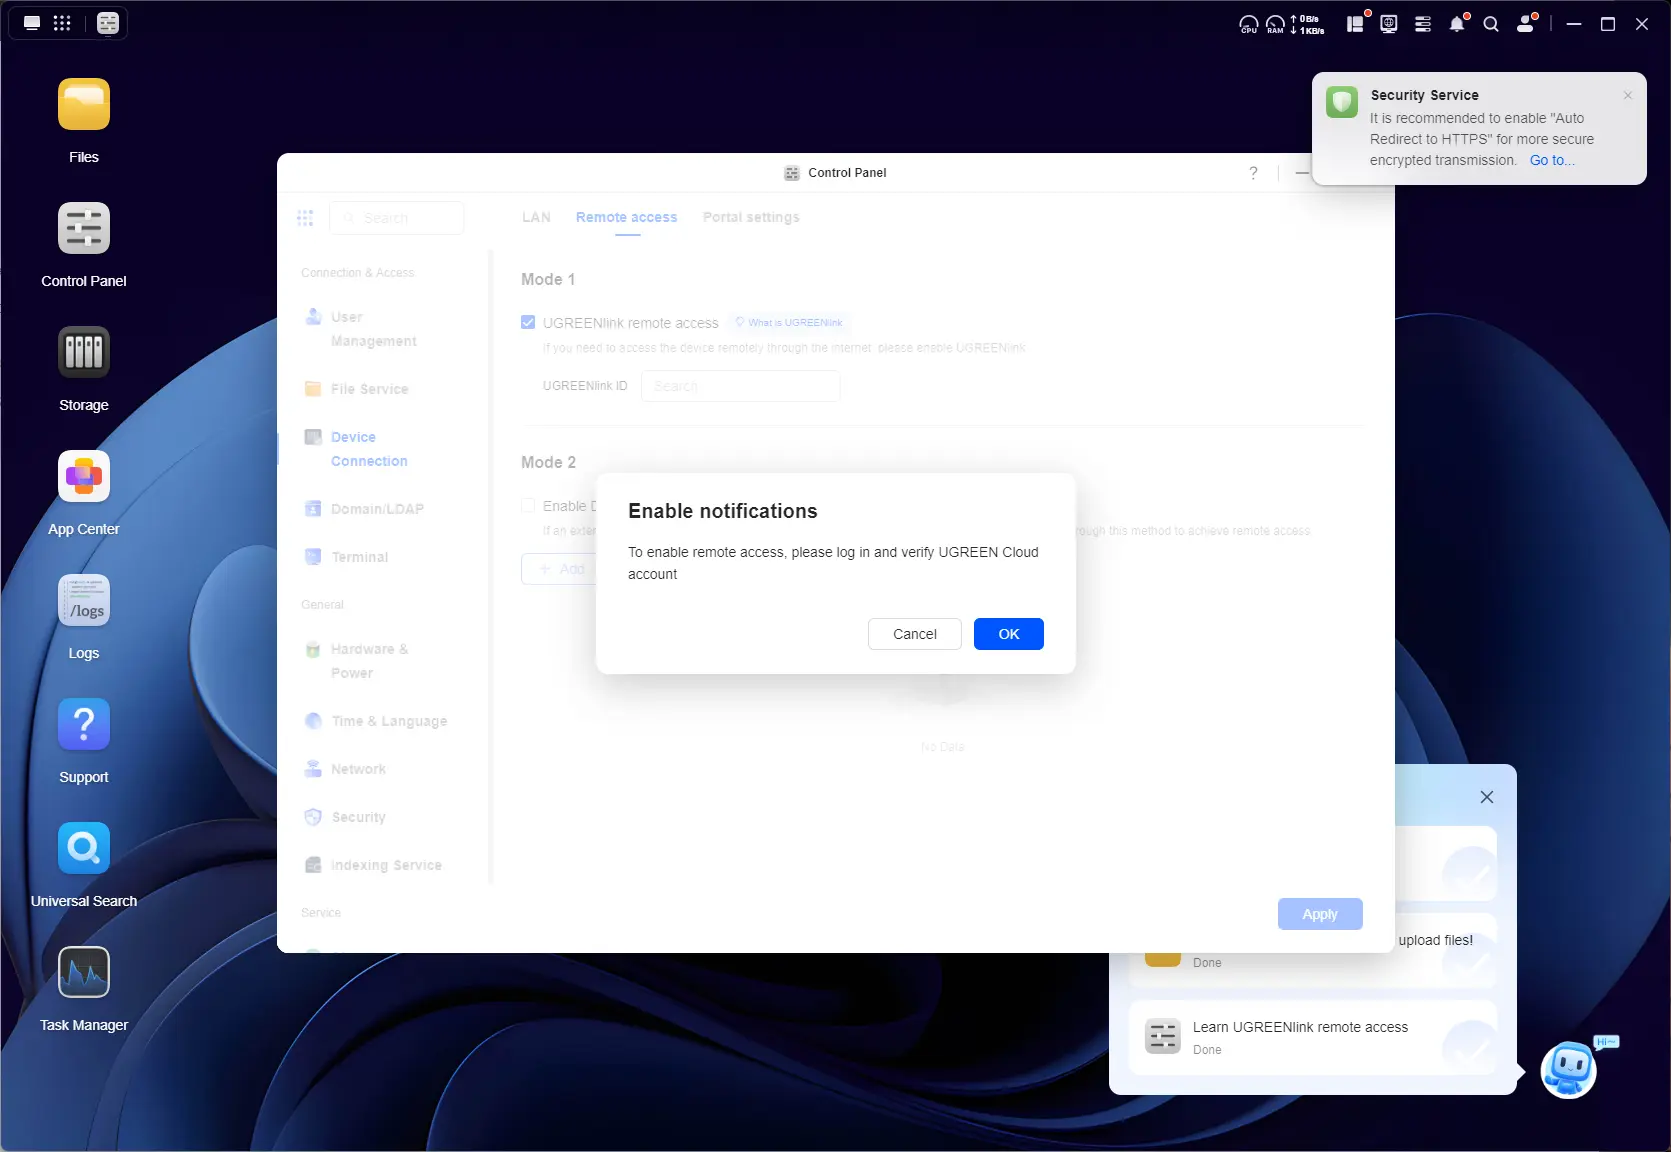
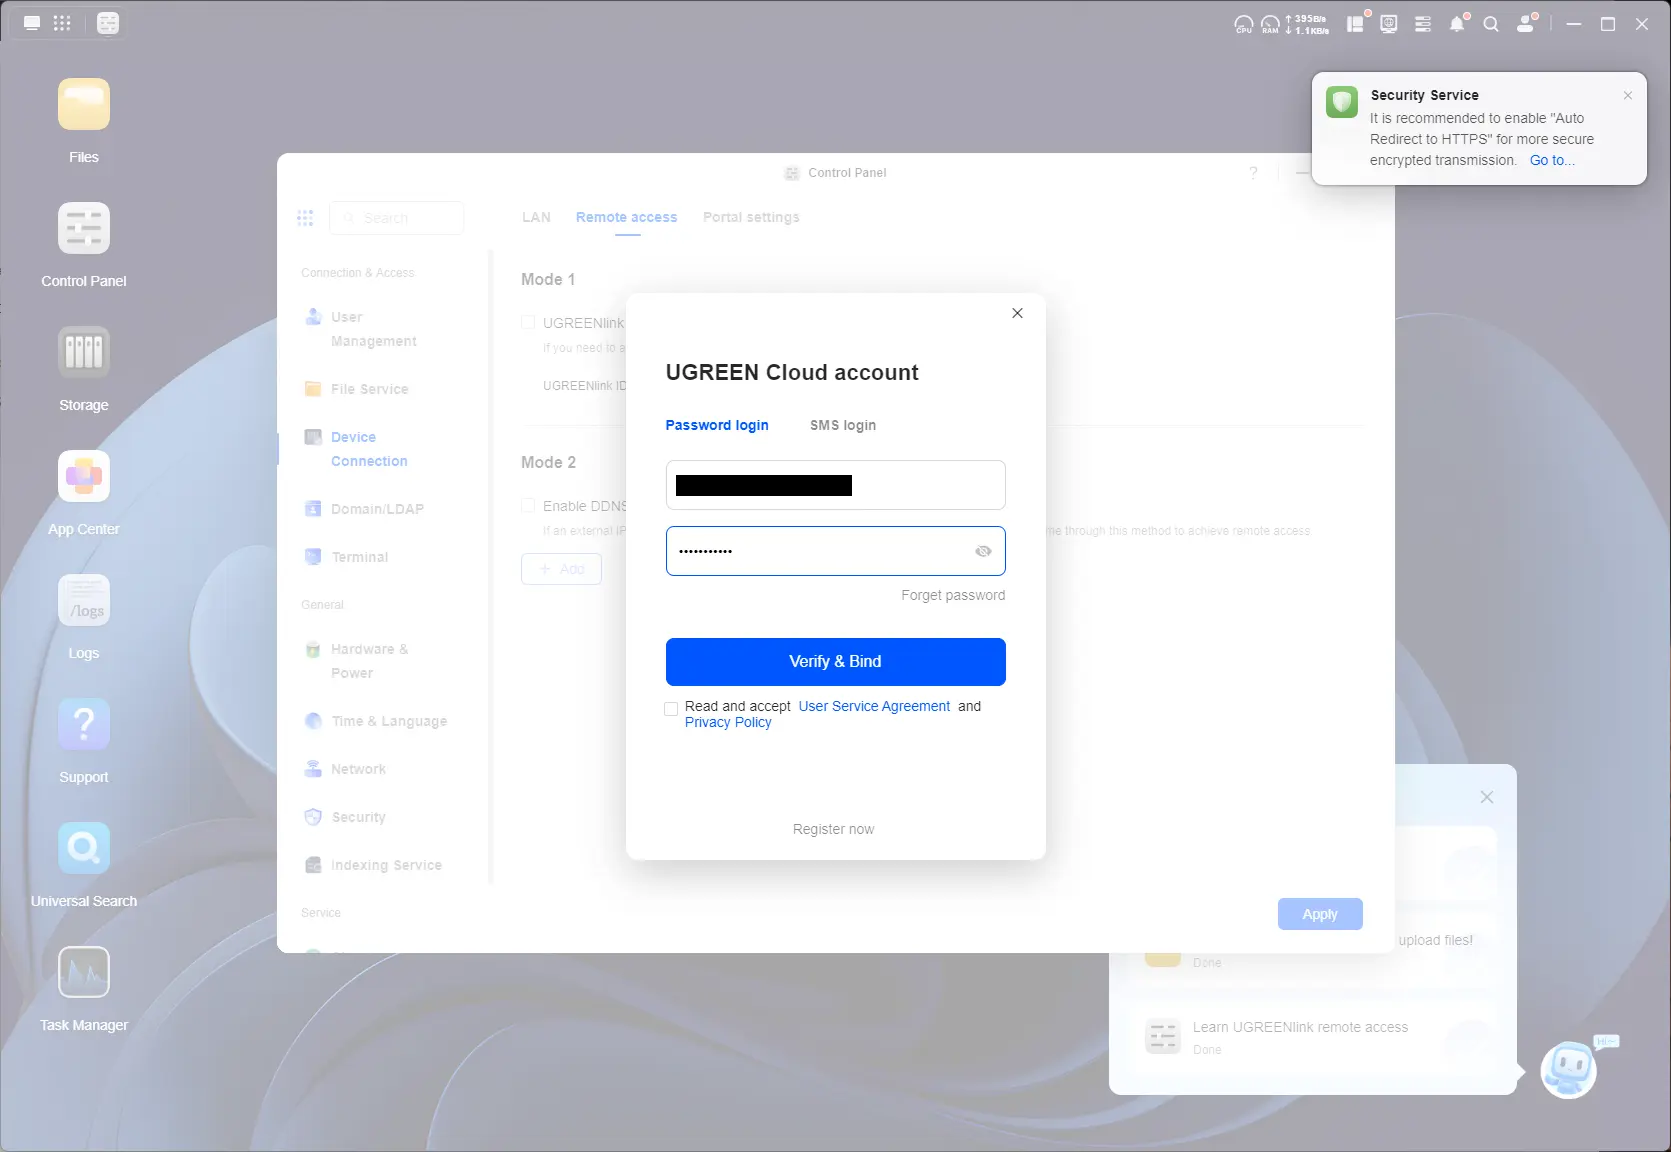
- Create UGREENlink remote access.
UGREENlink remote access is similar to Synology QuickConnect; in fact, it works exactly the same, enabling a hostname for the .local LAN but also a unique device ID to connect to over the web, with a full https certificate provided by UGREEN. Once all the steps are completed, they get checked off, and the assistant disappears.

So, you know how you normally connect to a NAS through the browser? That's how I've been doing it for the past few years anyway. UGREEN has its own Windows app that displays the connection in a remote desktop session window. From a quick online search, it is also not a PWA (a web page thrown inside an app wrapper); it is a fully dedicated Windows app.
Usage
Next up, I did some network performance tests, which you can view below.
| HDD volume | SSD volume |
|---|---|
|
|
|
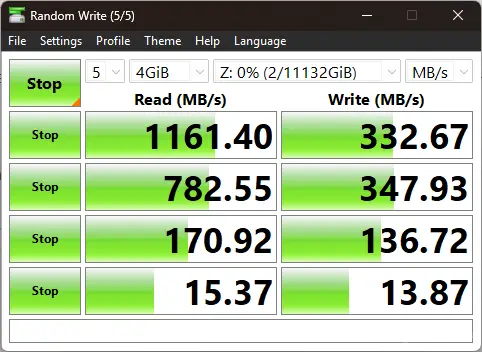
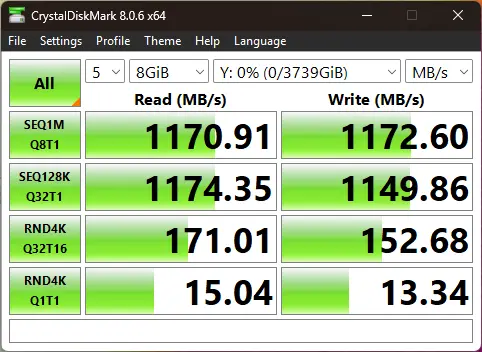
A CrystalDiskMark test on mapped network drives from within a Windows 11 25H2 PC connected over a 10 GbE hub, were well within acceptable ranges.
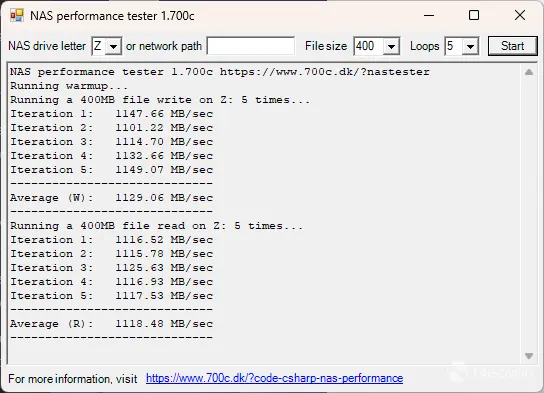
I also ran the NAS Performance tester, which tests the link speed performance. As you can see, it pretty much maxes out my 10 GbE connection.
Heat
| Idle | running CrystalDiskMark |
|---|---|
|
|
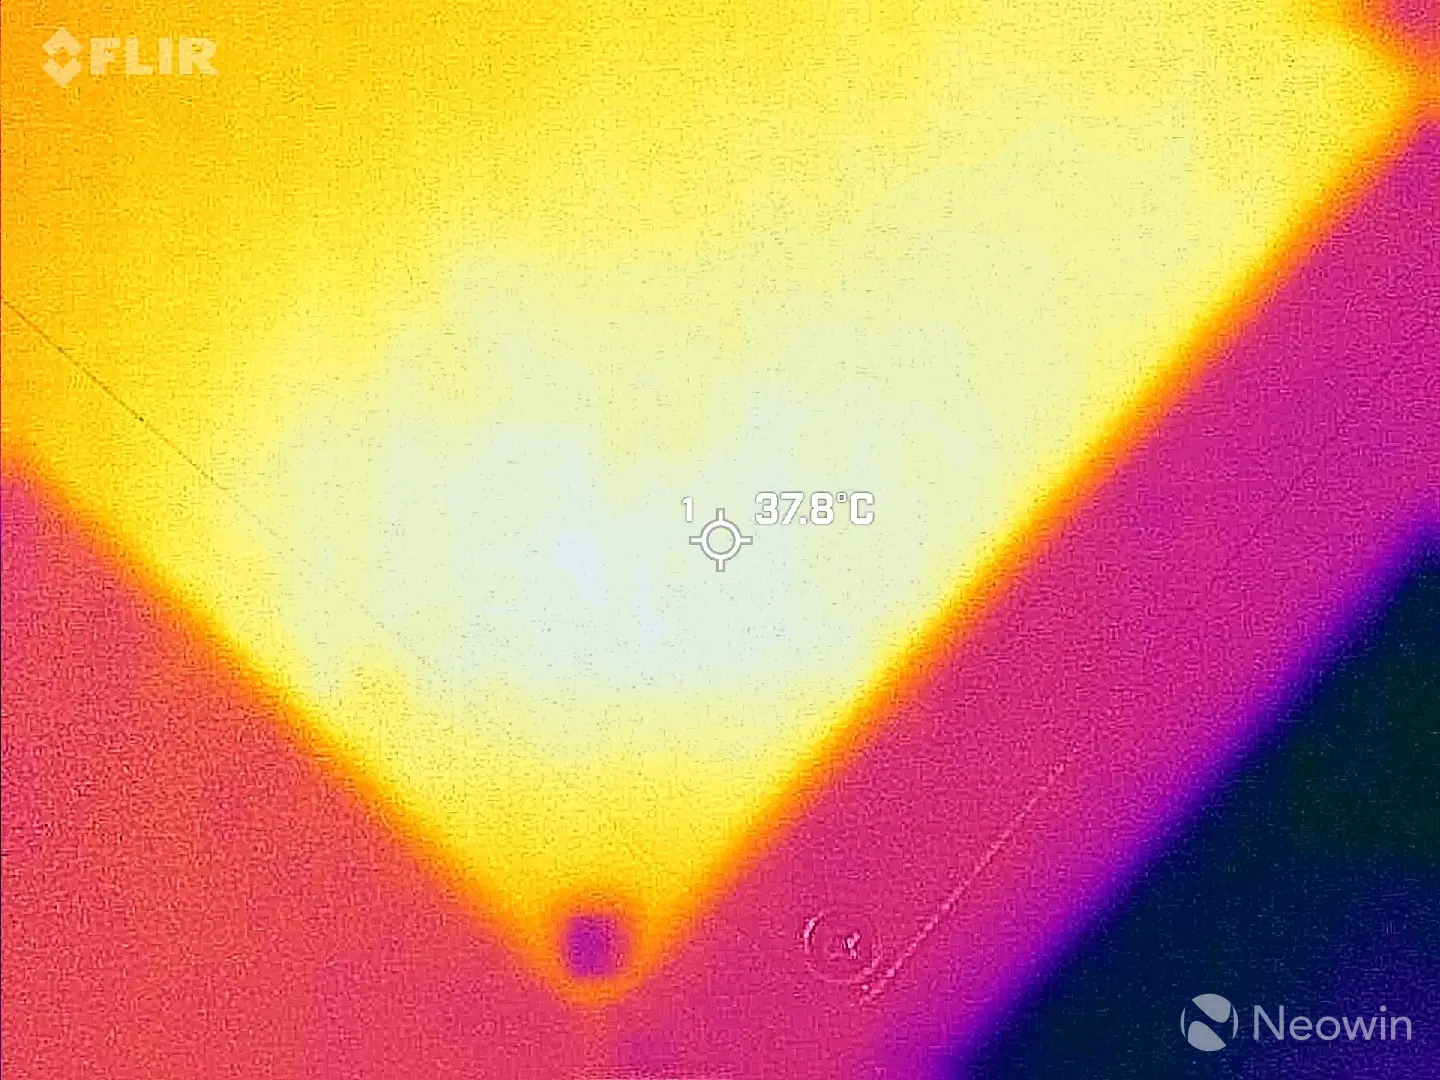 |
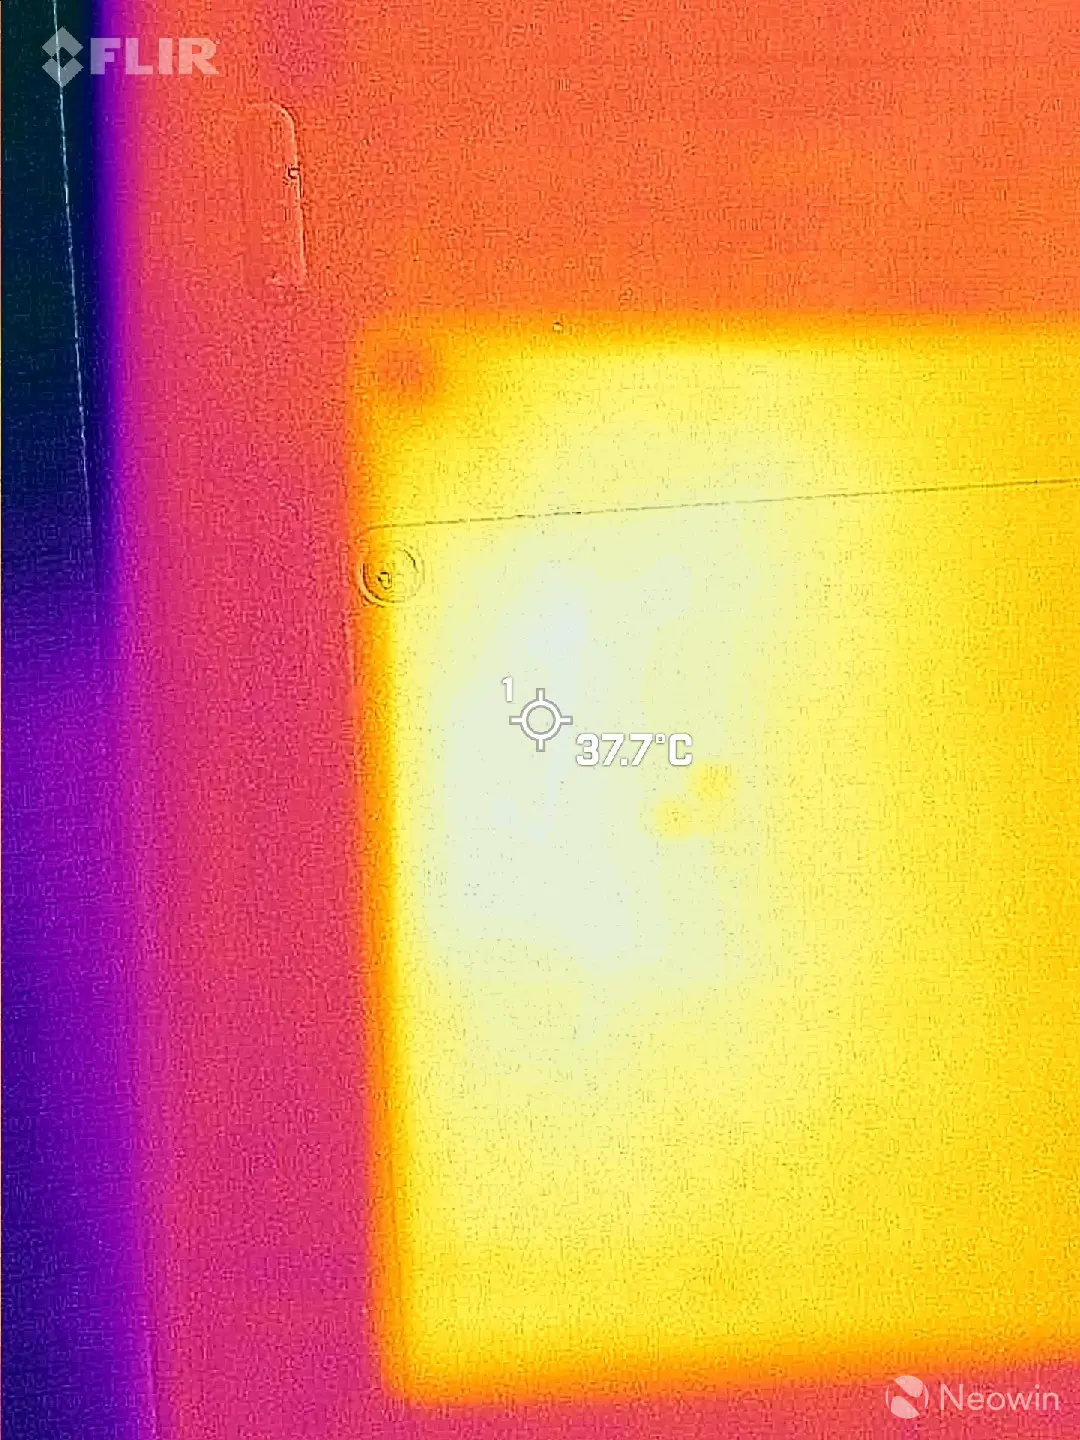
As I mentioned earlier, and to prove my point about the rubber feet being far too small in height, after carefully turning over the DXP4800 Pro, I measured an idle temp of 37.7C on the SSD bay door and this is with the NAS sitting on an open desk with an ambient room temperature of 21.9C, and that's with those thick thermal pads over the SSDs. However, after running a CrystalDiskMark test on the SSD volume, it only increased by 0.1C, which means the thermal pads are doing their job.
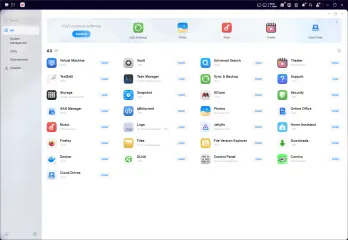
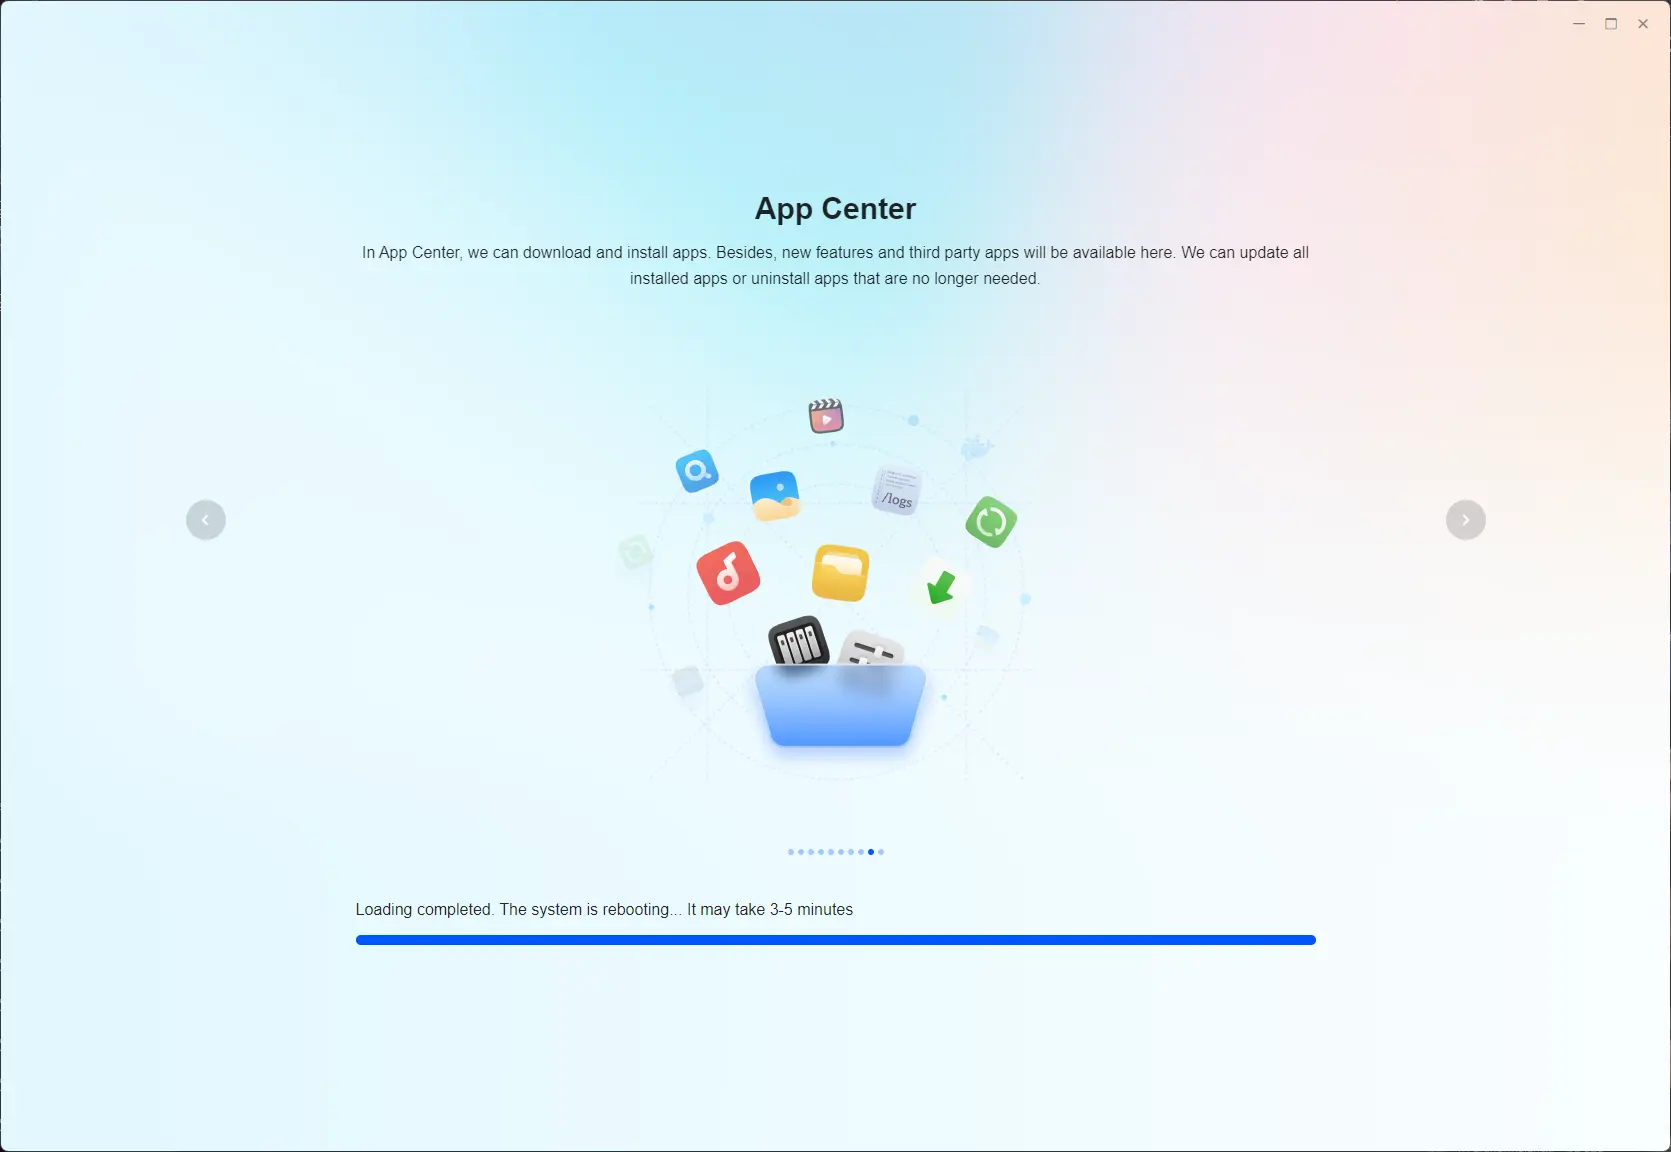
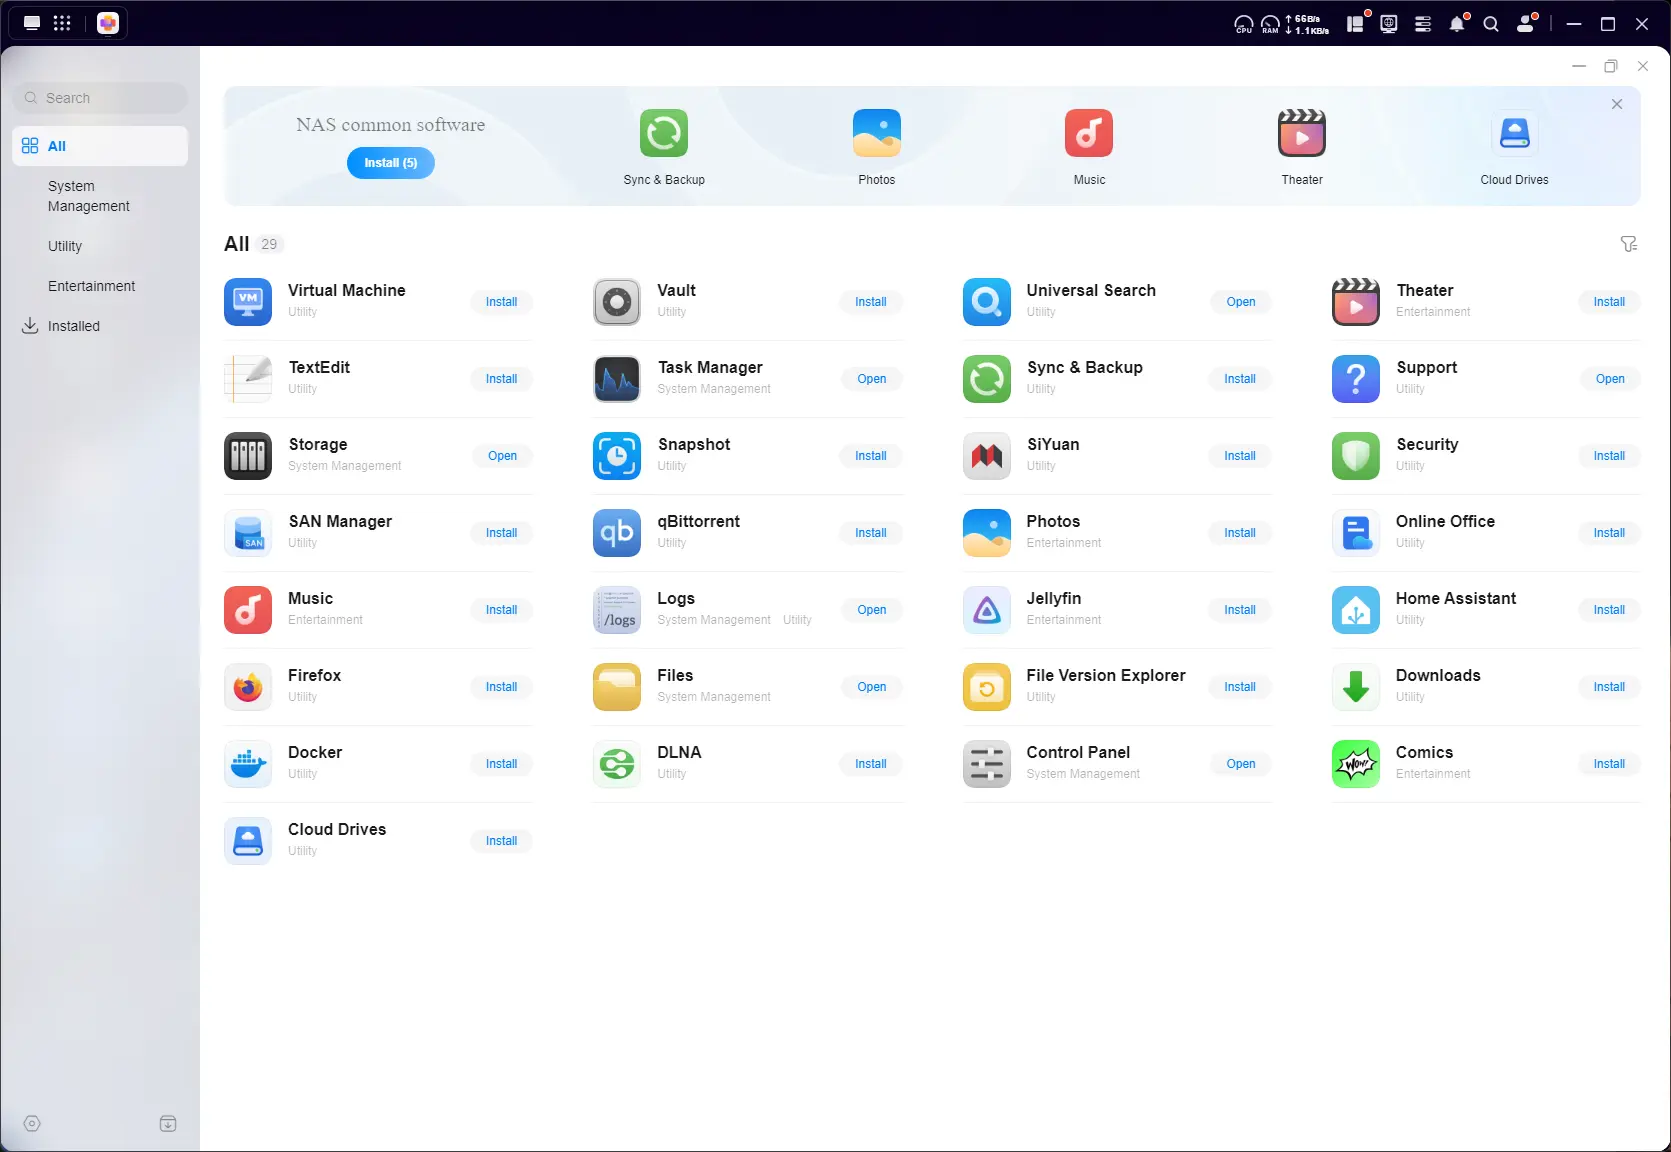
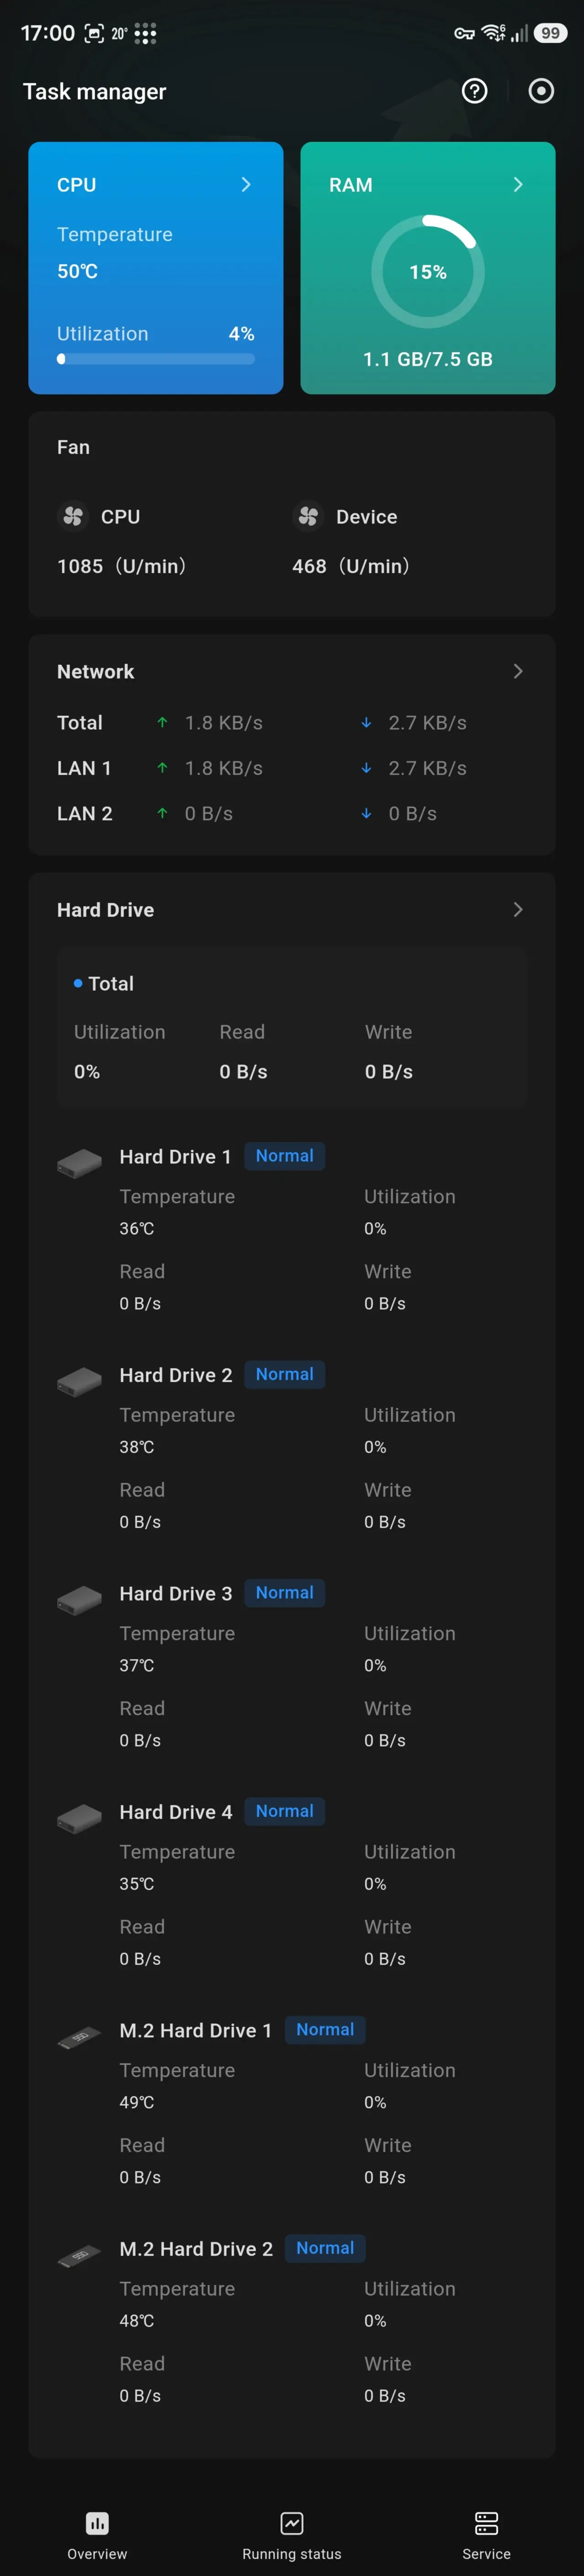
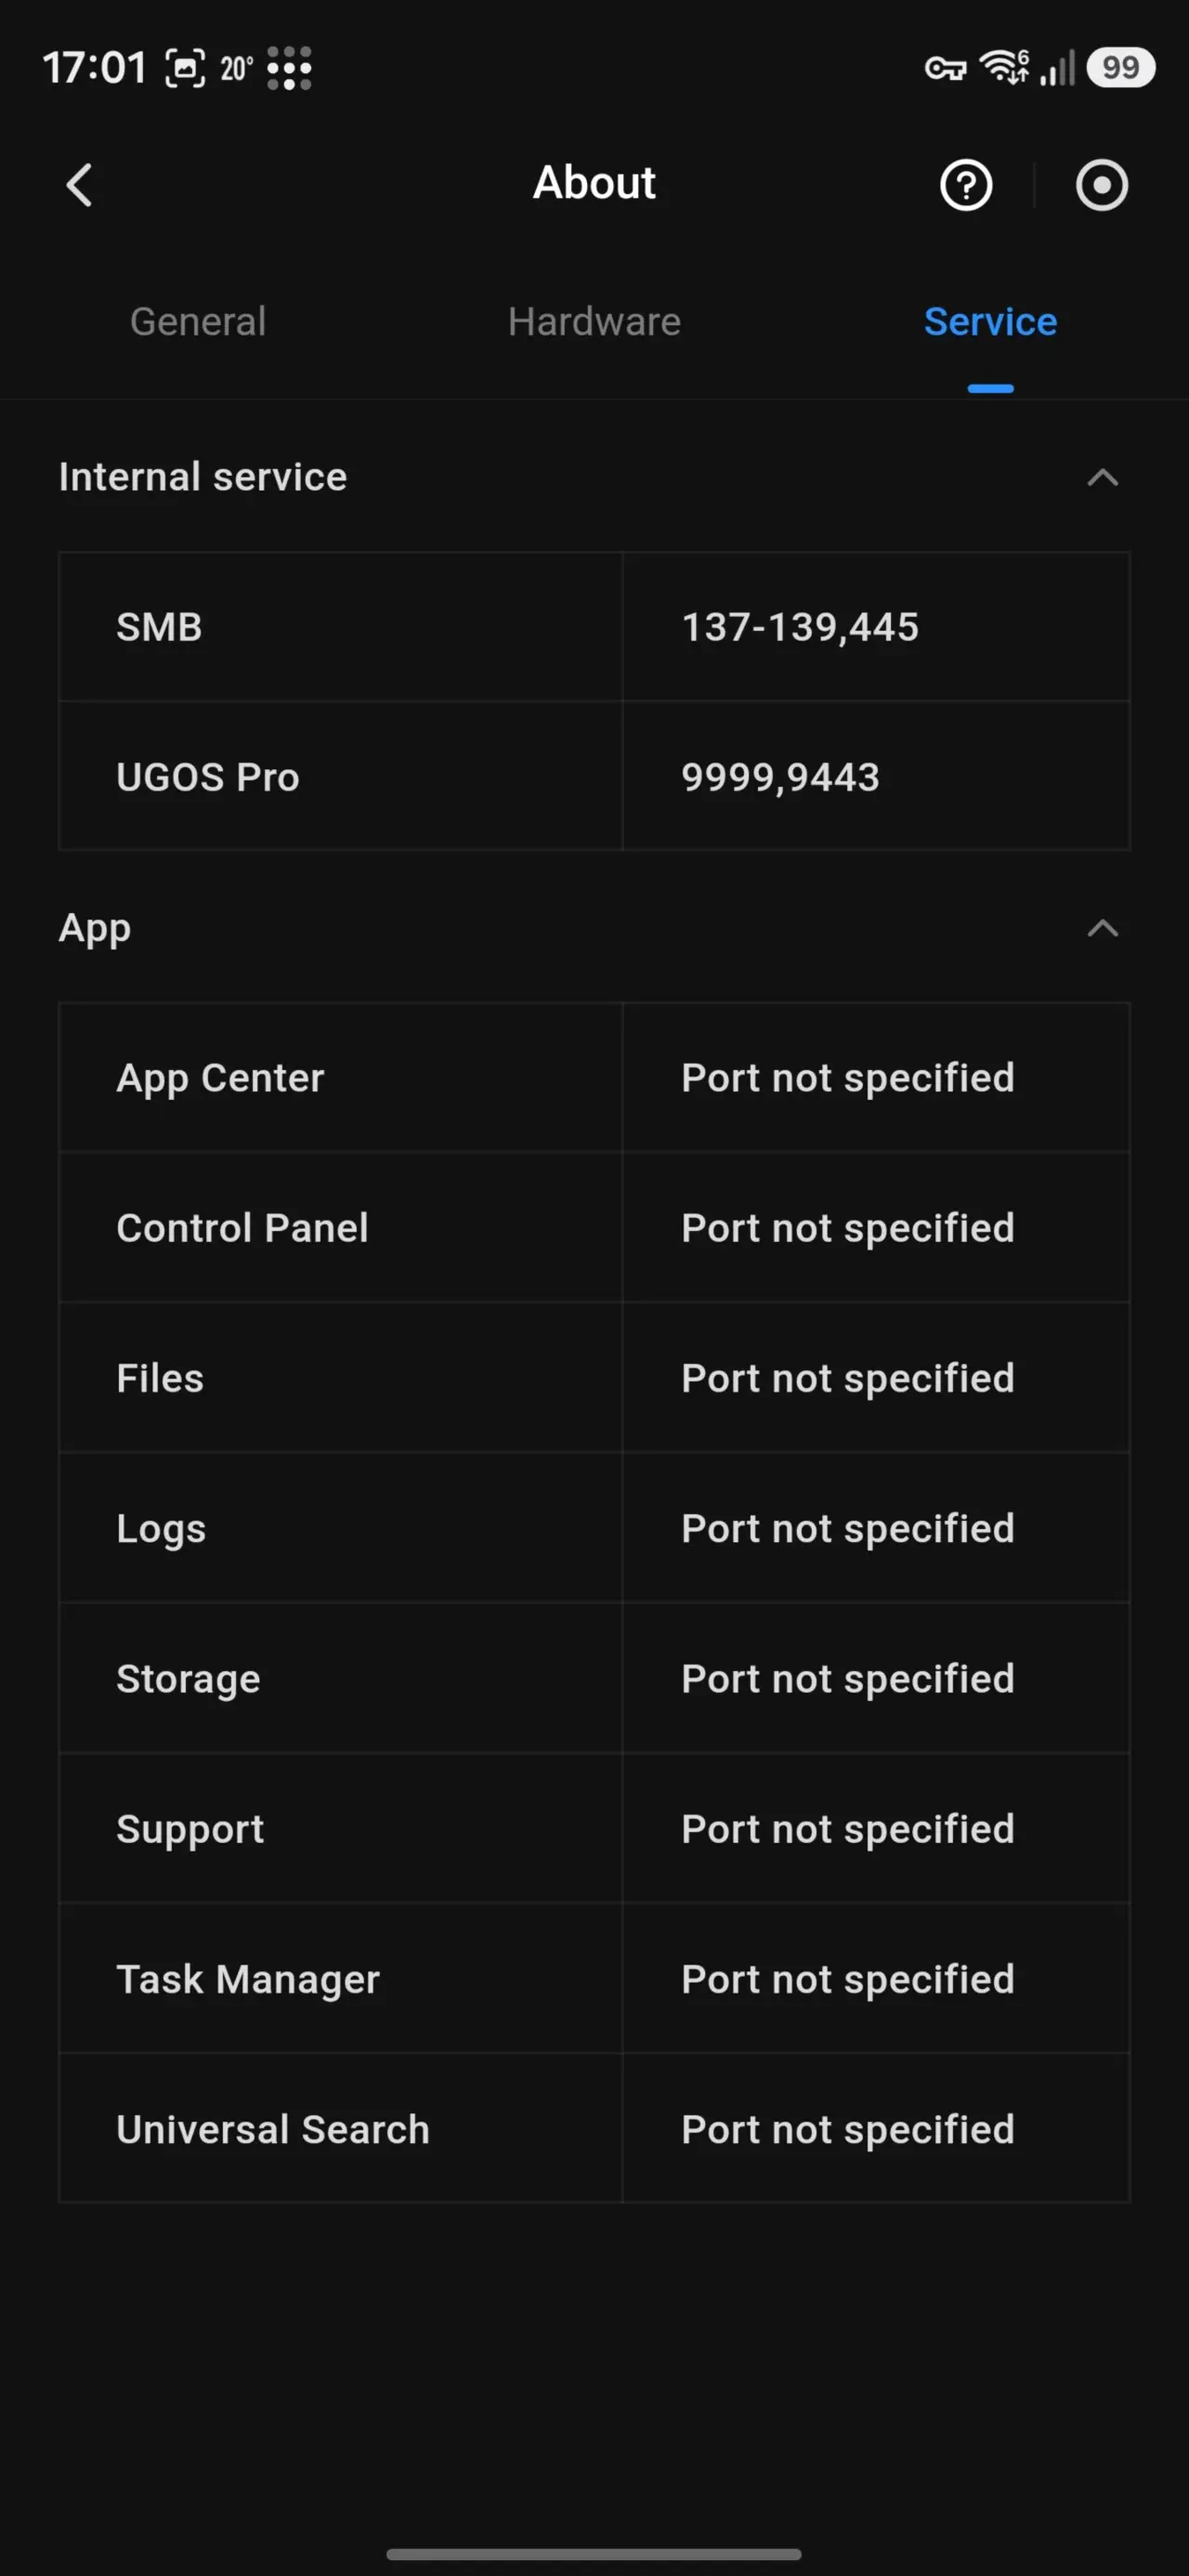
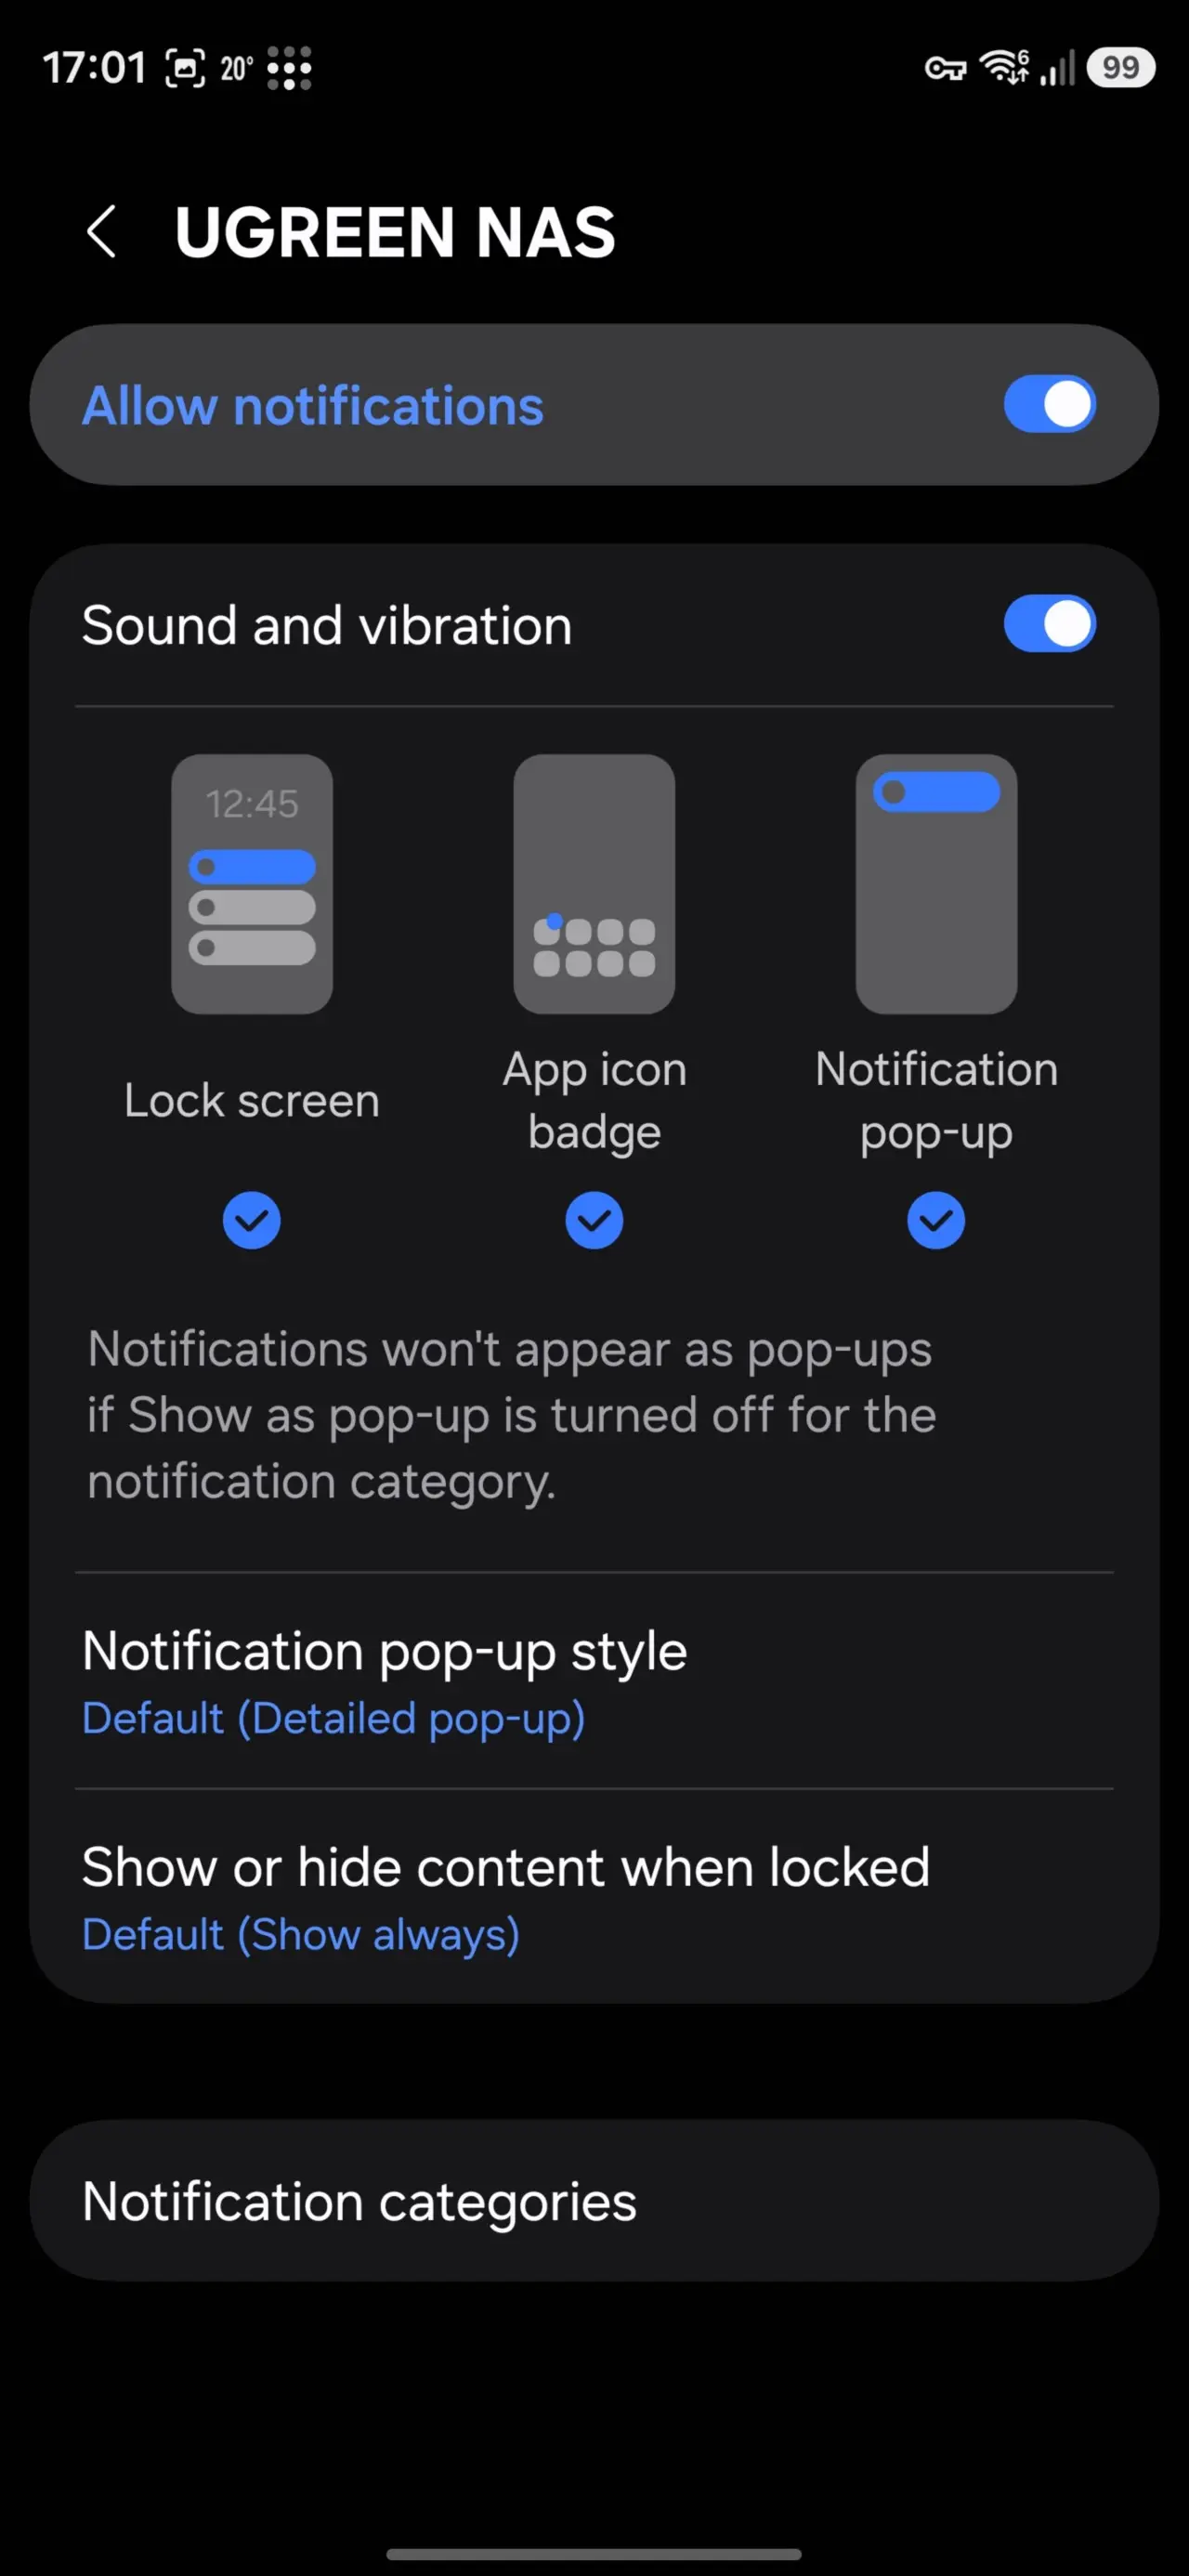
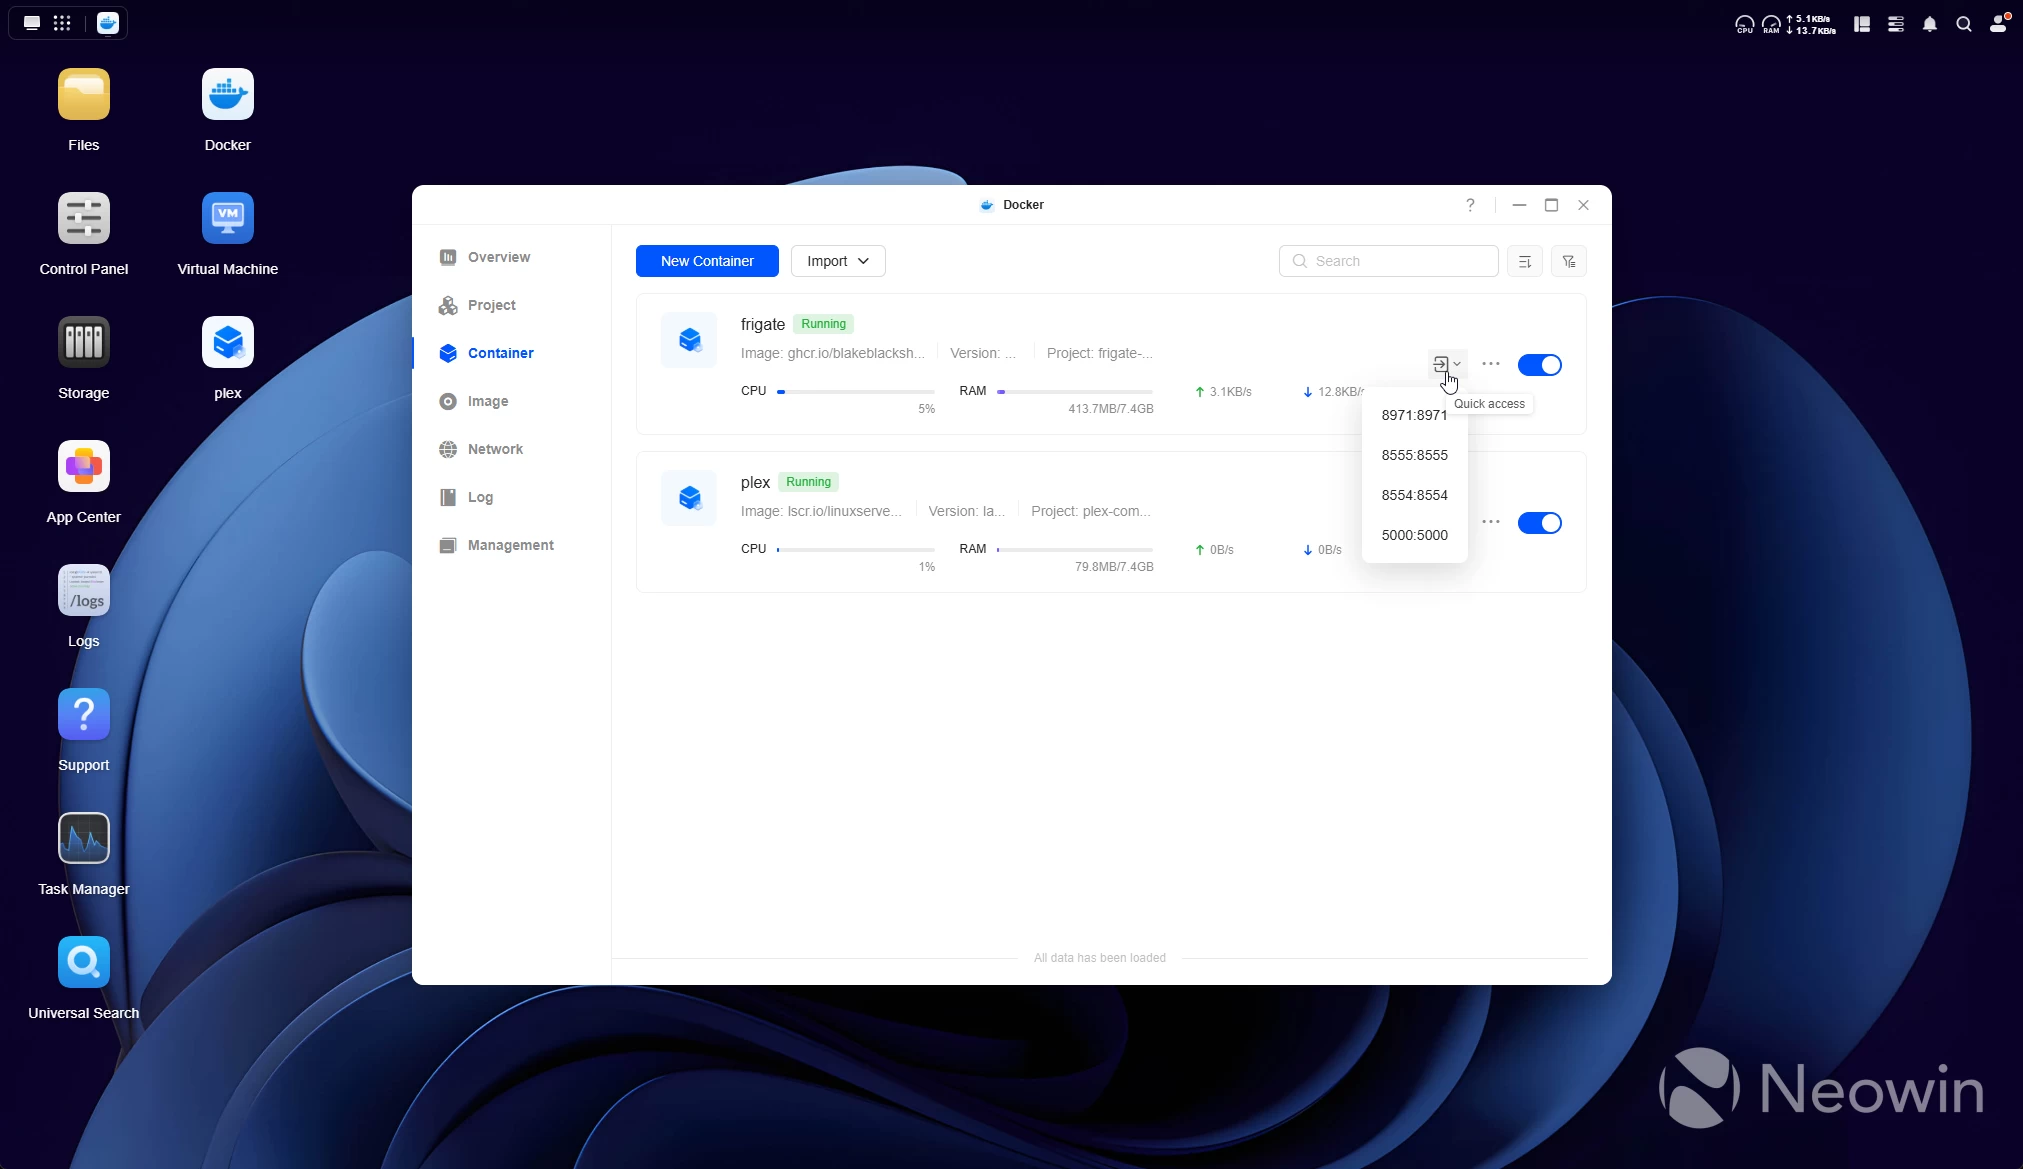
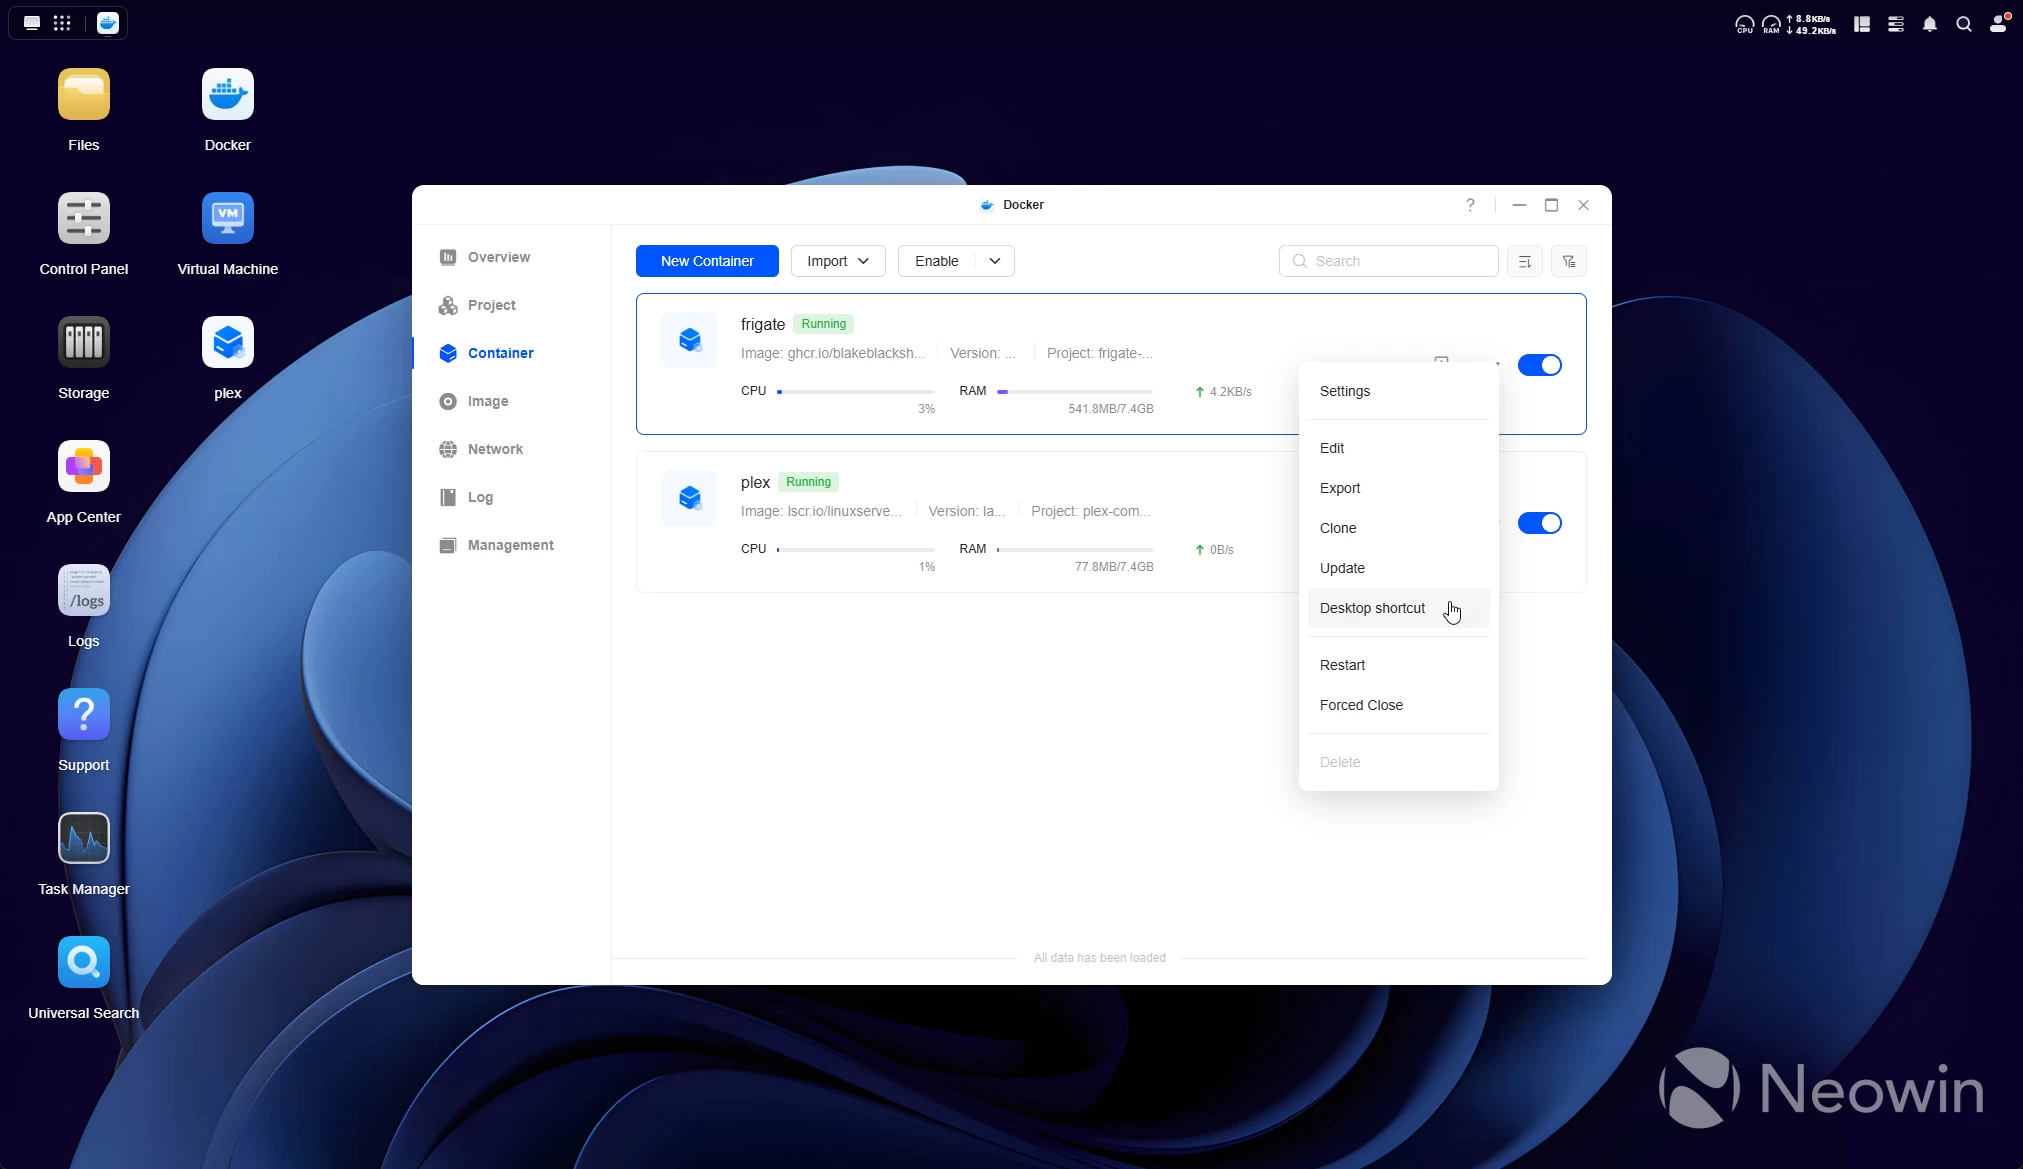
UGOS, which is now at v1.14.1.0107, comes with an App Center that has a bunch of handy programs you can install right off the bat, such as a Virtual Machine manager, Docker, (Cloud) Backup. As you can imagine, any media streaming services you would want to host off the DXP4800 Pro will work great, thanks to the Intel Core i3-1315U CPU and 8GB of DDR5 memory.
Gallery: DXP4800 Pro Docker setup
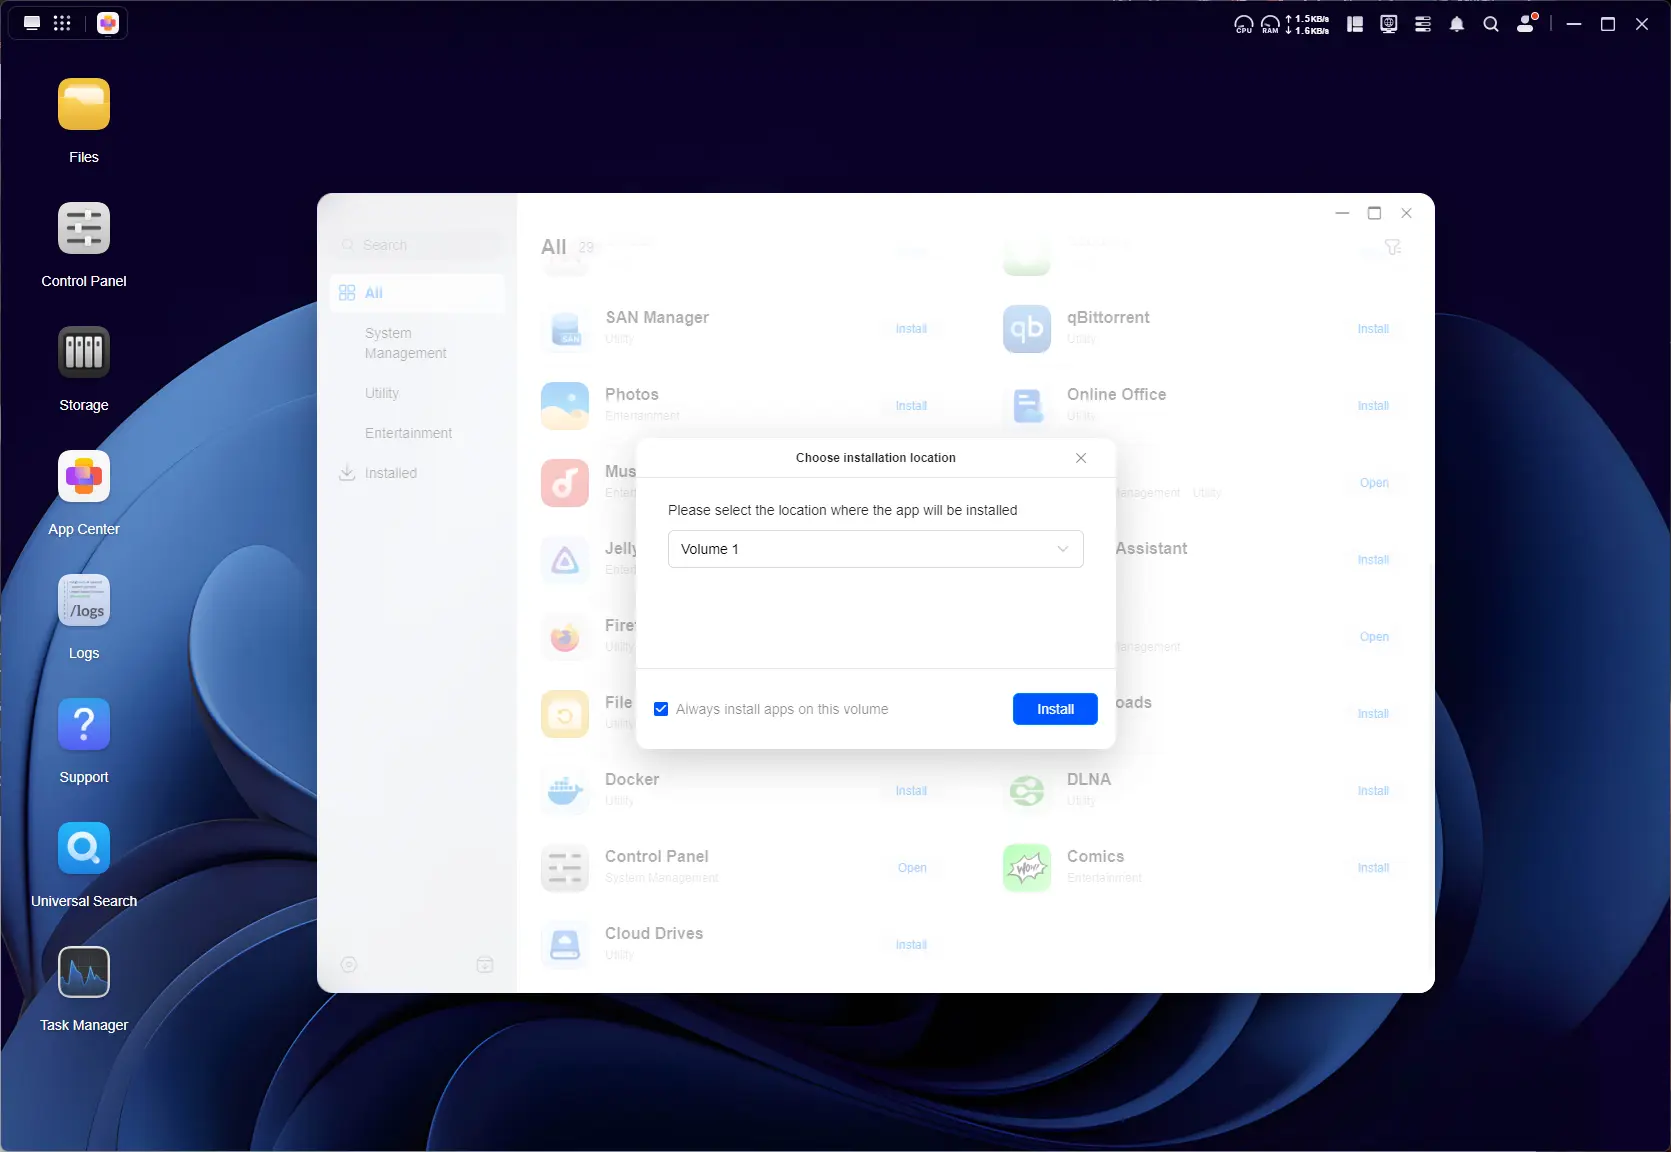
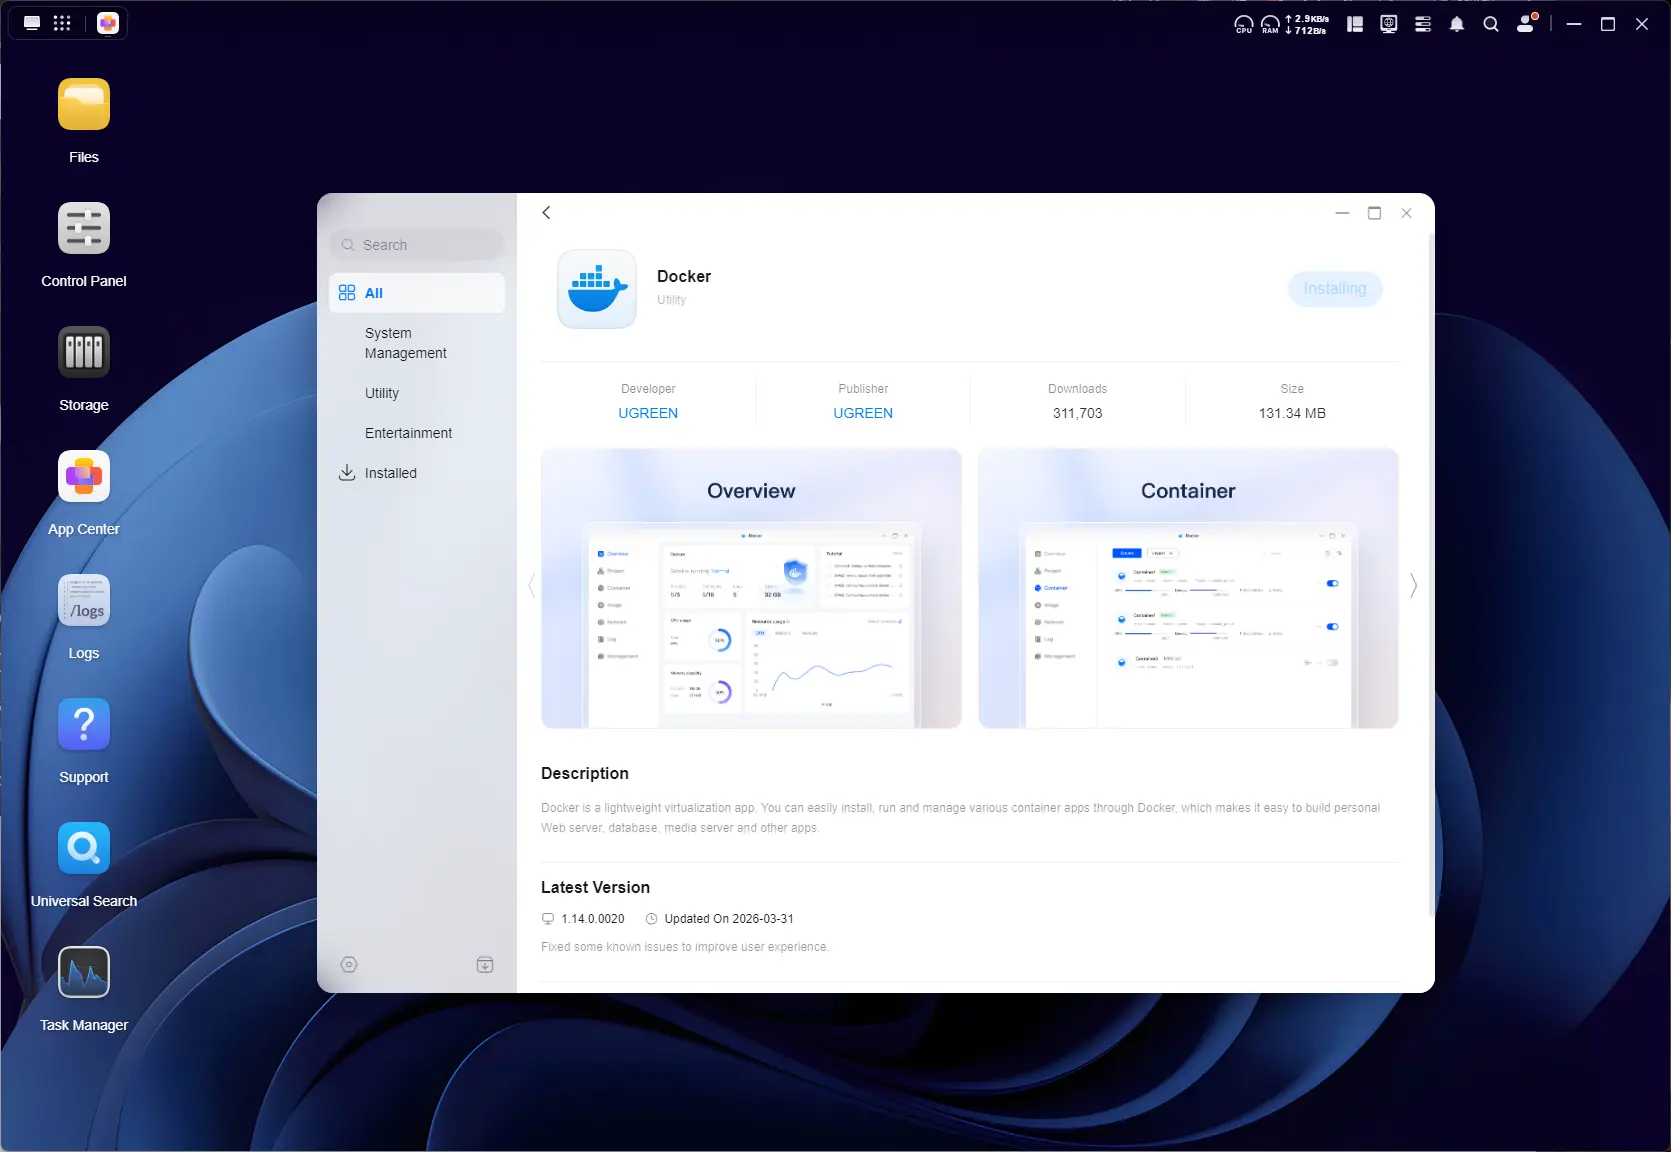

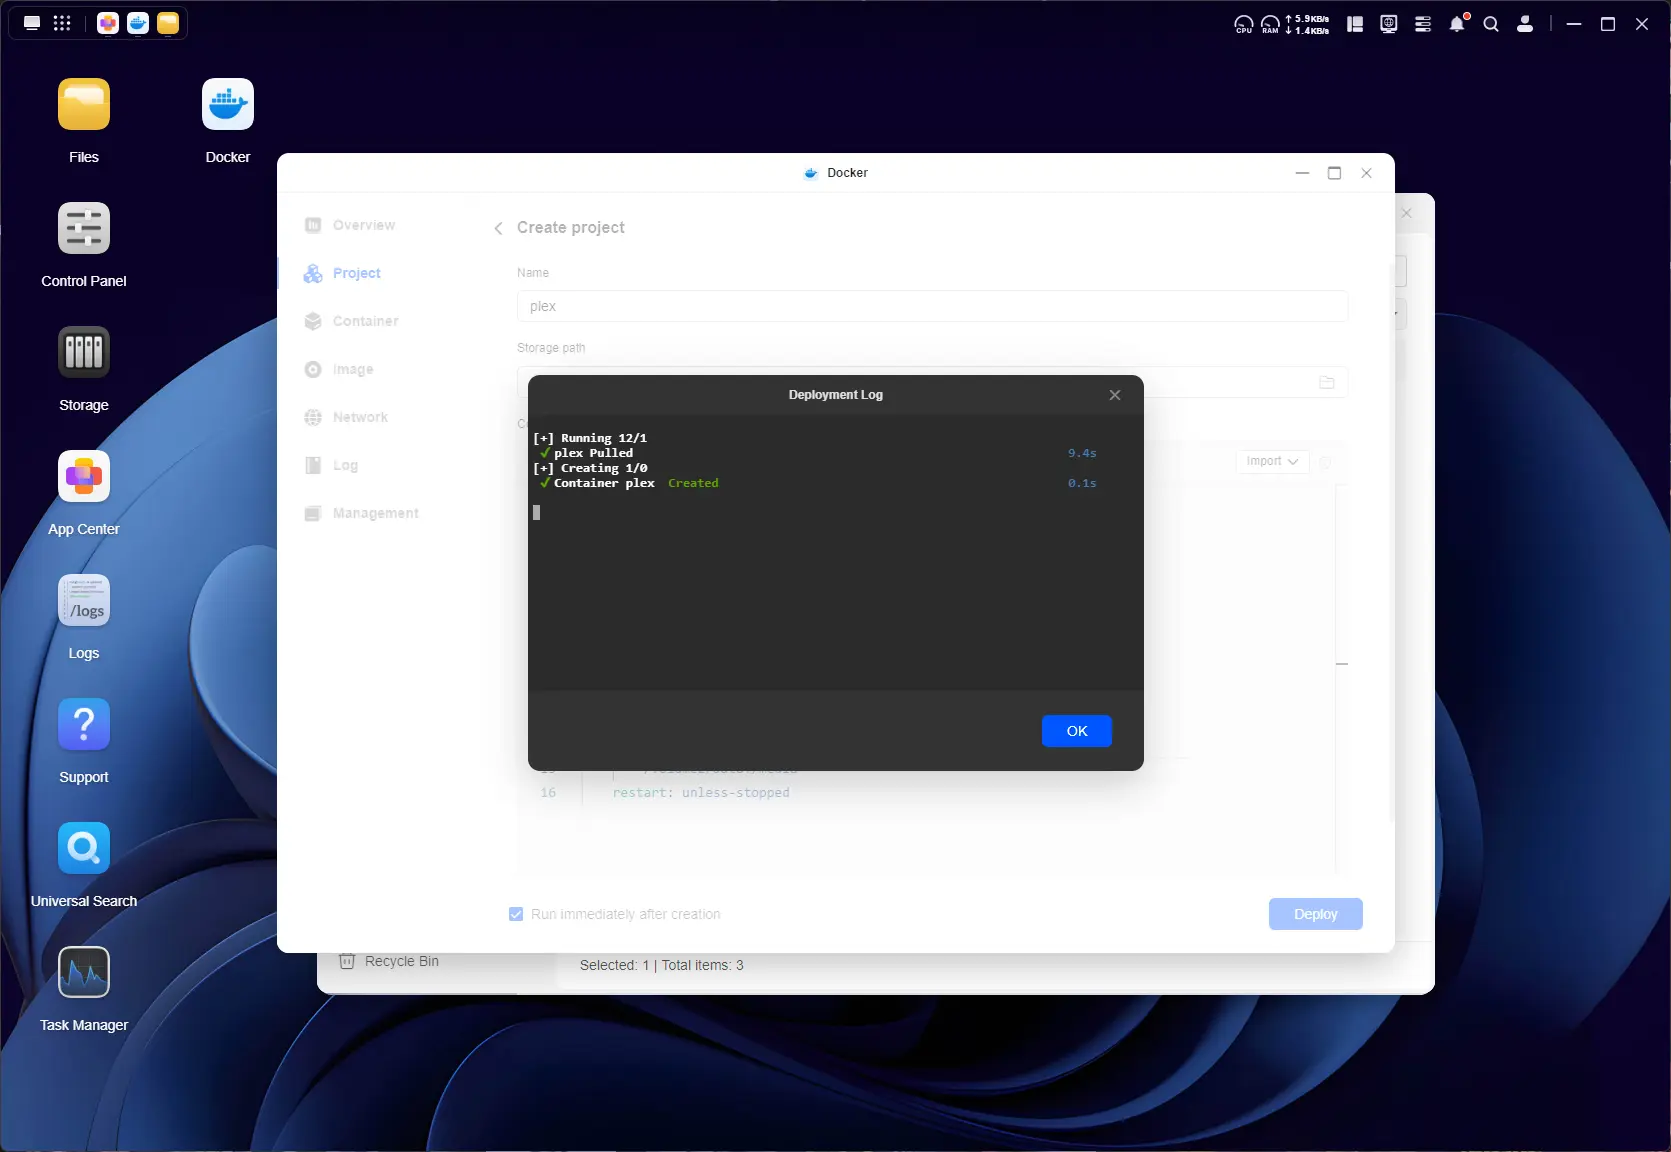
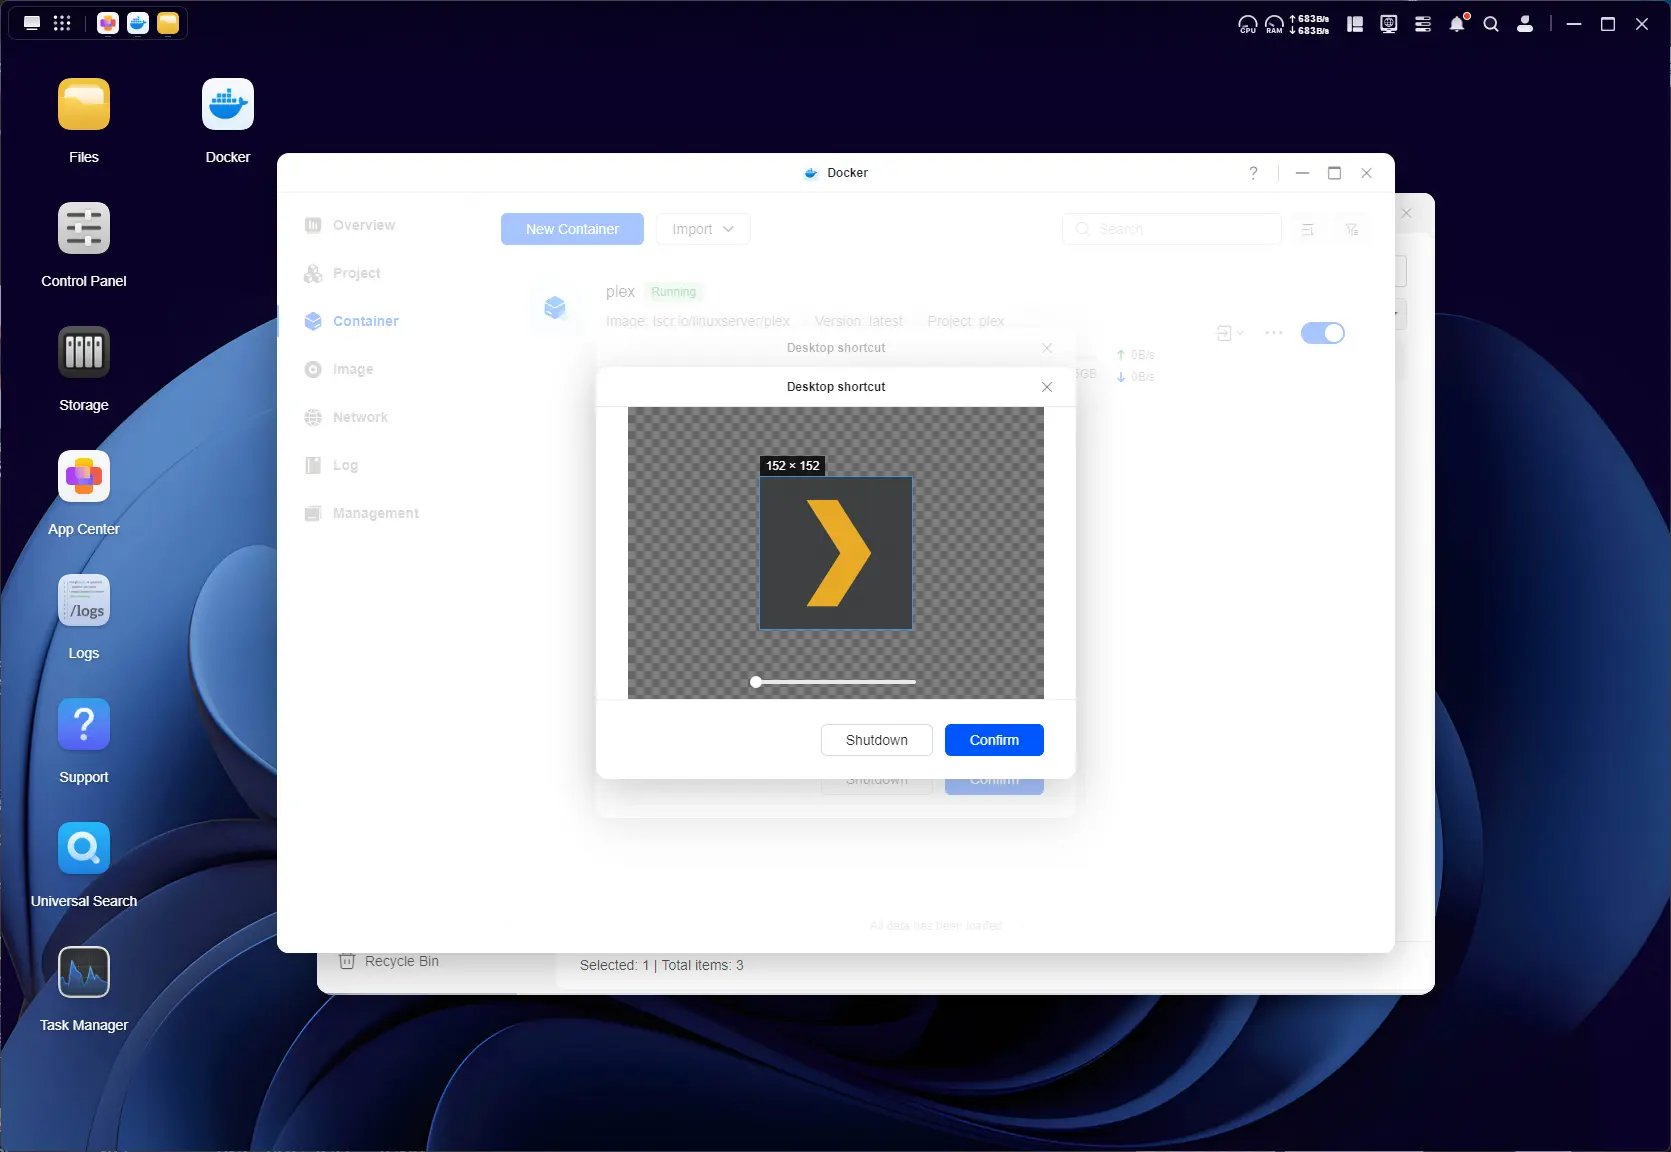

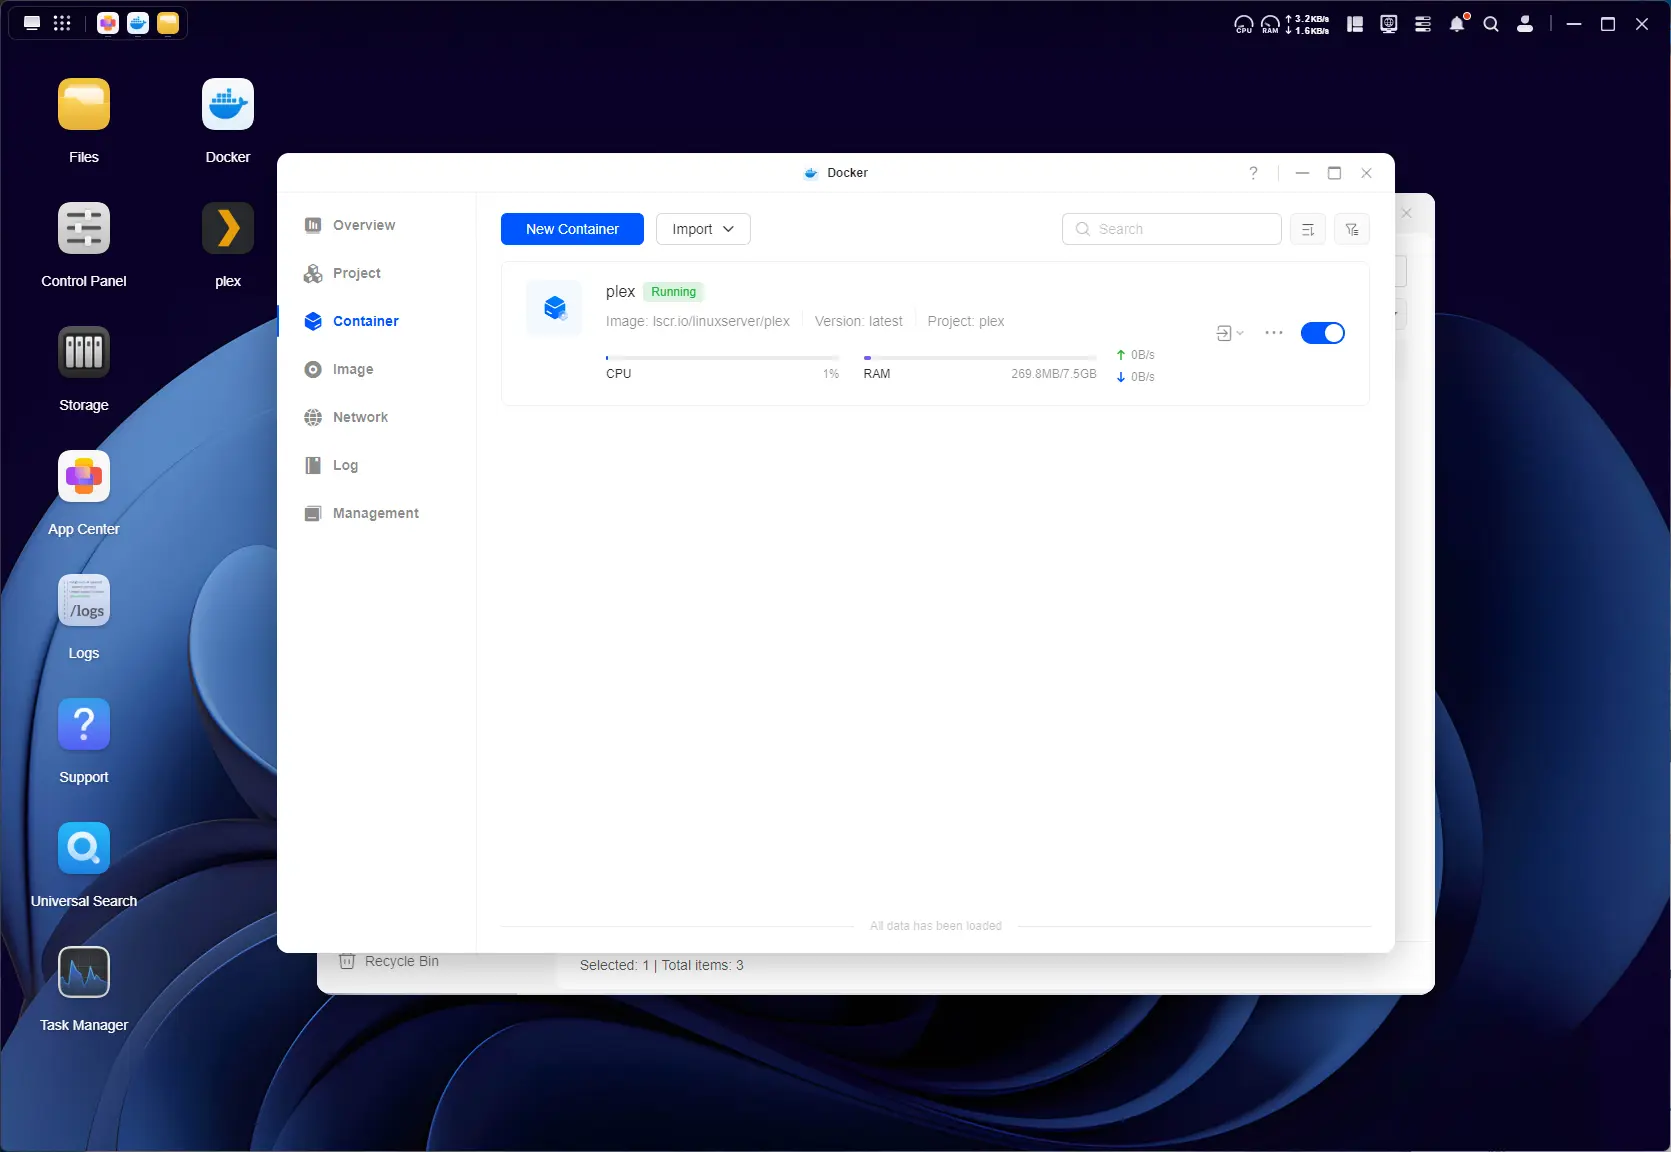
Here, I installed Docker and then Plex. I like how the Docker manager allows you to create a shortcut on the desktop, but in this version, if the port is determined in the Docker Compose, you can also access the web page through the little door icon dropdown in the Containers view.
Plex worked great over my network to my Home Theater, and frankly, I did not expect anything less.
It's also quiet. I had this sat next to my computer on my work desk for the past week, and I did wonder if the noise I was accustomed to with NAS devices would annoy me, but all I could hear was a soft whirring of the rear fan when the disks were not actively copying or reading data.
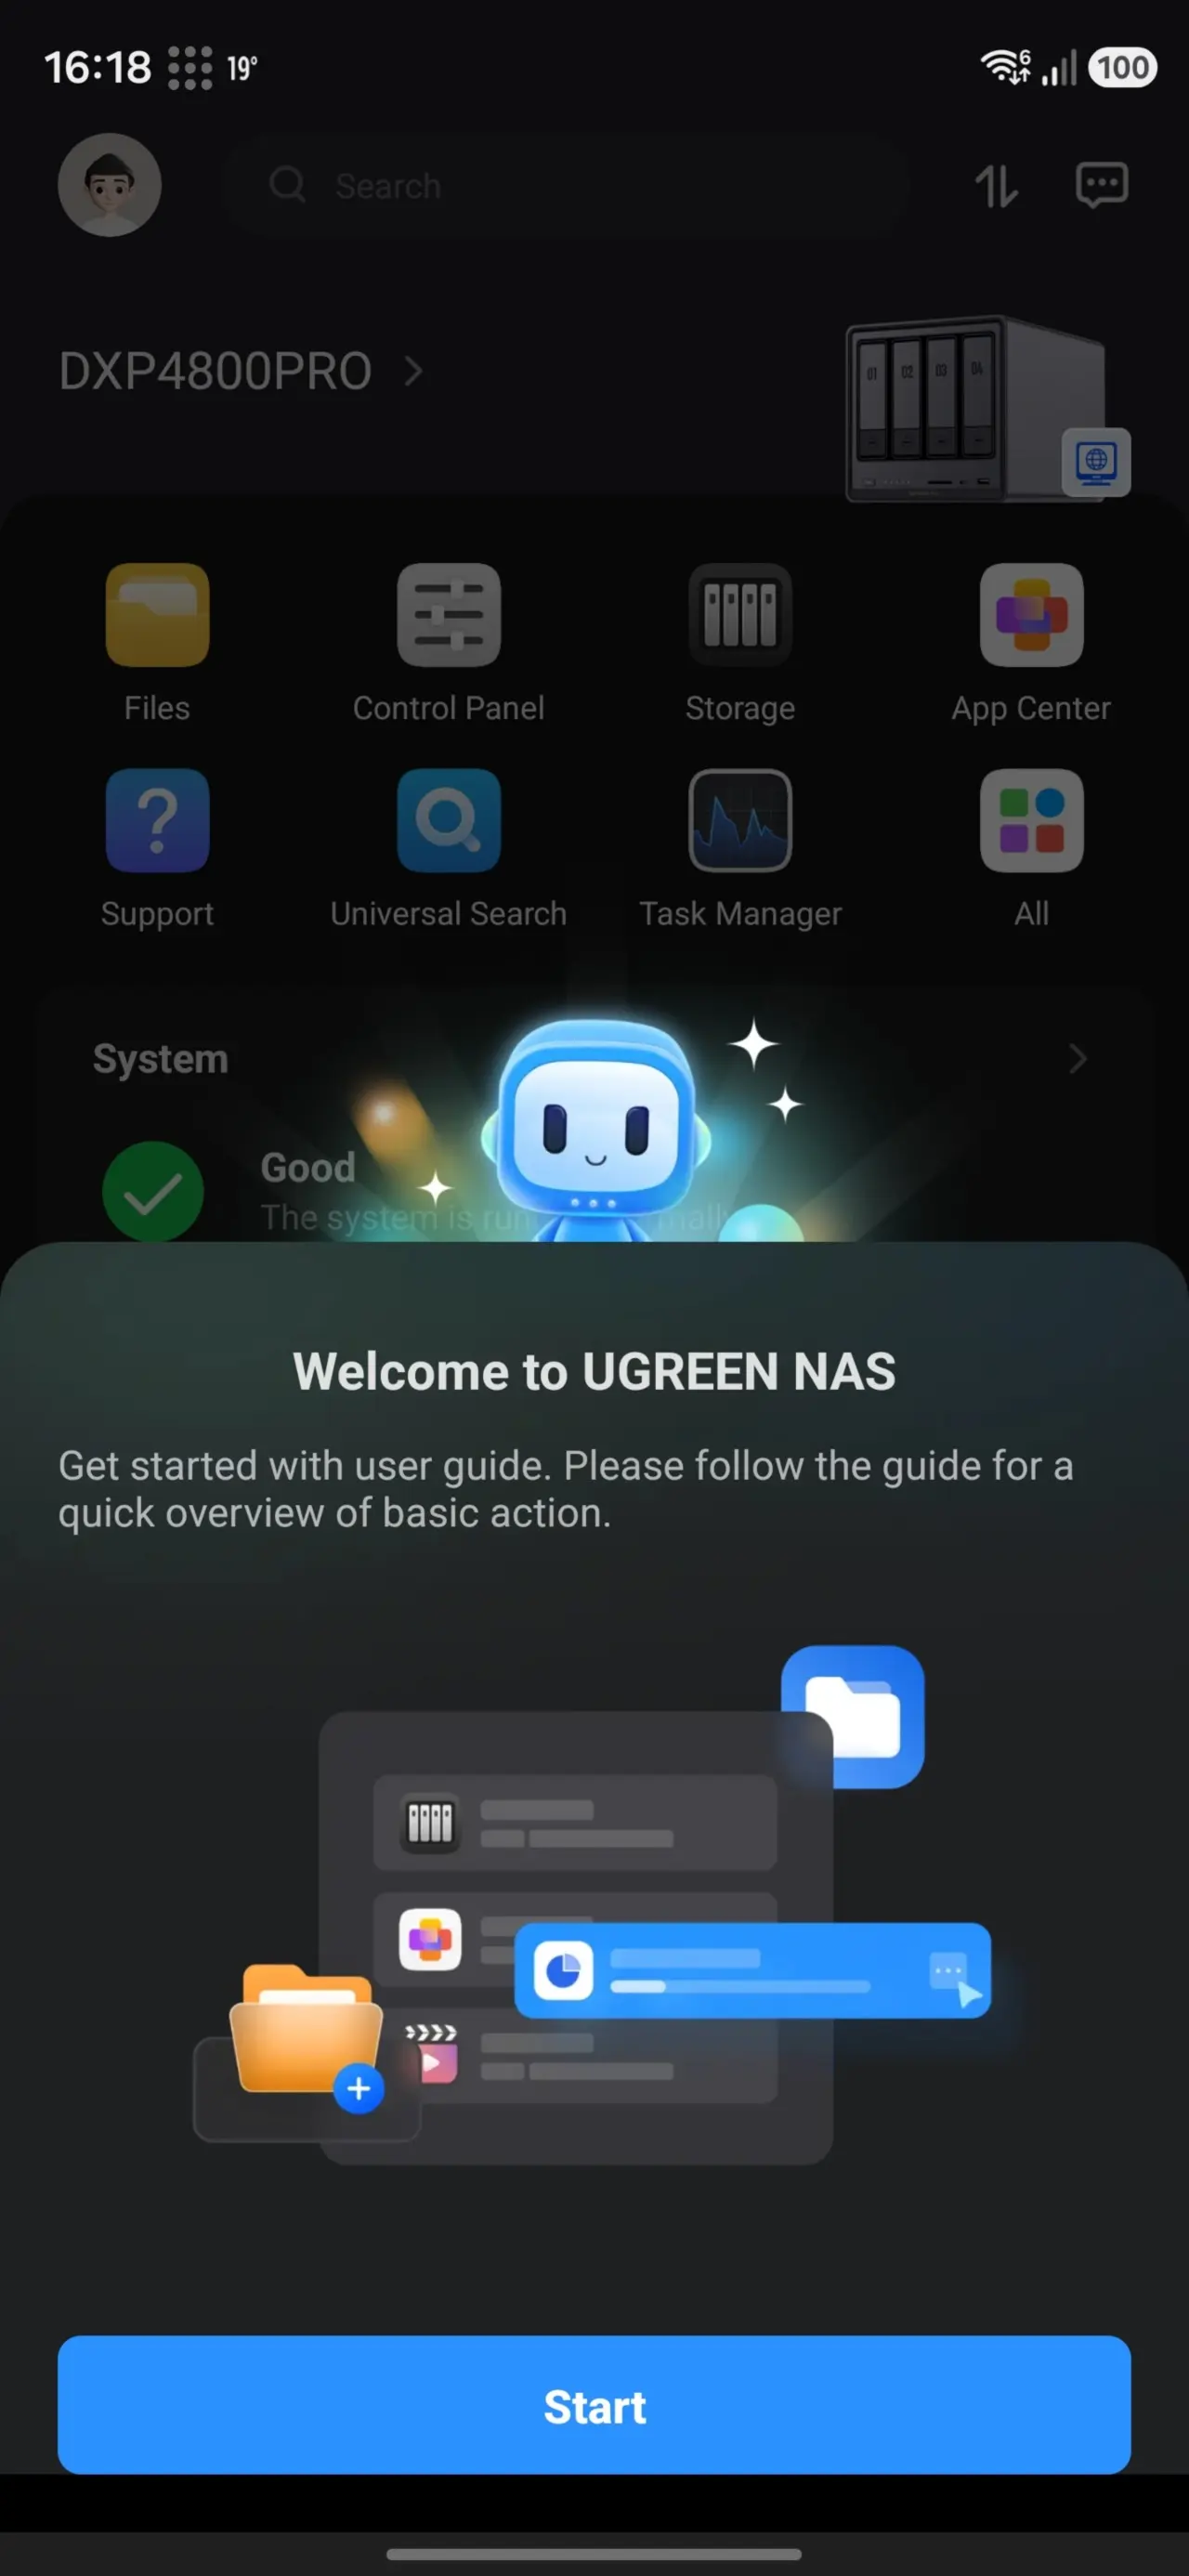
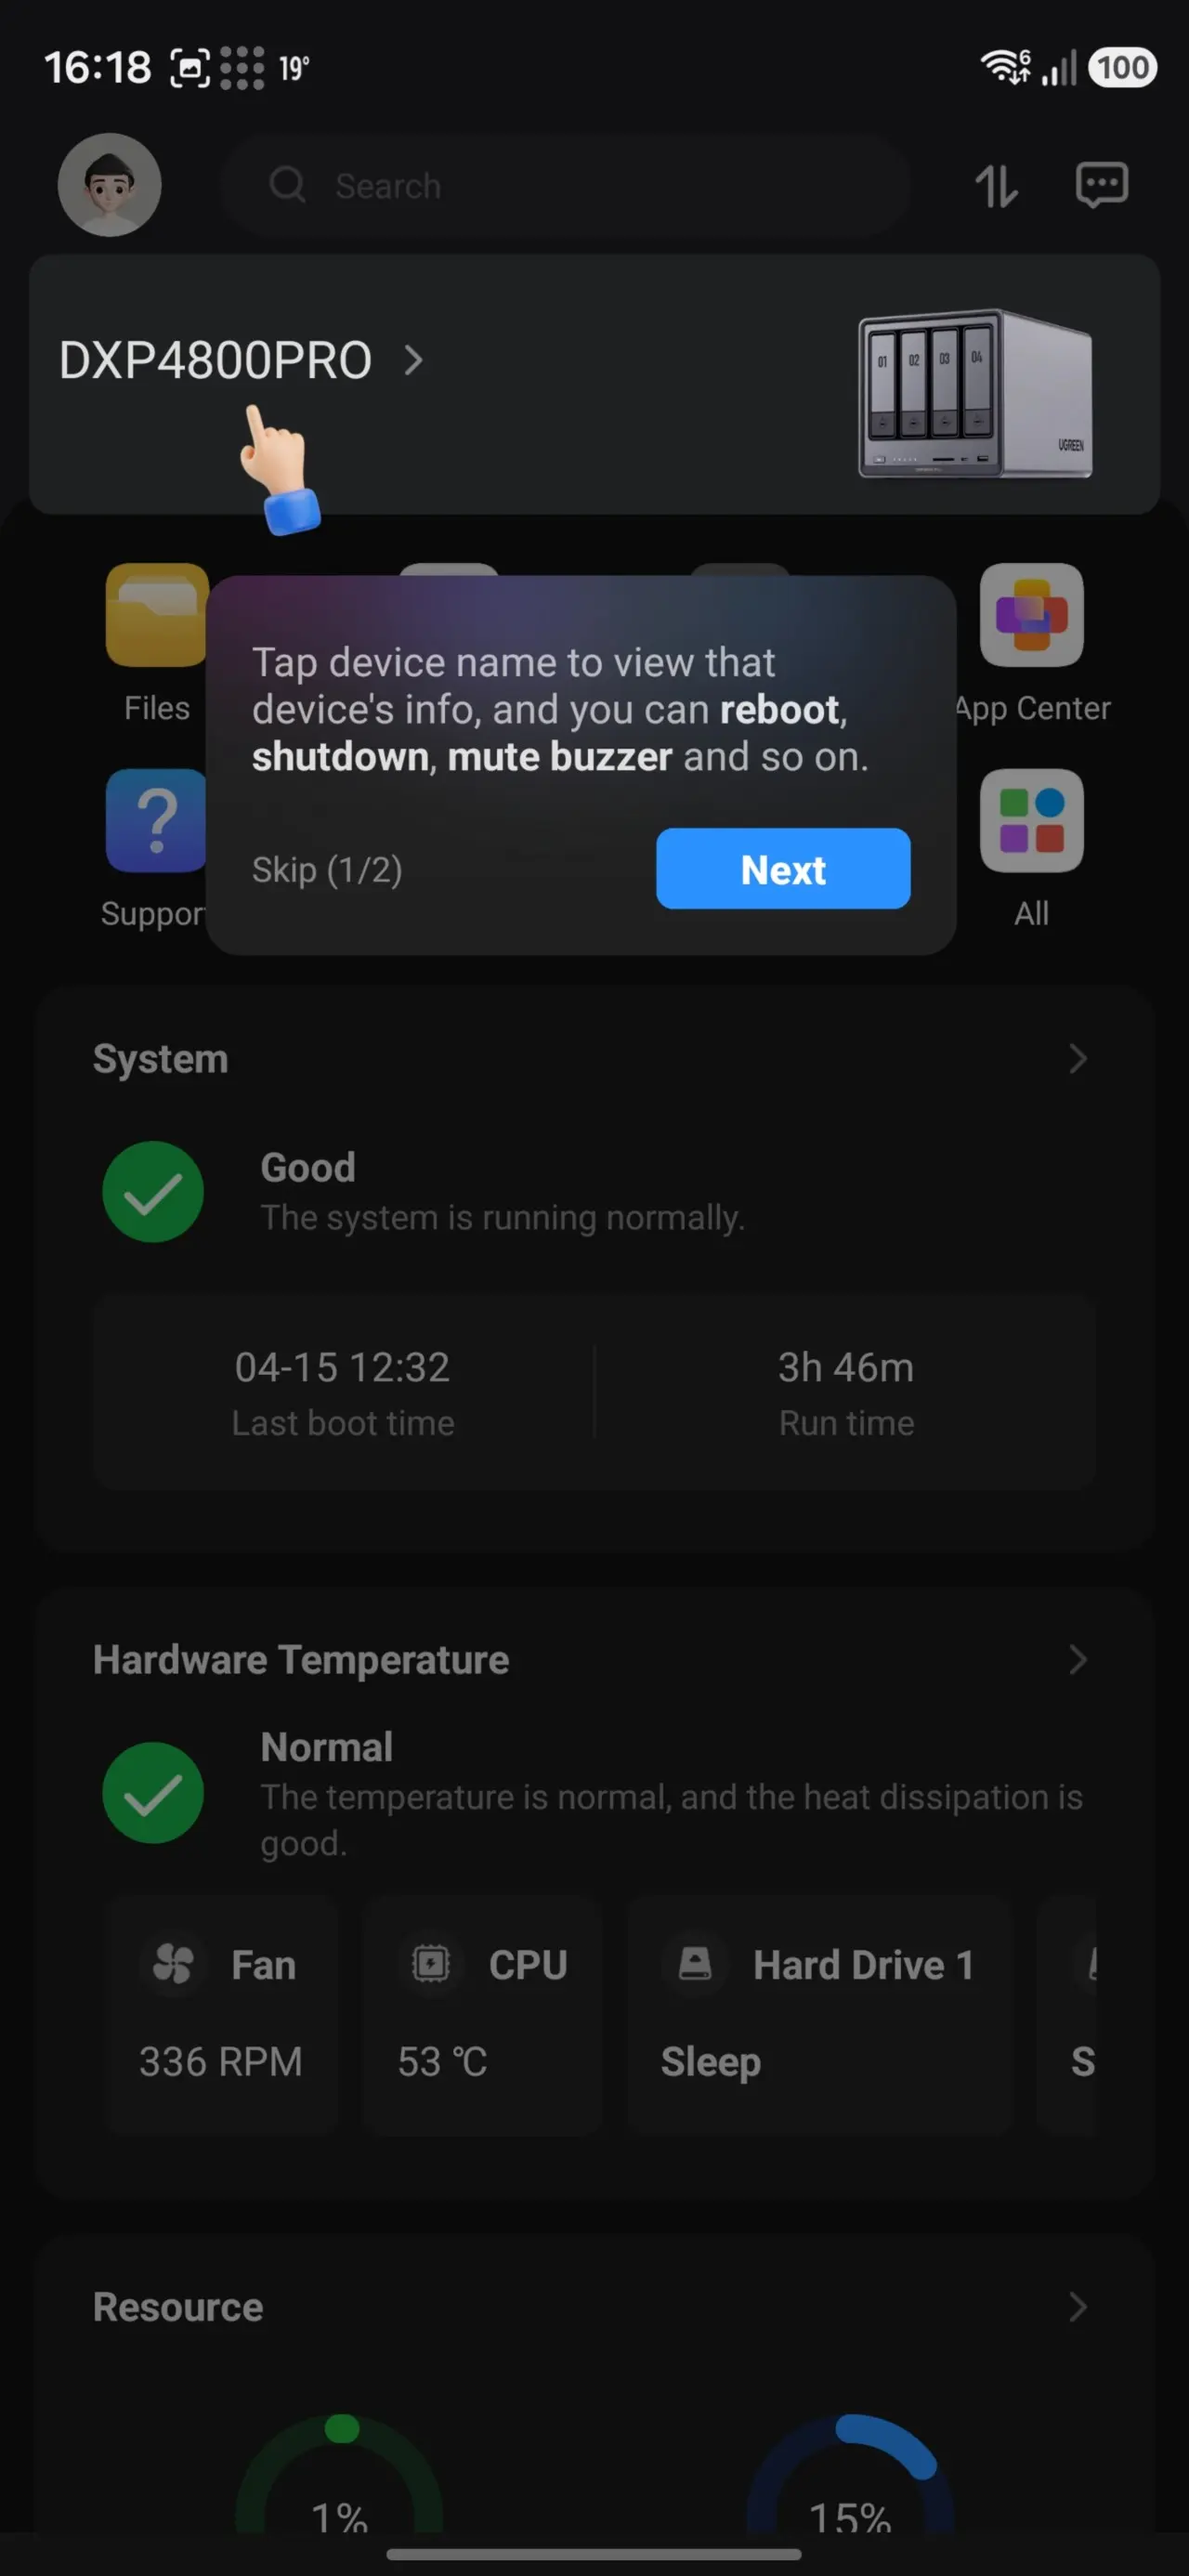
Mobile app
No WoL for you (without a UPS)
UGREEN also has a dedicated mobile app, and it lets you control the DXP4800 Pro fully, like the desktop app. This also means you can shut it off from the app, but powering it on again through the mobile app isn't possible because the app does not support Magic Packets.
Gallery: DXP4800 Pro Mobile app

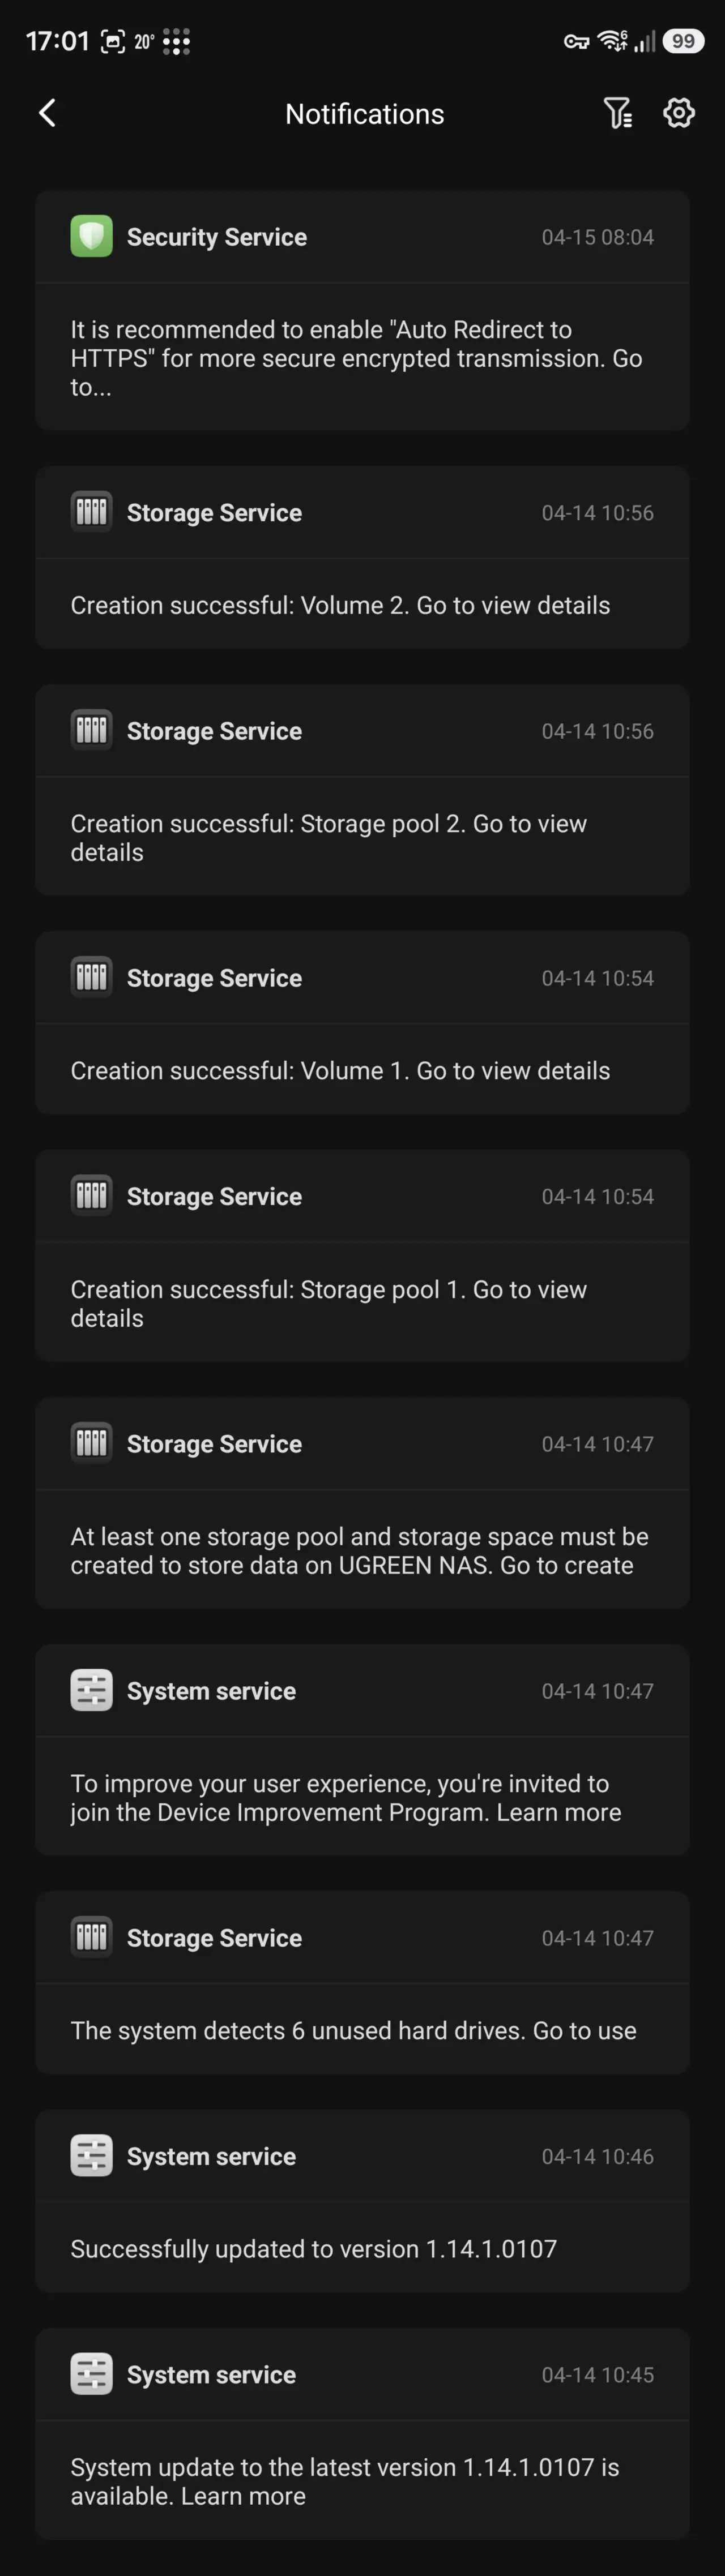
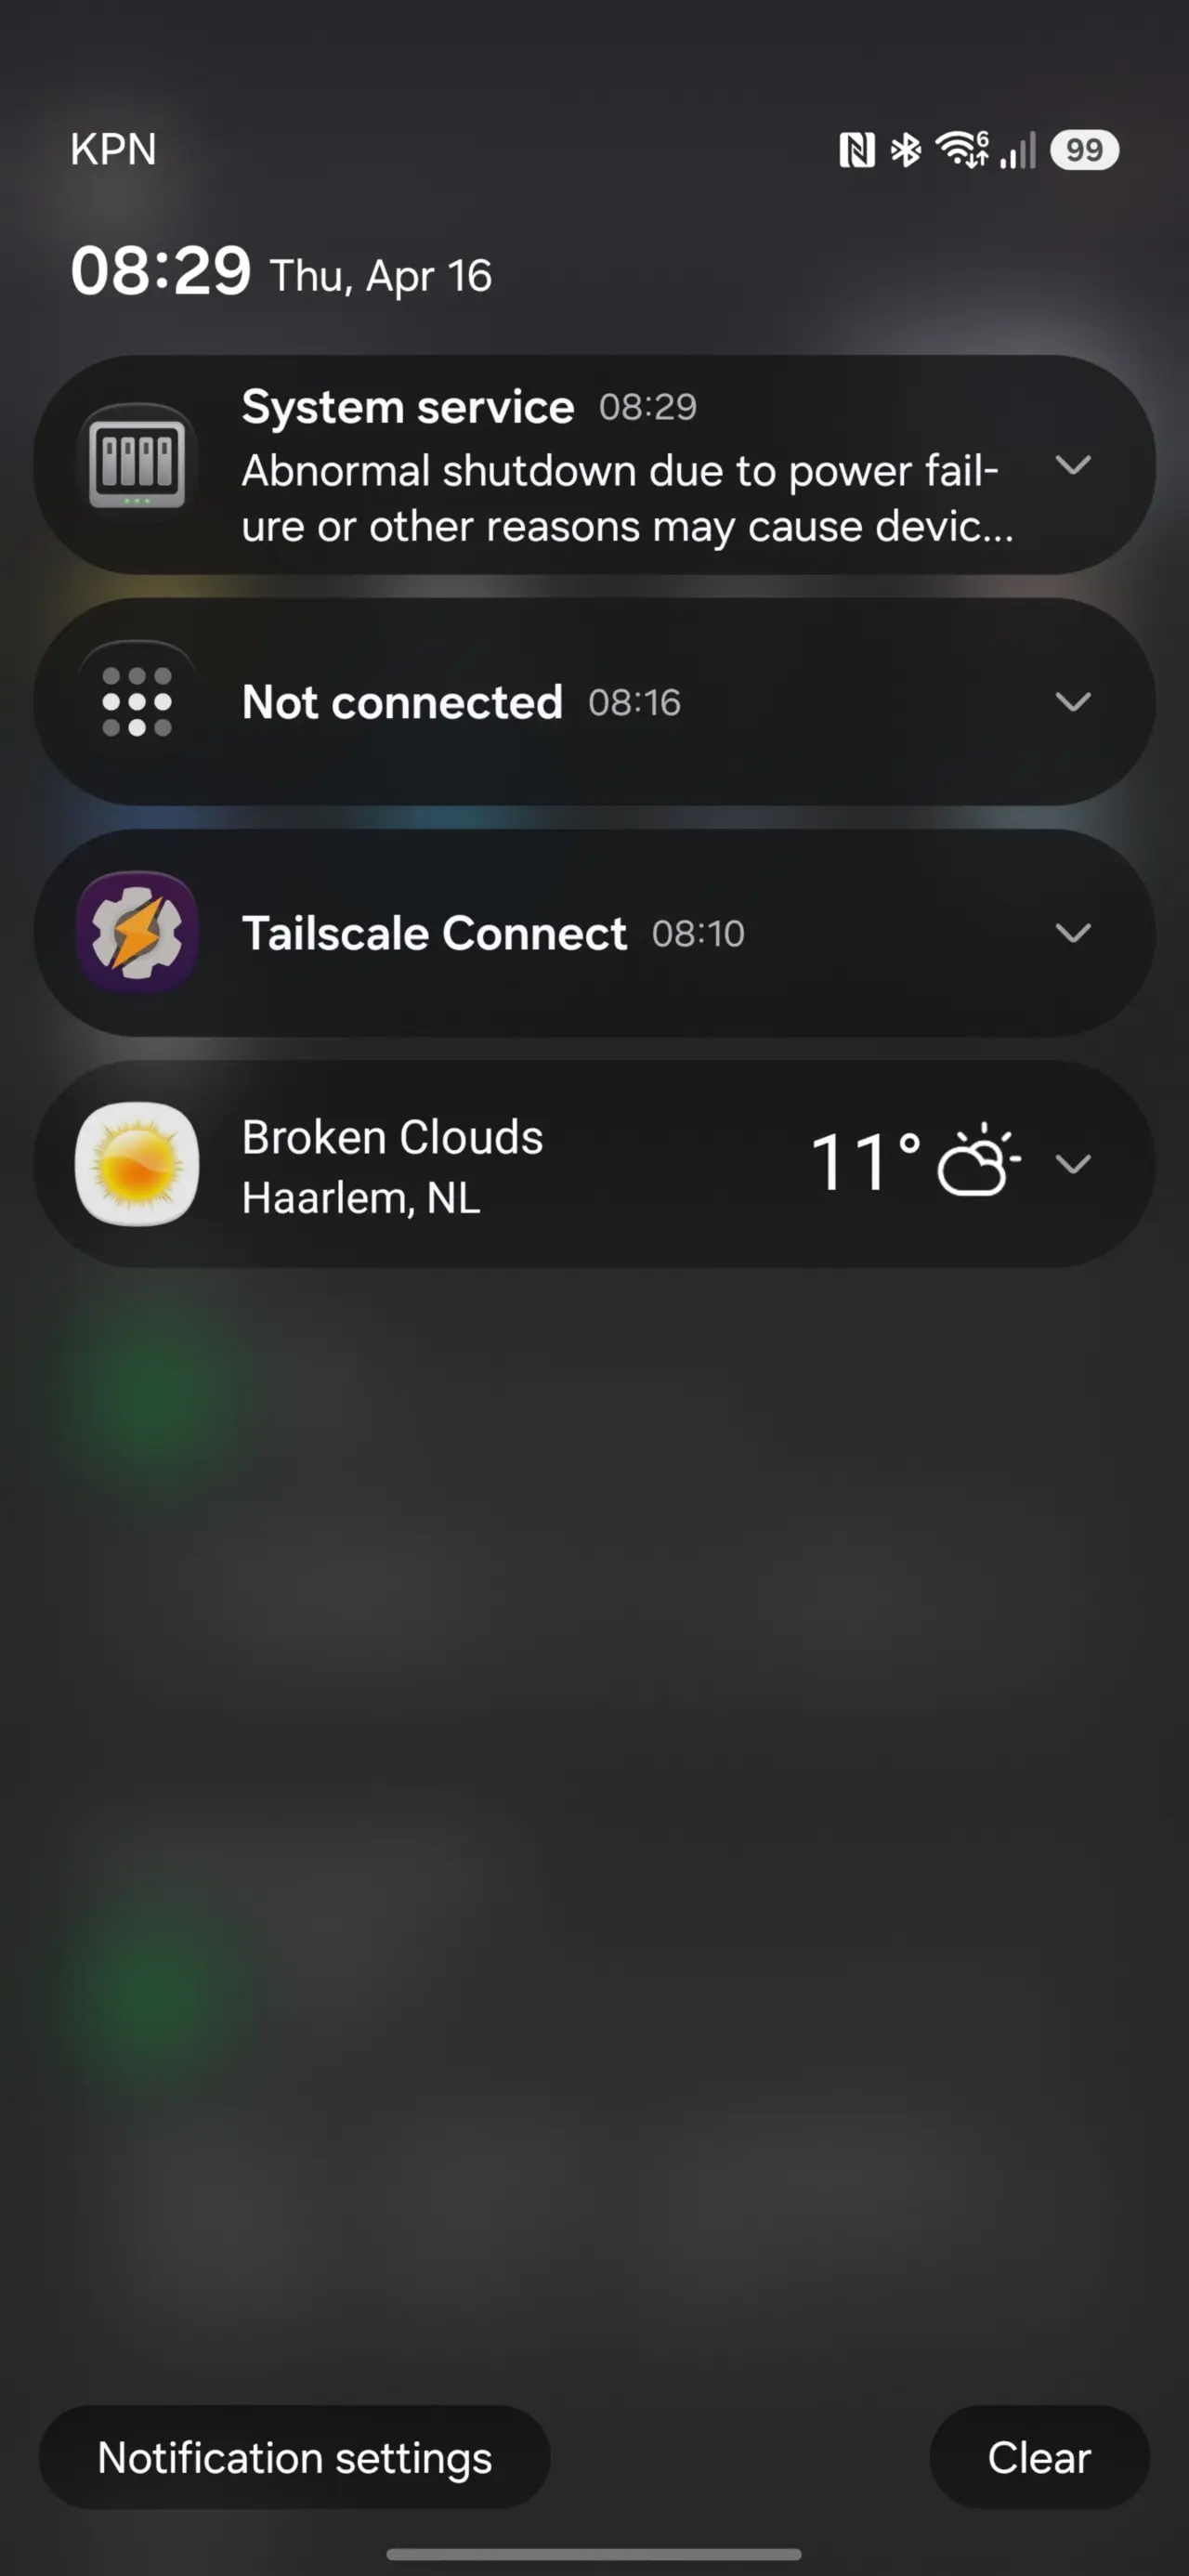
My only complaint is that when I simulated a loss of power, the app did not alert me about it! As you can see in the last image of the above gallery, I only got a push notification about the possibility of potential damage to the device on loss of power after I manually powered it on again.
Update: A reader told me that power loss notifications do work, and it is possible to use WoL to power on the NAS through the mobile app; these only work in combination with a UPS, which explains why the two scenarios didn't work for me, I didn't have it on a UPS!
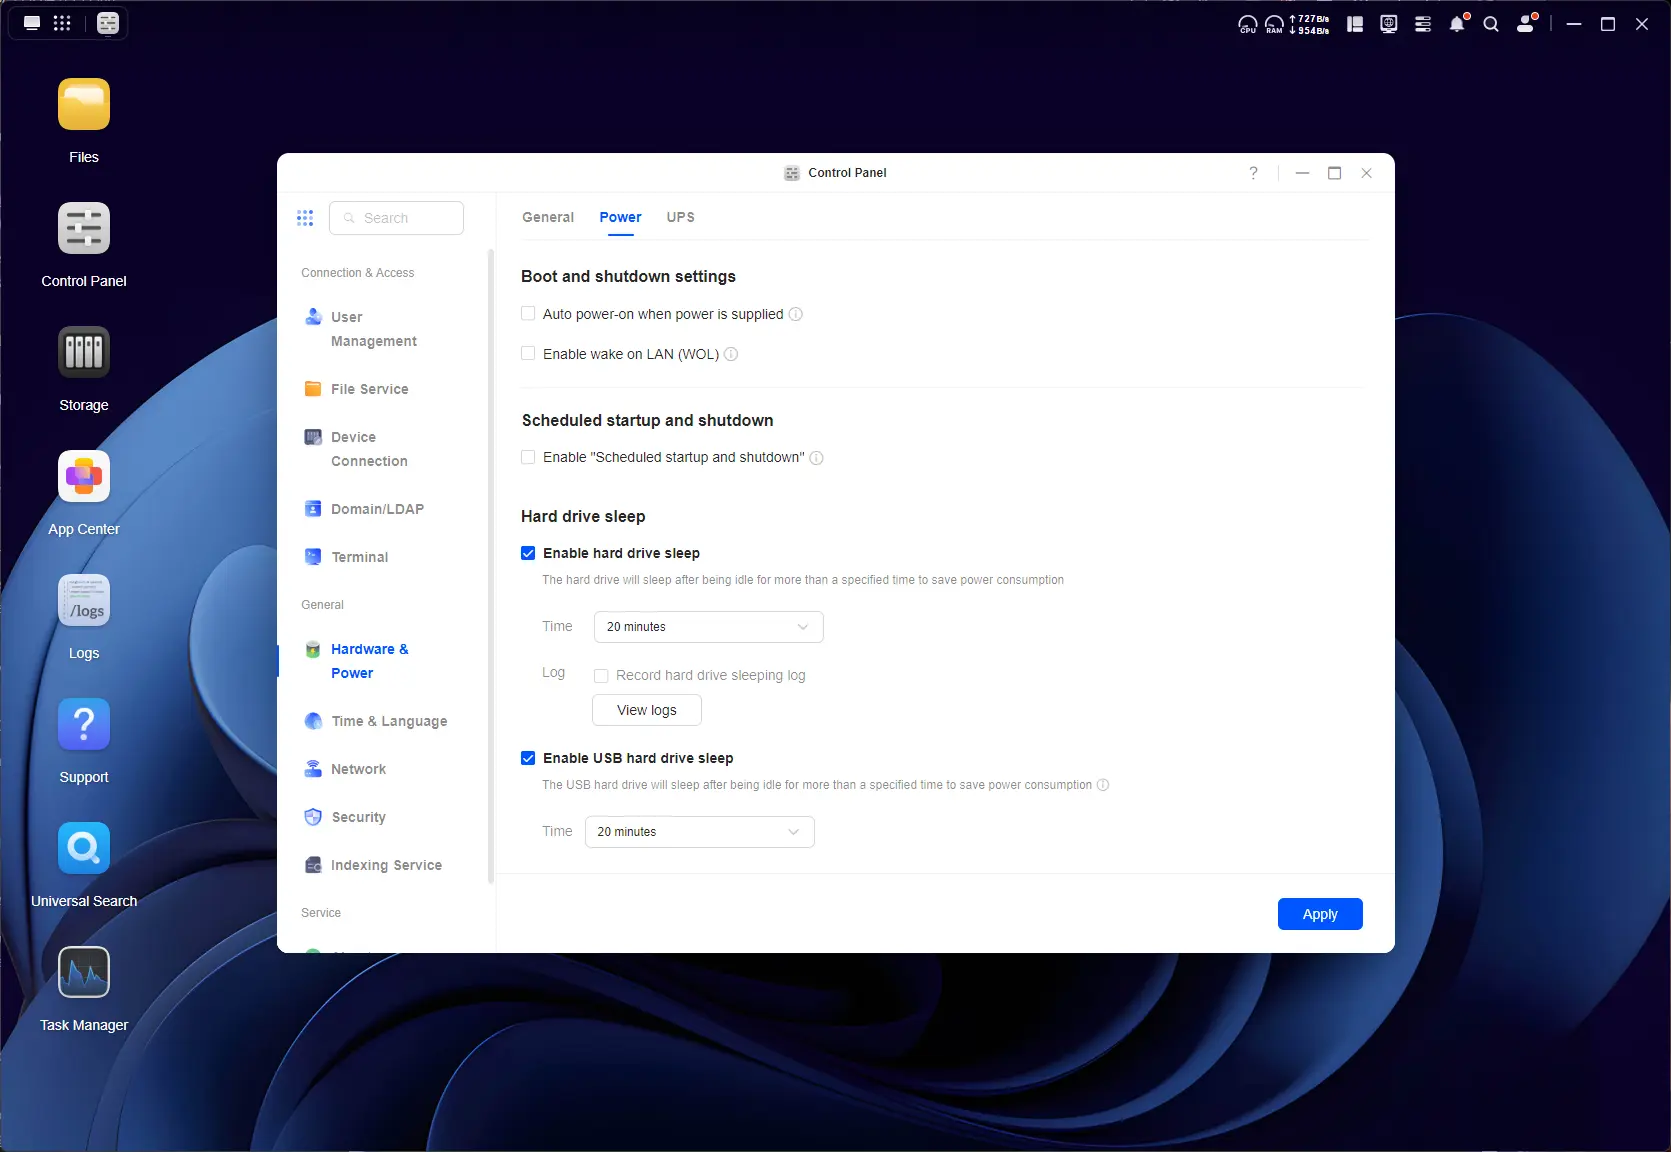
Power
| In Standby | On, idle |
|---|---|
|
|
|
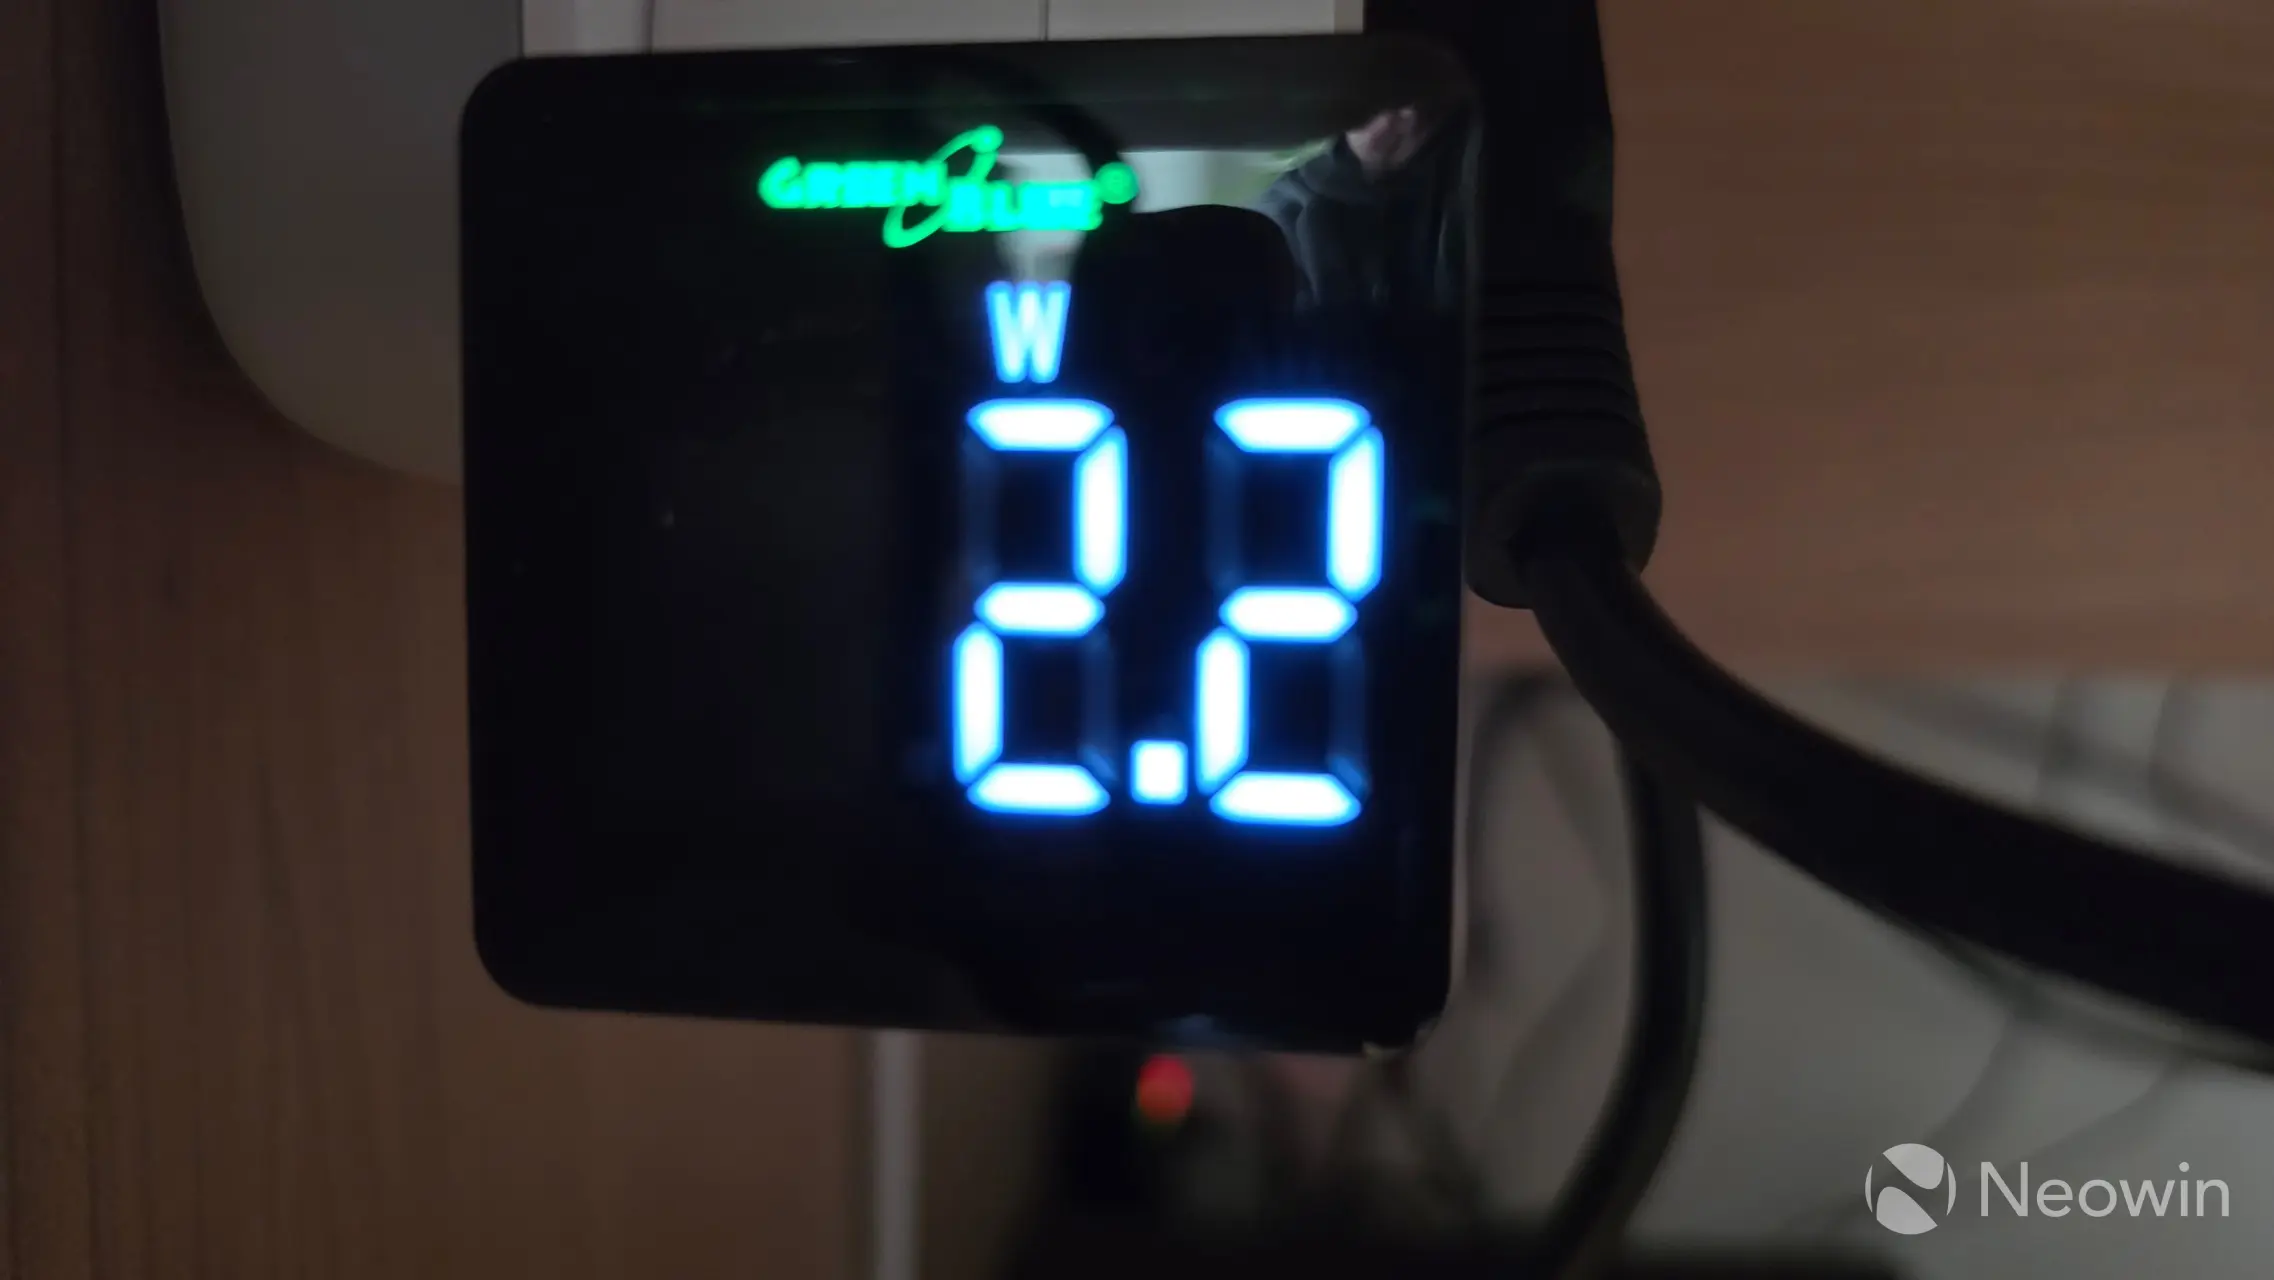
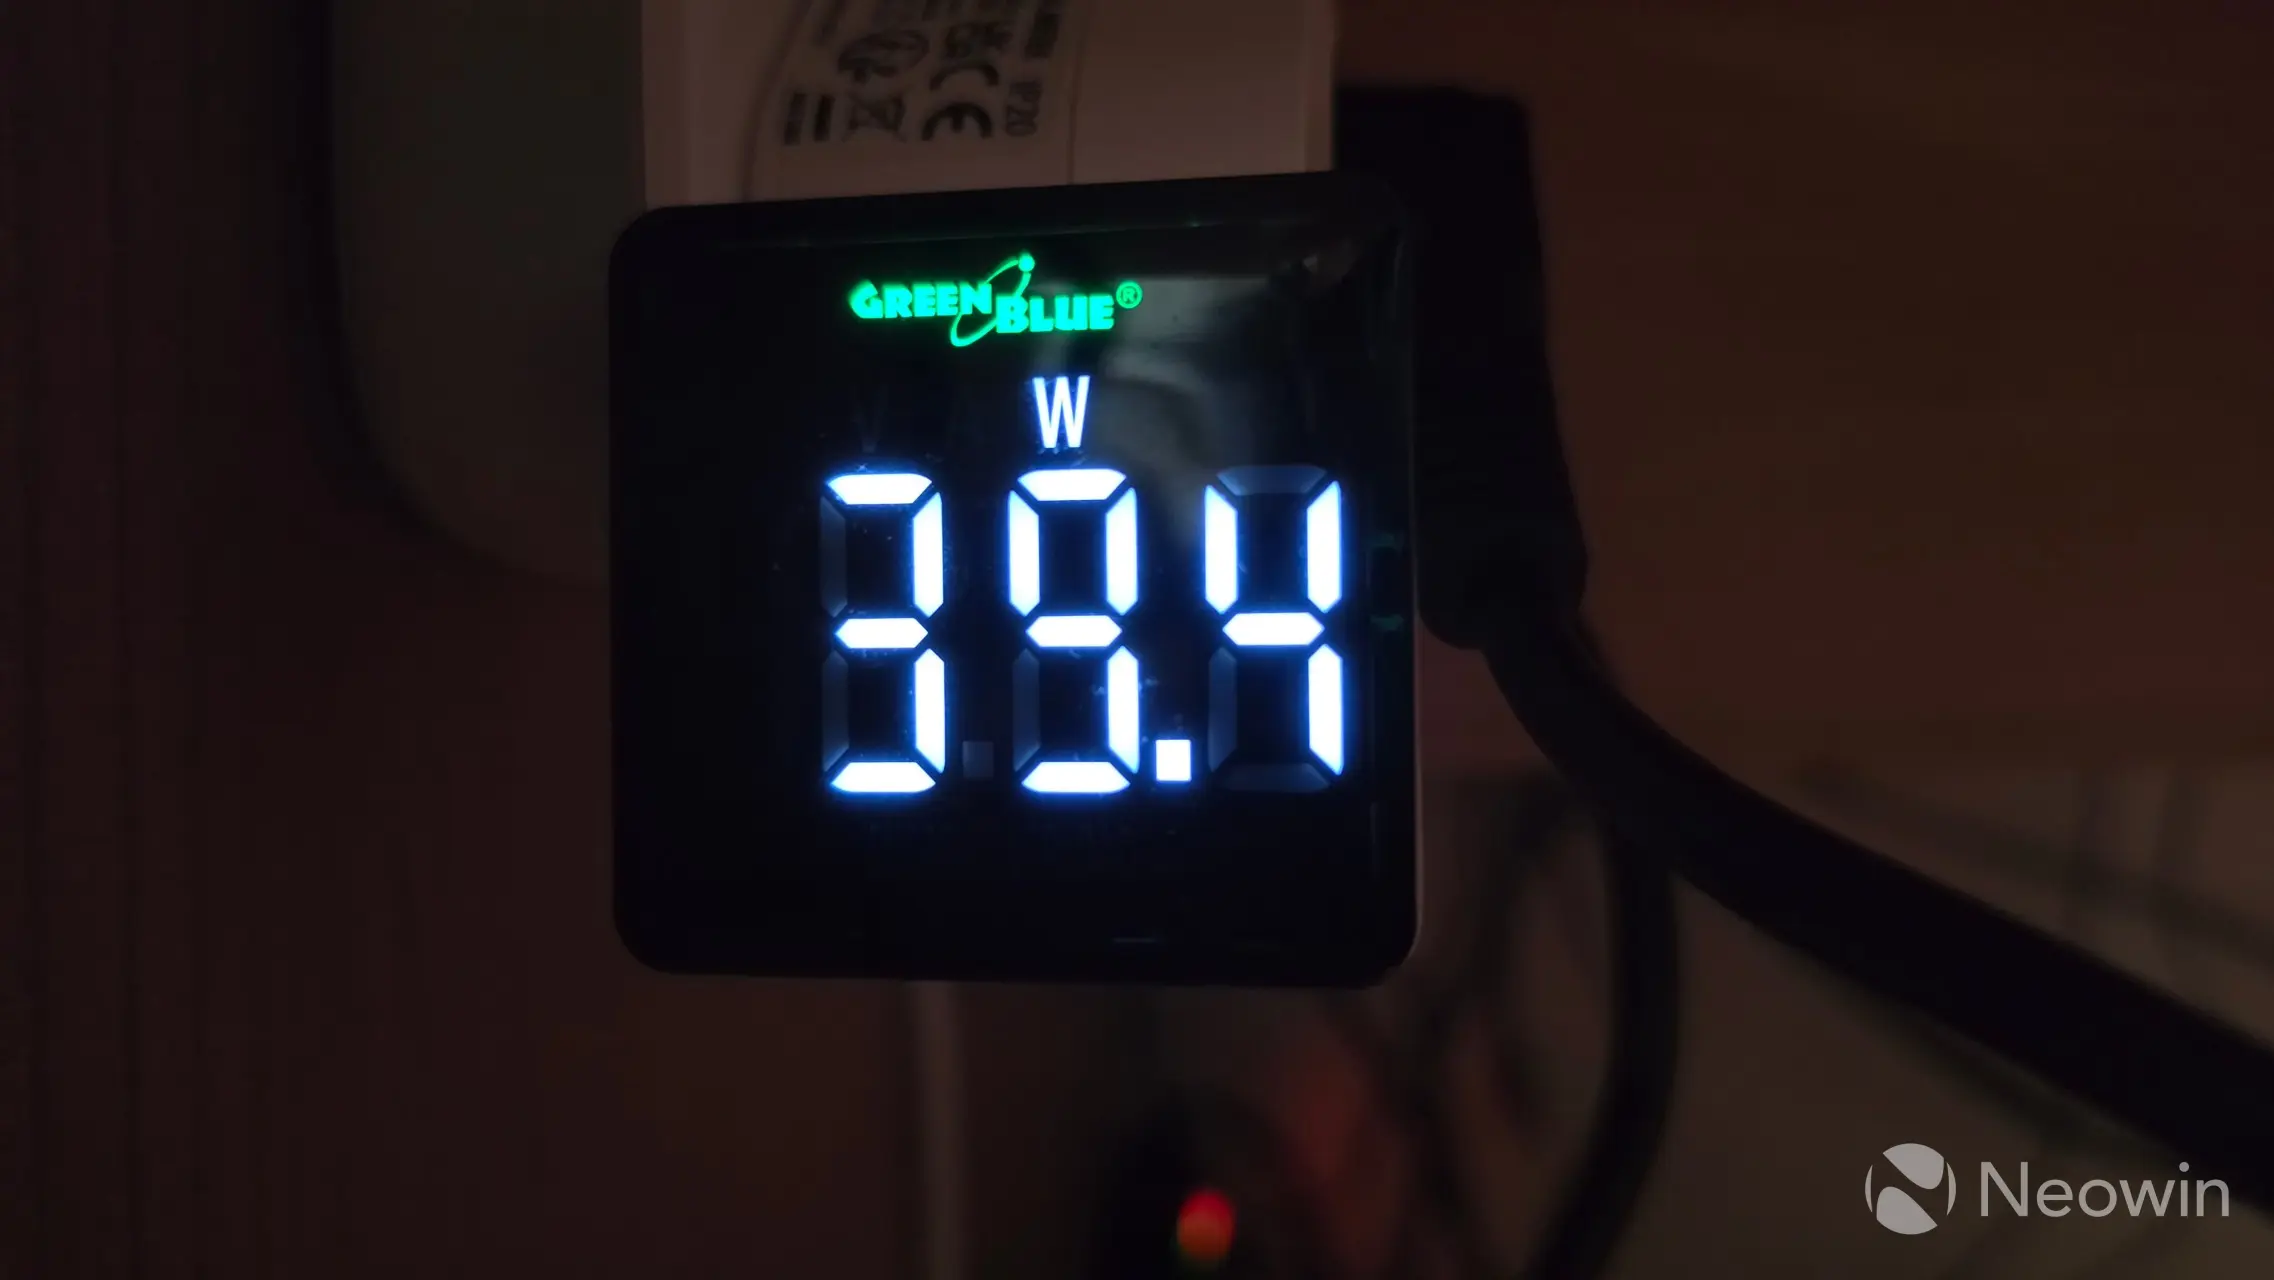
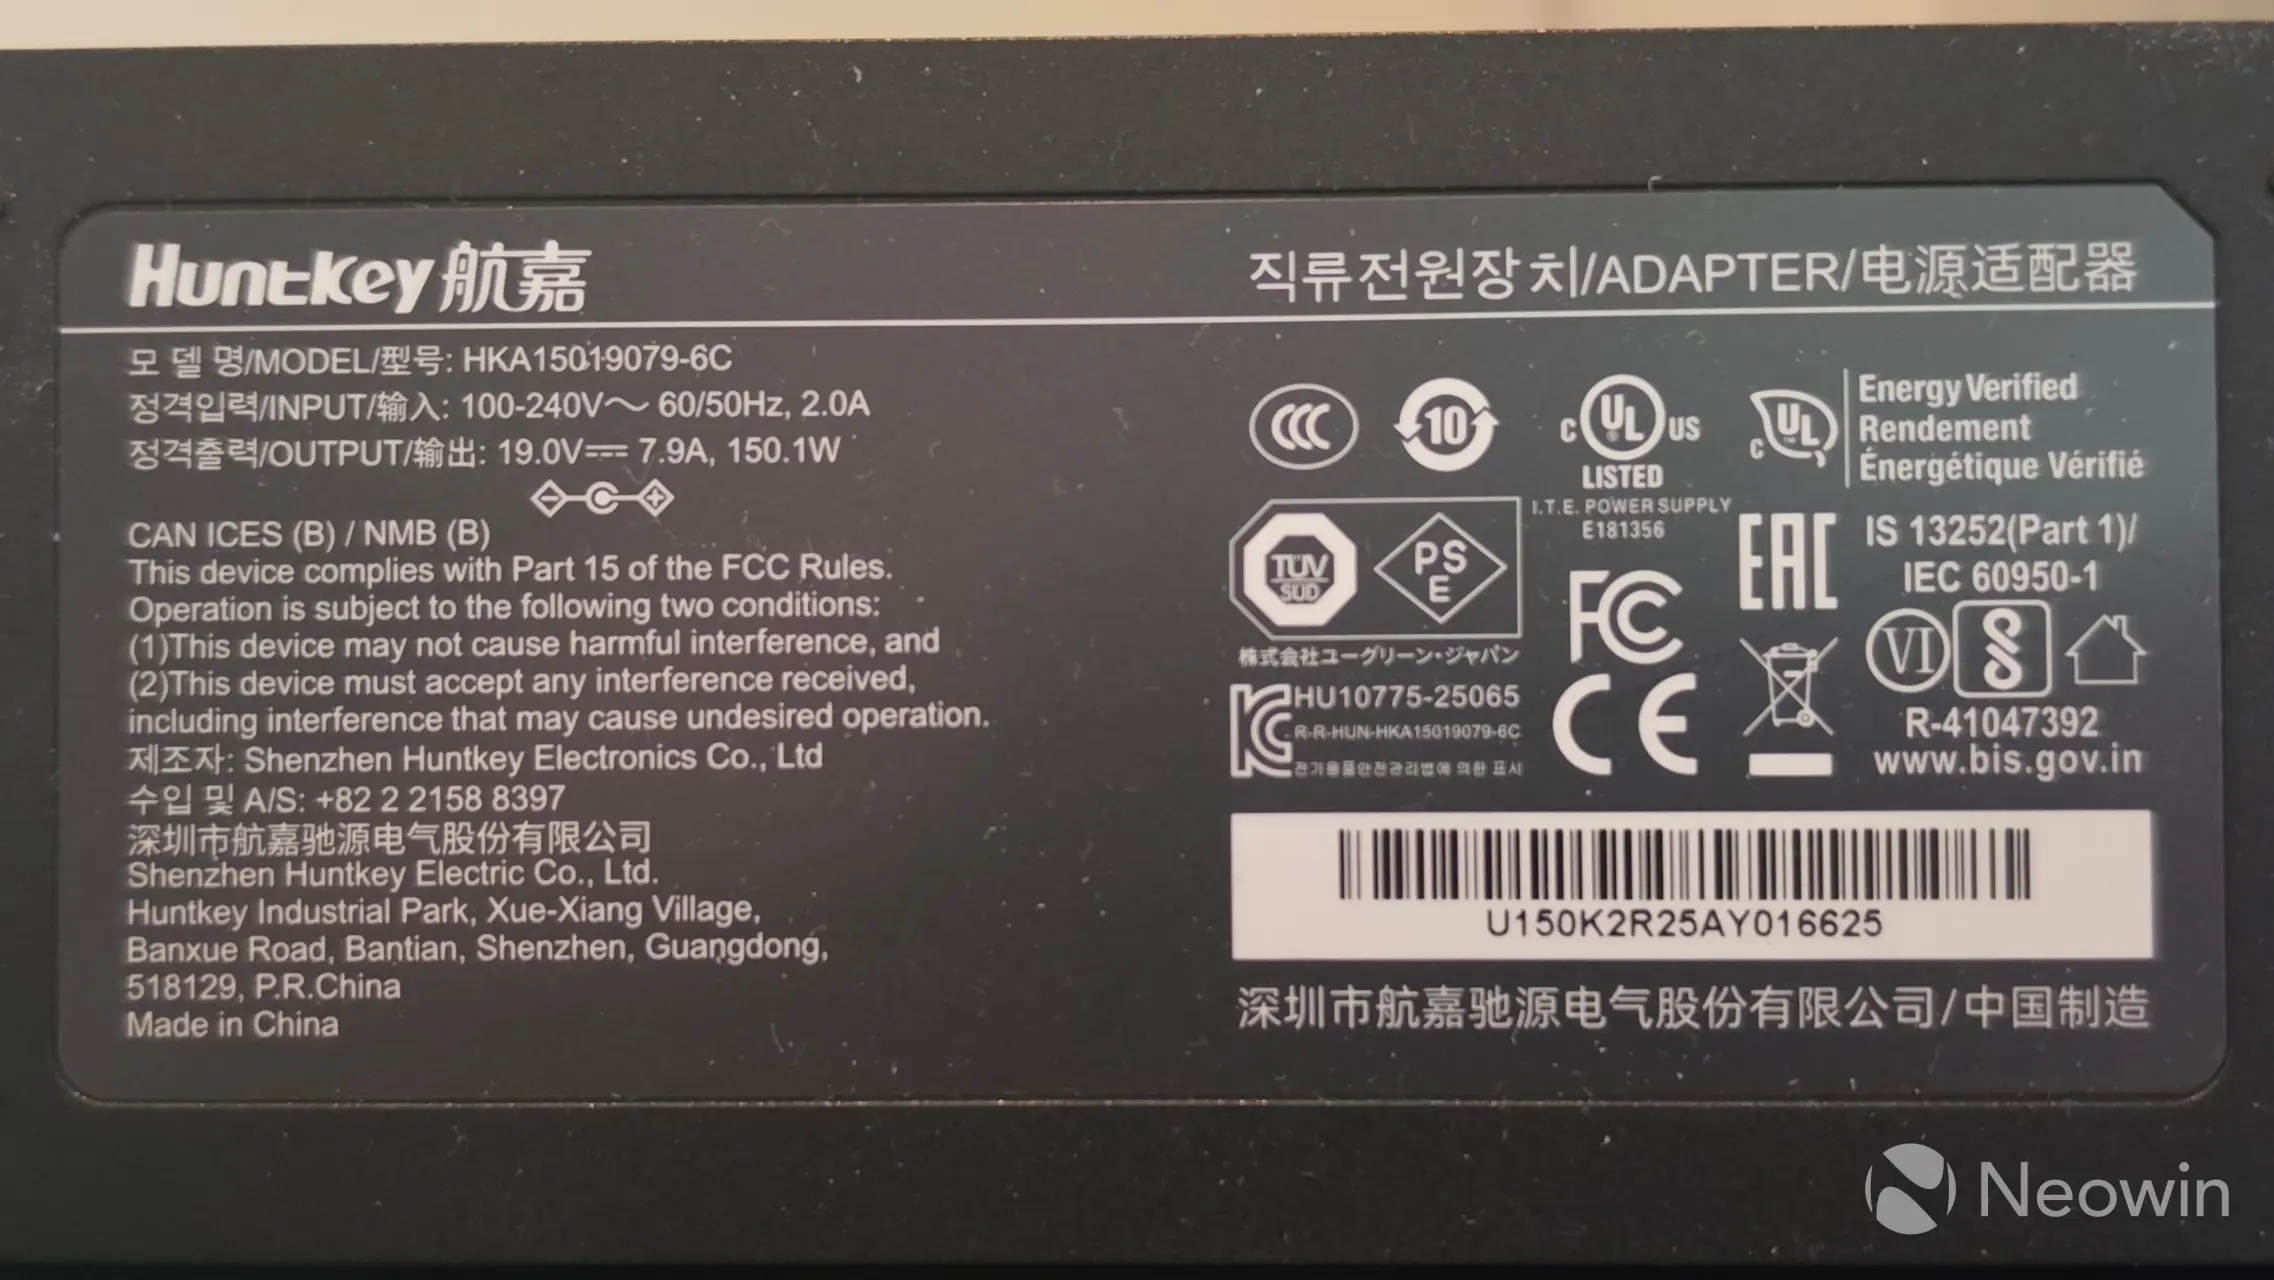
Speaking of power, you may find that it is near impossible to find specifications about the power, aside from UGREEN's own claims about disk usage in use, and in hibernation (which are 42.36W, and 18.12W respectively), but what about the states when it is powered off, or not doing anything (idle) while fully loaded with disks? I measured thi,s and you can see above that when the DXP4800 Pro is off it will average around 2.2W, and the "in use" state pretty much aligns with UGREEN's claim.
In any case, the DXP4800 Pro is powered by an external 150.1W PSU. Here is a photo I took of it.
Development
As I've said in previous reviews I reached out to UGREEN and asked if end users had a lot of say in the development, purely from some of the stuff I saw like the numbered drive bays, a drop down menu in Docker manager for the containers that allow access to the web UI ports, and create shortcuts on the desktop and all these little things you don't find in Synology DSM and they replied with:
We indeed spend a lot of time looking at our users’ inputs to improve UGOS
Back in August 2025, I asked if a Surveillance manager was being planned, and was told that it is on the roadmap "to be able to connect cameras to the NAS device and save the footage." However, fast forward eight months, and it is still on that same roadmap, as shown below:
Important future updates in the next 12 months*
- Hard Drive Enclosure Integration
- 3rd-Party Application Support
- Email Notification
- New App: AI Console for AI Model Management (iDX)
- New App: LLM-Based AI Assistant named "Uliya" (iDX)
- New App: Voice Memos (iDX)
- New App: Monitoring Center named "Surveillance"
- Cloud Drive Mounting (Files)
- Support for Dropbox (Cloud Drives)
- Offline Video Playback (Theater)
- Photos Favoriting (Photos)
- Upload Folder as Album (Photos)
Even so, UGREEN hasn't been sitting on its hands this past eight months. Here's everything that's been added in the last three versions:
Important updates in the last 3 versions
- New System Language: Traditional Chinese
- Files/folders Tagging (Files)
- More Squash Mapping Options for NFS Rules (Files)
- Snapshot File Browsing (Snapshot)
- Image Update Notifications & One-Click Update for Containers and Projects (Docker)
- New App: Comic
- Switch for "Scheduled startup and shutdown"
- Offline Data Entry on Mobile
- Download Songs on Mobile (Music)
- Select Playback Mode (Theater)
- Search Function Optimization (Theater)
- New System Language: Korean
- OpenList (New Docker App)
- Intro/Outro Smart Recognition (Theater)
- Energy-Saving Backup (Sync & Backup)
- Aliases for Cloud Drive Connections (Cloud Drives)
But wait, there's more!
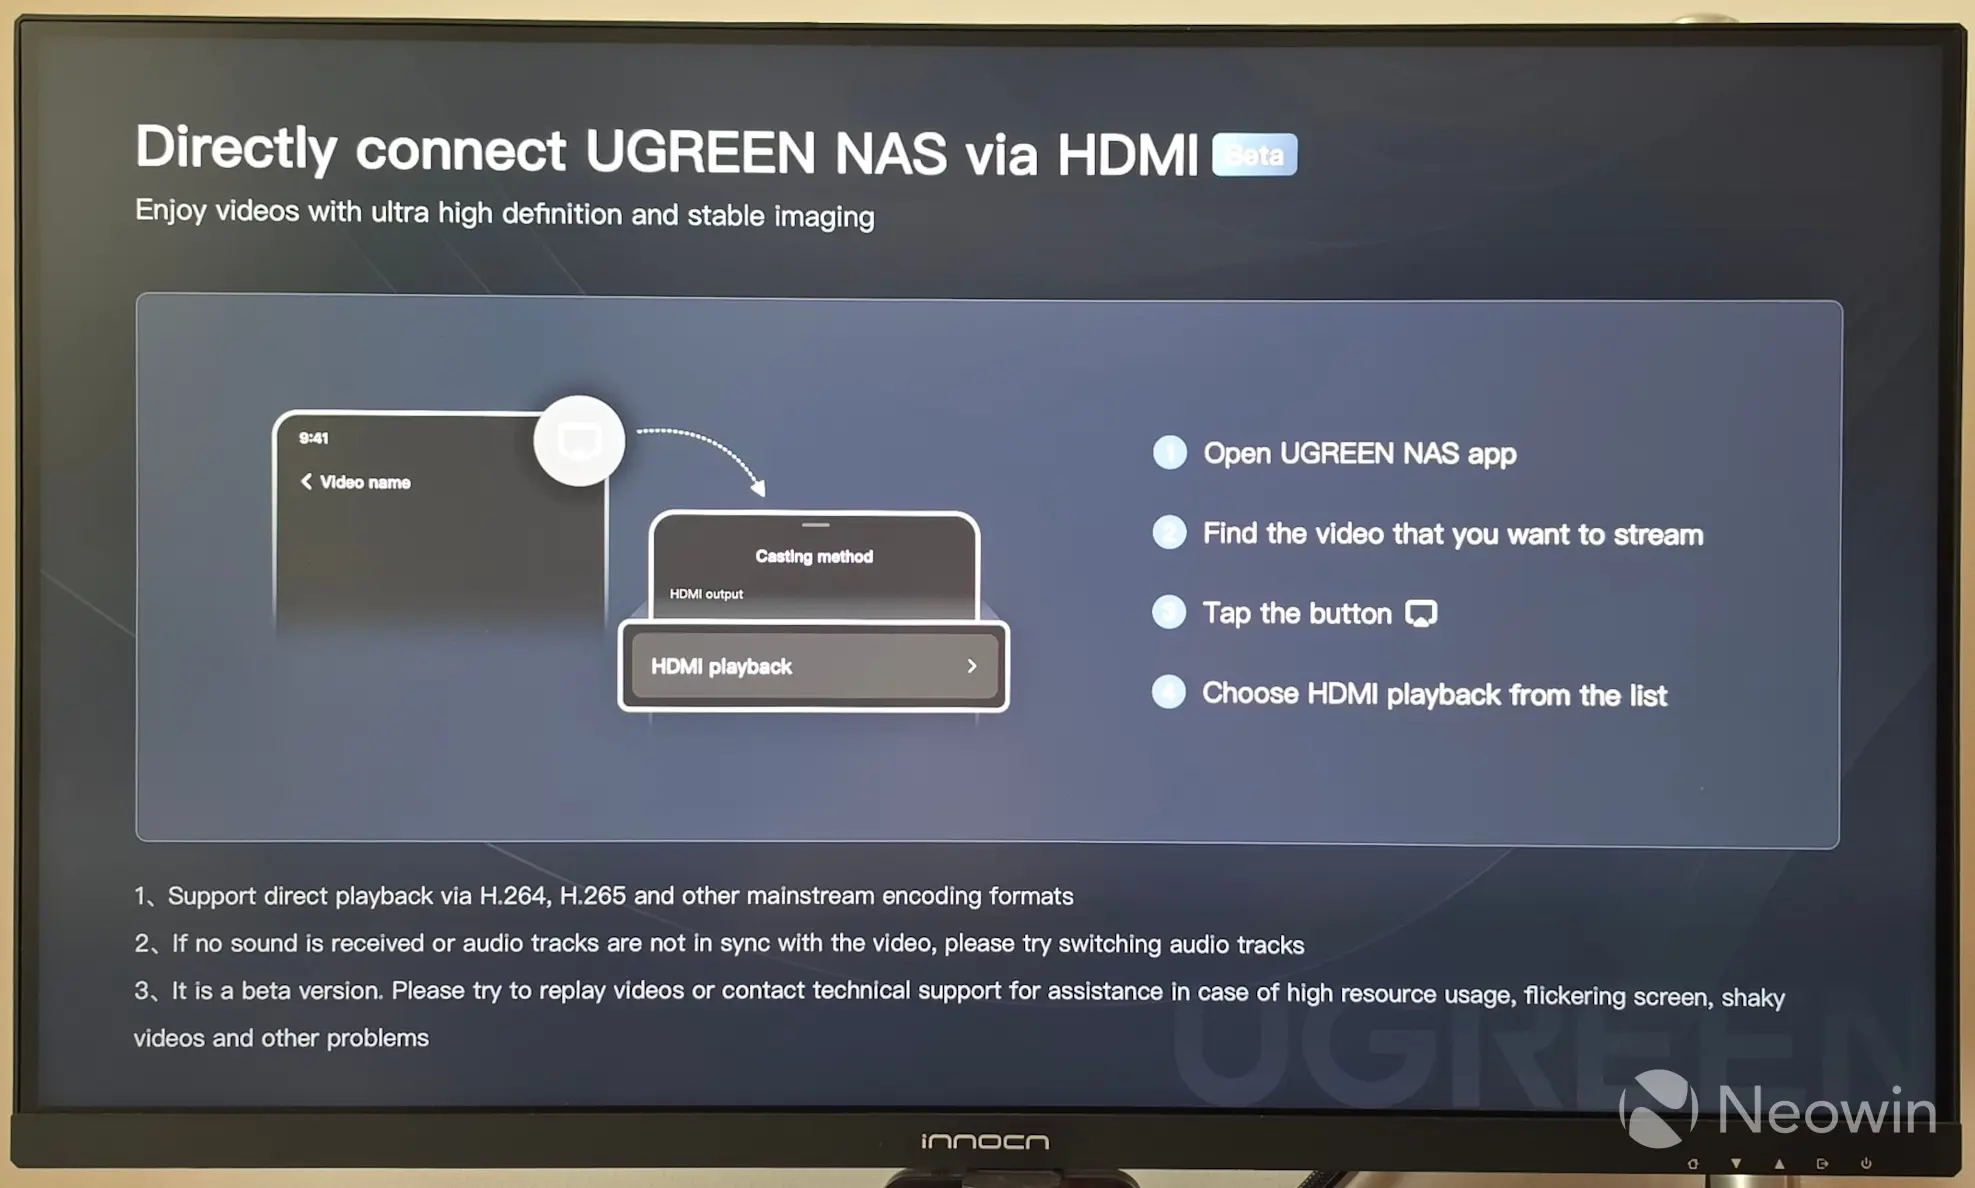
In case you decide to set up the DXP4800 as an HTPC with a TV or monitor connected, the UGREEN NAS app also lets you cast directly from the phone app to the screen that the NAS is connected to. It is still stamped as a Beta, but I tried it out, and it works perfectly. It is somewhat limited in that you can only cast content that is already on or exposed to the NAS.
It should be noted that I was also able to cast media content from a different TerraMaster F4-424 Max NAS to the screen, because I had connected a Server Message Block (SMB) network share in the UGOS Files app, so this also sort of gets around not being able to link such shares in Plex for a library. In short, you must be able to navigate to the content in "Files" through the UGREEN NAS app. Perhaps an update could provide a QR code to be able to cast the phone screen's content.
Conclusion
What it comes down to is the quality of the DXP4800 Pro; it isn't cheap at $799.99 (MSRP), but it's a great device, and recommending it will depend on the individual's use case. If you're just looking for an all-rounder, future-proofed NAS device to manage virtual machines on, back up your files, and take care of your home theater streaming, then this certainly ticks all the boxes. It provides great performance, takes up little space, and is, on the whole, very quiet. Four bays should afford most home labs and SMBs some redundancy, too.
The good
Things that stood out for me are the attention to detail this NAS offers, with things like the numbered bays, plentiful connection options on the front, with the standard USB 2.0 on the back, where you could connect things that don't require USB 3.0+, like a UPS. I'm still really impressed with UGOS; it feels polished, and as I already mentioned, this was actually the first time I didn't run into any issues with this relatively new OS I didn't need to fire up Google or consult the UGREEN forums in order to complete the setup or get underway with my Docker containers.
There's so much more to unpack with UGOS and the DXP4800 Pro that isn't really in the scope of this review. If you're familiar with working with NAS, you can't really go wrong here.
The bad
If I had to fault it at all, it would be the awkward placement of the CMOS battery and UGOS flash drive, which requires a full or partial teardown to get to them, but I wouldn't consider it a deal-breaker. My previous beef with the lack of Email notifications and a notifications center in UGOS has been answered because this was added as completed in the roadmap since the last time I reviewed a UGREEN NAS, although, as I said earlier in this review, the push notifications could be better.
Still no Surveillance package
The one thing I truly miss coming off Synology is a Surveillance package for my doorbell camera. This is still in the planning, eight months after I reviewed the DXP6800 Pro, but seeing as UGREEN is now also moving into the IP camera segment, hopefully, we will see it getting added very soon.
Other than that, I can't fault it; it has all the features that the DH series does not (like Docker and SSD cache support), if you can justify spending around $300 more than the four-bay DH4300 Plus. This would be the better choice for a media streamer, and if you prefer to manage your own Docker containers.
So, should Synology still be worried?
Even though Synology later reversed their awful policy of locking out third party HDDs from its 2025 Home and SMB line, I think the damage had already been done with a lot of customers (I count myself) when it received barely a lukewarm reception to its 2025 line, such as with the $799 DS1525+ and the 925+ (which we reviewed) with its AMD Ryzen V1500B embedded CPU that does not even have an onboard iGPU. It seems like Synology is stuck in the past, only now upgrading to 2.5GbE (from 1 GbE in 2023) while 10GbE is becoming the norm for premium devices. The + used to represent the flagship media-class series of Synology NAS range that was designed to do it all, but buyers will be left wanting, with no PCIe NiC or GPU expansion option available to it as well.
Should you buy?
I'd be hard-pressed to find a more powerful four-bay NAS right now. You would have to start looking in the realms of repurposed PCs to start to match the DXP4800 Pro's performance. The price might be a bit of a turn-off for casual users, even if it is currently being offered at 10% off, which brings the MSRP down to $719.99 / £689.99 / €719.99 right now. For me, it's a no-brainer, and yes, if you ask me, Synology should still be worried.
- UGREEN DXP4800 Pro (official) for $719.99 (10% off $799.99 MSRP)
- UGREEN DXP4800 Pro (Amazon US) for $719.99 (10% off MSRP)
- UGREEN DXP4800 Pro (Amazon UK) for £619.99 (10% off MSRP)
- UGREEN DXP4800 Pro (Amazon DE) for €719.99 (10% off MSRP)
As an Amazon Associate when you purchase through links on our site, we earn from qualifying purchases.


2 Comments
Load the comments and join the conversation!
Read the comments, ask the editors questions, show respect and join the conversation.