In February 2023, a new report revealed Microsoft's plans to upgrade Windows 11's Snap Layouts with AI magic. According to the leak, Windows 11 (or its successor) would use machine learning to predict what apps and in what order the user wants to arrange. Although Microsoft has not announced the AI-powered Snap Layouts yet, the latest Windows 11 build from the Dev Channel lets you test a new smart window snapping, giving you a glimpse of what is to come.
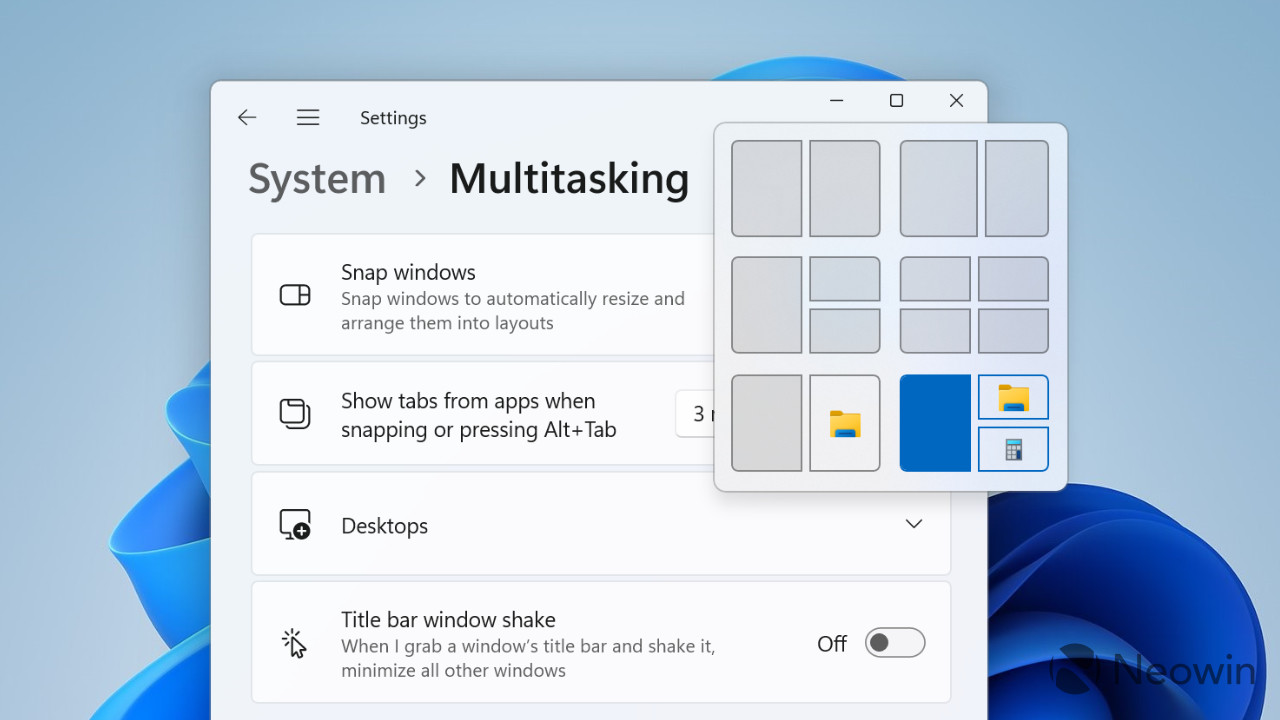
Enabling two hidden features in Windows 11 build 23435 (credits for the find go to ever-giving @PhantomOfEarth) allows the operating system to generate snapping presets, thus providing the ability to arrange open apps with a single click. These sets appear below the current Snap Layouts, so you still have more freedom over windows positioning. Here is a quick look at the new smart snapping:


As of now, "snap predictions" only work when you hover the cursor over the "Maximize" button. Snap Assist, a panel at the top of the screen that appears when you move a window across the screen, does not currently support predictions. Another limitation is that you cannot select what apps appear in the suggestions, and Windows seemingly does not consider the context of your current workflow.
Important: Always back up your data before enabling experimental features with the ViVeTool app or similar utilities. Digging out unannounced changes frequently results in instabilities, crashes, and bugs, so beware.
How to enable the upgraded Snap Layouts in Windows 11 build 23435?
- Download ViveTool from GitHub and unpack the files in a convenient and easy-to-find folder.
- Press Win + X and select Terminal (Admin).
- Switch Windows Terminal to the Command Prompt profile with the Ctrl + Shift + 2 shortcut or by clicking the arrow-down button at the top of the window.

- Navigate to the folder containing the ViveTool files with the CD command. For example, if you have placed ViveTool in C:\Vive, type CD C:\Vive.
- Type vivetool /enable /id:41863571,42589465 and press Enter.
- Restart your computer.
What do you think about the upgraded Snap Layouts? Share your thoughts in the comments.


2 Comments
Load the comments and join the conversation!
Read the comments, ask the editors questions, show respect and join the conversation.